Front-Panel Controls
2
6000 Series Oscilloscope User’s Guide
97
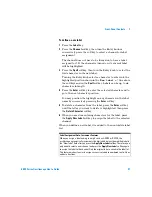
To define a new label
1
Press the
Label
key.
2
Press the
Channel
softkey, then turn the Entry knob or
successively press the softkey to select a channel for label
assignment.
The channel does not have to be turned on to have a label
assigned to it. If the channel is turned on, its current label
will be highlighted.
3
Press the
Spell
softkey, then turn the Entry knob to select the
first character in the new label.
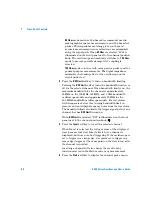
Turning the Entry knob selects a character to enter into the
highlighted position shown in the "
New label ="
line above
the softkeys and in the
Spell
softkey. Labels can be up to six
characters in length.
4
Press the
Enter
softkey to enter the selected character and to
go to the next character position.
You may position the highlight on any character in the label
name by successively pressing the
Enter
softkey.
5
To delete a character from the label, press the
Enter
softkey
until the letter you want to delete is highlighted, then press
the
Delete Character
softkey.
6
When you are done entering characters for the label, press
the
Apply New Label
softkey to assign the label to the selected
channel.
When you define a new label, it is added to the nonvolatile label
list.
Label Assignment Auto-Increment Features
When you assign a label ending in a digit, such as ADDR0 or DATA0, the
oscilloscope automatically increments the digit and displays the modified label in
the “New label” field after you press the Apply New Label softkey. Therefore, you
only need to select a new channel and press the Apply New Label softkey again
to assign the label to the channel. Only the original label is saved in the label list.
This feature makes it easier to assign successive labels to numbered control lines
and data bus lines.
Summary of Contents for InfiniiVision DSO6014L
Page 2: ...Agilent Technologies Agilent 6000 Series Oscilloscopes User s Guide...
Page 59: ...58 6000 Series Oscilloscope User s Guide 1 Getting Started...
Page 109: ...108 6000 Series Oscilloscope User s Guide 2 Front Panel Controls...
Page 125: ...124 6000 Series Oscilloscope User s Guide 3 Viewing and Measuring Digital Signals...
Page 251: ...250 6000 Series Oscilloscope User s Guide 5 Making Measurements...
Page 287: ...286 6000 Series Oscilloscope User s Guide 6 Displaying Data Interpreting Decoded LIN Data...
Page 321: ...320 6000 Series Oscilloscope User s Guide 7 Saving and Printing Data...
Page 370: ......


