


29
ADJUSTING THE LCD DISPLAY
5.2 COLOUR TEMP.
N T S C
6 0 H z
B R I G H T N E S S
C O L O U R T E M P .
I M A G E S E T T I N G
A S P E C T R A T I O
A N T I - B U R N - I N
O S D S E T T I N G
A U D I O S E T T I N G
S Y S T E M
E C O S M A R T
I N P U T S E L E C T
L A N G U A G E
I N F O R M A T I O N
E X I T
E N T E R
S E L E C T
1 3 6
R
1 3 2
G
1 2 7
B
N E U T R A L
W A R M
C O O L
U S E R
A U T O C O L O U R
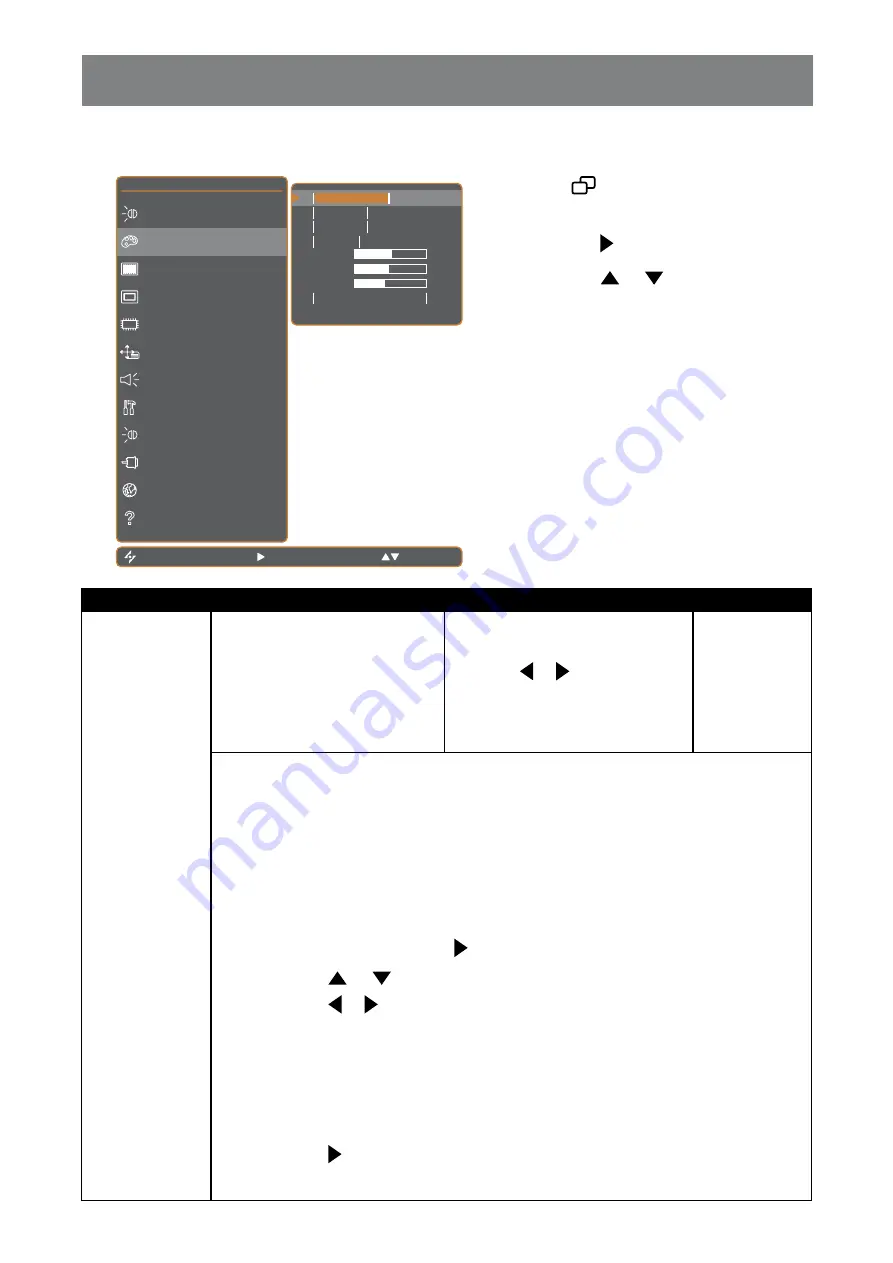
1. Touch
to call out the OSD window.
2. Select
COLOUR TEMP.
menu, then
touch the button.
3. Touch the or button to select an
option.
Item
Function
Operation
Value
COLOUR TEMP.
Provides several colour settings
Touch the or button to select
the setting.
NEUTRAL
WARM
COOL
USER
AUTO COLOUR
Colour setting can be set to:
•
NEUTRAL
- Commonly used for normal lighting conditions.
•
WARM
- Applies a reddish tint for warmer colours.
•
COOL
- Applies a bluish tint for cooler colours.
•
USER
- This allows users to set the colour temperature by adjusting the R, G, B
settings according to one’s preference.
1 Select
USER
, then touch the button
2 Touch the or button to select among R, G, B option.
3 Touch the or button to adjust the values between 0 ~ 255.
Note:
Activate
RECALL
to return the colour to its default setting.
•
AUTO COLOUR
- Operates the white balance and automatically adjusts the colour
settings.
1 Select
AUTO COLOUR
.
2 Touch the button to activate auto colour.
Note:
This menu option is only available if the input source is VGA.


