advanced FLOW engineering
Instruction Manual
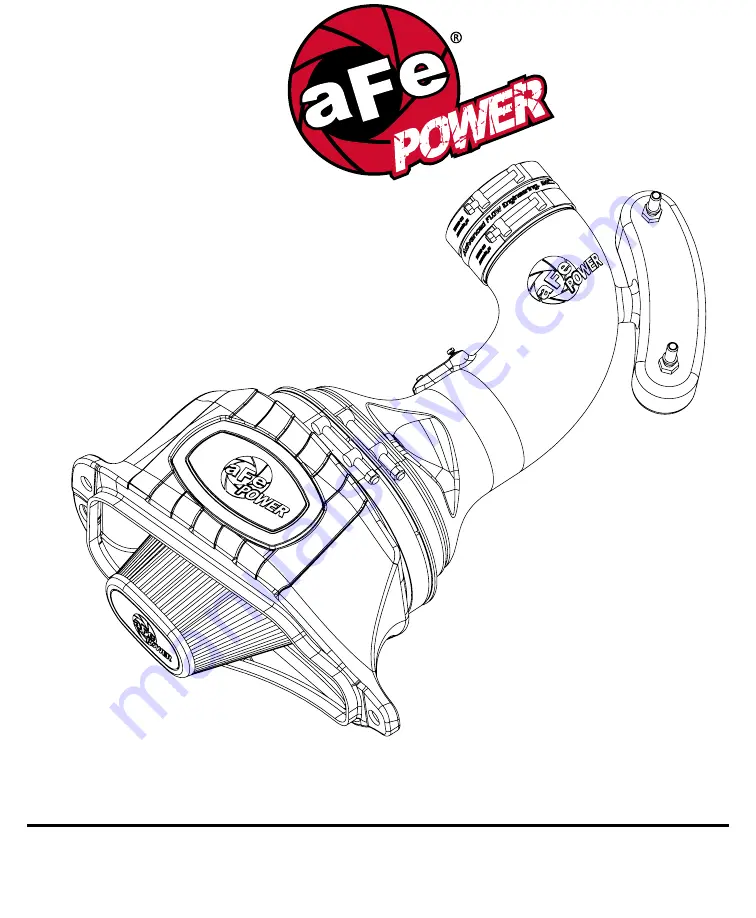
P/N: 51-74201 & 54-74201
Make:
Chevrolet
Model:
Corvette (C7)
Year:
2014
Engine:
V8-6.2L
Page 1: ...advanced FLOW engineering Instruction Manual P N 51 74201 54 74201 Make Chevrolet Model Corvette C7 Year 2014 Engine V8 6 2L ...
Page 2: ...or nut driver Ratchet and extension flat head screw driver Note Legal in California for use on race vehicles only The use of this device on vehicles used on public streets or highways is strictly prohibited in California and others states that have adopted California emission regulations Please read the entire instruction manual before proceeding Ensure all components listed are present If you are...
Page 3: ...4 3 2 THE INFORMATION CONTAINED IN THIS DRAWING IS THE SOLE PROPERTY OF ADVANCED FLOW ENGINEERING INC ANY REPRODUCTION IN PART OR IN WHOLE WITHOUT THE WRITTEN PERMISSION OF ADVANCED FLOW ENGINEERING INC IS PROHIBITED Draw APPROVED DRAWN I H G ...
Page 4: ...Refer to Figure A for Step 1 Step 1 Remove the radiator air outlet channel by removing the four screws securing it with a 7mm socket or nut driver REMOVAL Page 4 Figure A ...
Page 5: ...ep 2 Disconnect the Mass Air Flow MAF Sensor harness Step 3 Loosen the clamps at the throttle body and at the housing Disconnect both vent hoses then remove the factory intake tube out of the vehicle REMOVAL aFepower com Page 5 Figure B ...
Page 6: ...Refer to Figure C for Step 4 Step 4 Remove the two 10mm screws holding the factory intake box and pull it out of the mounting grommet then out of the vehicle REMOVAL Page 6 Figure C ...
Page 7: ... D for Steps 5 6 Step 5 Transfer the three mounting grommet from the factory air box to the aFe Housing Step 6 Slide the filter into the housing and install the T bolt clamps Do not tighten yet Figure D Page 7 INSTALL ...
Page 8: ...gure E for Step 7 Step 7 Install the aFe filter housing assembly into the vehicle Push it on the factory stud and secure it using the two factory 10 mm screws removed at step 4 Figure E INSTALL aFepower com Page 8 ...
Page 9: ...n the aFe tube using factory O ring and supplied m4 screws Step 9 Screw the two vent fittings into the aFe tube Put some of the furnished threadlocker to assure a perfect seal Step 10 Install the silicone coupling and the T bolt clamps on the tube end Do not tighten clamps yet Page 9 Figure F INSTALL ...
Page 10: ...all the aFe tube into the vehicle Slide the tube first into the filter then the coupling over the throttle body Align the tube correctly then tighten all clamps Step 12 Reconnect the MAF sensor Step 13 Reconnect the vent hoses onto the aluminum fitting Figure G INSTALL ...
Page 11: ...Page 11 Refer to Figure H for Steps 14 15 Step 14 Re install the factory radiator air outlet Step 15 Make sure all clamps and connections are secured Your installation is now completed Figure H INSTALL ...
Page 12: ...Page left blank intentionally Page 12 ...
Page 13: ...Page left blank intentionally Page 13 ...
Page 14: ...m Page 14 Pro DRY S Air Filter P N 21 90080 P N 90 50001 P N 24 90080 P N 90 50501 P N 90 50000 P N 90 50500 P N 40 10114 S M P N 40 10115 L XL P N 90 59999 Pro 5R Air Filter Pro DRY S Restore Kit Blue Aerosol Restore Kit Blue Squeeze Restore Kit Gold Aerosol Restore Kit Gold Squeeze Restore Kit aFe Power Hat ...
Page 15: ...of purchase and the RGA Upon receipt of the defective product and upon verification of proof of purchase aFe will either repair or replace the defective product within a reasonable time not to exceed thirty days Product Category P N Prefix Warranty duration Direct OE Replacement Filters 10 11 30 31 71 73 Life of the vehicle Racing Filters 18 1 year Universal 21 24 72 2 years Air Intake Systems 50 ...
Page 16: ...advanced FLOW engineering inc 252 Granite Street Corona CA 92879 TEL 951 493 7100 TECH 951 493 7100 x23 E Mail Tech aFepower com P N 06 80618 ...