Installation Guide
VR-486 / VW-486 / VR-806 Series
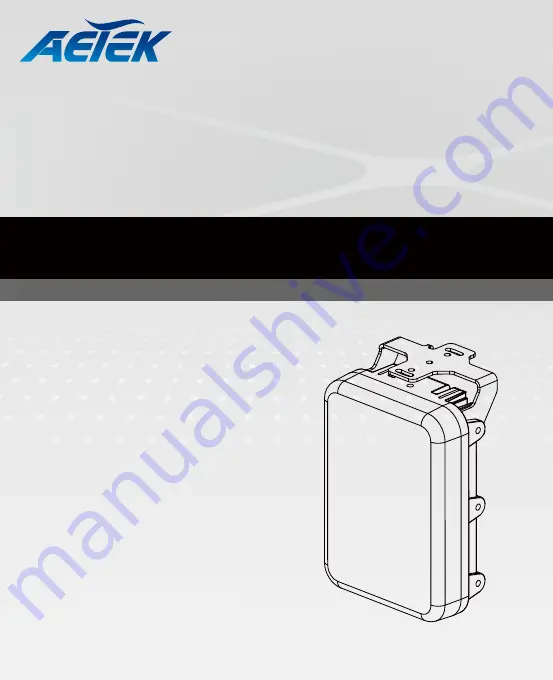
Vari-Angle Illuminator
Rev. 1.0
Page 1: ...Installation Guide VR 486 VW 486 VR 806 Series Vari Angle Illuminator Rev 1 0 ...
Page 2: ...inaire at a distance closer than 2 5 m is not expected The external flexible cable or cord of this luminaire cannot be replaced if the cord is damaged the luminaire shall be destroyed The light source of this luminaire is not replaceable when the light source reaches its end of life the whole luminaire shall be replaced Please make sure Reinforce Double insulation shall be maintained between LV su...
Page 3: ...ting temperature Do not touch the Illuminator during a lightning storm IMPORTANT Class III luminaires Do not stare at the operating light source This marking indicates that this product should not be disposed with other household wastes throughout the EU To prevent possible harm to the environment or human health from uncontrolled waste disposal recycle it responsibly to promote the sustainable re...
Page 4: ...m 6 3 220mm 8 66 49mm 1 93 73mm 2 87 93 4mm 3 68 27 4mm 1 08 117 4mm 4 62 69 4mm 2 73 43mm 1 7 Standard Small U bracket 50 R 6 0 15 25 9 85 9 5 M6x1 134 23 6 2 24 36 90 5 9 n 6 2 3 31 18 5 46 54 48 24 20 3 Mechanical Drawings Standard Small U bracket ...
Page 5: ...d mounting holes for external camera housing U bracket Optional mounting points for U bracket Light sensor Combo cable Dehumidifier membrane Reserved Mounting holes Unit Weight 2 1KG Max Project Area 34684 7mm2 160mm 6 3 220mm 8 7 ...
Page 6: ...abled by default Unlock the remote control by pressing this button for 2 seconds The control is automatically locked after being idle for 5 mins LED status The button toggles the LED indicators on or off The LEDs are only visible on the non IR illuminators such as w5 Light sensor sensitivity These buttons provide direct access to the pre defined light sensor thresholds that turn the LEDs on LED di...
Page 7: ...e 4mm side of the allen wrench to turn the beam angle to an estimated illumination distance e g 200 meters See the tables on the next page for how to do it You may forget your current beam angle configuration In this case turn many full circles clockwise until the rotation resistance is felt returns to the widest angle reaches its mechanical stops and then turn the selector counter clockwise accor...
Page 8: ...29 150 77 6 212 1 109 7 259 8 134 4 3 27 158 75 9 223 4 107 3 273 7 131 4 4 20 200 70 5 282 8 99 7 346 4 122 2 Counter clockwide Narrower Clockwide Wider The factory default for the beam angle selector is always at the Widest angle When you turn the selector many rounds to its widest or the narrowest position a rotation resistance can be felt That means the mechanical stop is reached and you shoul...
Page 9: ...nce m Width m Distance m Width m 0 120 45 155 9 63 6 220 5 77 9 270 0 1 105 50 130 3 70 7 184 3 86 6 225 7 2 90 55 110 0 77 8 155 6 95 3 190 5 Counter clockwide Narrower Clockwide Wider Counter clockwide Narrower Clockwide Wider VR 486 180 Rotate direction Full circle Beam angle Single mount Double mount Triple mount Distance m Distance m Distance m Fixed angle N A 180 40 56 6 69 3 VW 486 1040 Rot...
Page 10: ... 100 7 84 9 142 4 103 9 174 4 1 77 62 98 6 87 7 139 5 107 4 170 8 2 74 64 96 5 90 5 136 4 110 9 167 1 3 66 67 87 0 94 8 123 1 116 0 150 7 4 63 69 84 6 97 6 119 6 119 5 146 5 5 60 71 82 0 100 4 115 9 123 0 142 0 6 55 75 78 1 106 1 110 4 129 9 135 2 7 52 79 77 1 111 7 109 0 136 8 133 5 8 50 82 76 5 116 0 108 2 142 0 132 5 9 45 86 71 2 121 6 100 8 149 0 123 4 10 40 90 65 5 127 3 92 7 155 9 113 5 VW 4...
Page 11: ...always at the Widest angle Refer to the tables below for the configurable IR light beam angles and the definitions of the remote controller buttons Each button changes to a preset beam angle Width Distance Angle 27 33 40 Dimming LED Status LED On Off T W Zoom 50 20 10 100 75 50 25 Example VR 806 2040 Button Beam angle Single mount Double mount Triple mount Distance m Width m Distance m Width m Dis...
Page 12: ...act Logic level 1 Open LED off Logic level 0 Close to GND LED on Wet contact Logic level 1 4V 40 V LED off Logic level 0 0 8V MAX LED on DI Yellow 26AWG Ground DO Purple 26AWG Light sensor status output 1 Open Day 2 Short Night 300 lux for IR ON DO Blue 26AWG Ground RS485 Orange 26AWG RS485 interface control RS485 Brown 26AWG Cable Pinouts ...
Page 13: ...rol Green Yellow wires This mode means that illuminator On Off control is triggered by camera or other alarm system Users can decide using the appropriate dry wet contacts depending on wiring condition DI Green TTL voltage DI Yellow TTL voltage GND Dry contact Logic level 1 Open LED off Logic level 0 Close to GND LED on Wet contact Logic level 1 4V 40 V LED off Logic level 0 0 8V MAX LED on ...
Page 14: ...rent must be under 100mA DO Bule GND Light sensor status output 1 Open Day 2 Short Night lower than 300 lux for IR to turn ON Stand alone illuminator mode This mode means that the illuminator s On Off control is triggered by its light sensor in the case the default wiring is connecting the green wire with purple wire Some cameras have related settings that need the inter connection with the illumi...
Page 15: ...15 Swivel Positions and Directions 105 mm 502 8 mm 135 5 mm 158 5 mm 170 mm 400 mm 77 4 mm USABLE AREA 255 mm USABLE AREA 400 170 502 8 Mounting Configuration Dimensions III ...
Page 16: ...on site Drill mounting holes and a cable routing hole if preferred on a wall Install the bracket Prepare and route the wiring Ethernet and 24V power source 2 Install the IR illuminator to the bottom of the housing Attach the included grip stricker to the U bracket IV Installation ...
Page 17: ...cket to the IR illuminator using the included hex screws 4 Flip the housing over and place it on a clean stable surface Secure the IR illuminator to the bottom of the housing using the included wrench and a hex socket screw ...
Page 18: ...hernet cable Ø4 6 5mm Power wires DI DO wires a combo cable from IR illuminator if applied 5 You can turn the IR illuminator so that its flat side is parallel with the housing and that you can turn the assembly over and work on the inside of the housing Put a foam pad below before you work on the wiring to avoid scratching the surface ...
Page 19: ...c mount pad in the package You do not need the mounting pad using the AETEK camera o O g B b G br BR 1 2 3 4 5 6 7 8 o white orange stripe O orange solid g white green stripe B blue solid b white blue stripe G green solid br white brown stripe BR brown solid You may need to remove the RJ45 connector and use a crimping tool to connect the Ethernet wires to an RJ45 connector inside the enclosure Use...
Page 20: ...20 This page is intentionally left blank ...