Page | 19
Aeroqual AQM60 User Guide
2.2.4. Connect third party sensors (Optional)
Third party sensors such as the Vaisala Weather Transmitter WXT520 or Gill Windsonic are connected to
the unit using the external plug. This is located on the right hand side of the enclosure. Once connected, they
should automatically start reading.
Note: Turn off the AQM60 before plugging in any external third part sensor.
2.3. Initial Commissioning
The objective of the initial commissioning process is to enable the user to gain knowledge in the operation of
the instrument and to demonstrate that it is operating correctly prior to a remote installation. The process
consists of a set of tasks that check that the AQM is operating correctly.
Equipment required:
AQM Logbook
Computer with Aeroqual AQM V6.X PC software loaded
Flow meter covering the range 0-2.5 LPM
Zero air source
Span gases corresponding to the sensors in the AQM
Calibrator or gas flow meters for generating suitable span gas concentrations
Humidifier (Nafion tubing supplied with AQM)
Note 1: Before starting the commissioning process it is important that the AQM is fully warmed up by
running overnight and sampling either outside ambient air or indoor air with an activated carbon
filter connected to the inlet.
2.3.1. Set Up
1. Once the AQM60 is assembled and power is connected install the SD card into the control module.
Note 1: The TMS blower will start as soon as the mains power is connected.
2. Start the AQM60 by pushing the on/off switch on the control module (See Section 1.1 for location of
On/Off switch)
3. Connect the instrument using a computer via the USB cable to the outside of the enclosure
4. Install Aeroqual AQM software
5. Configure the AQM60 instrument:
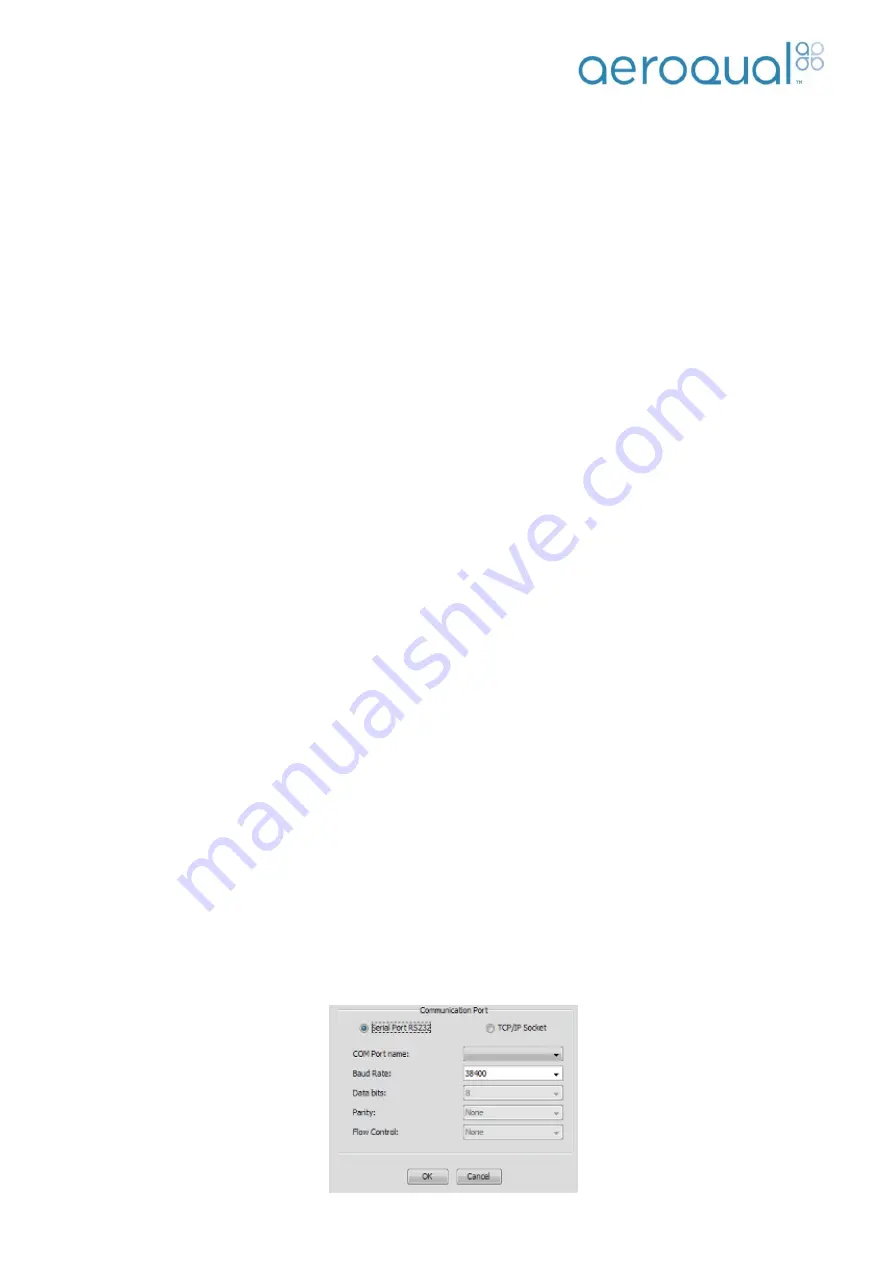
a. Launch Aeroqual AQM PC software. Select Setup
Communication Port
b. Select Serial Port RS232 and the relevant Com port. Press OK when complete.
Note: To determine the COM port number use
windows ‘Device Manager’
The settings should be as seen below:
Summary of Contents for AQM60
Page 1: ...Aeroqual AQM60 User Guide ...


