1.5.5. Automatic Camera Shutdown Time
To save battery power, the camera automatically turns OFF after a period of inactivity. The duration of this period
can be set to between 15 (default) and 60 minutes. This feature can also be disabled. To change this setting:
1. Open the Adjustments menu by pressing
F1
in the Main screen and selecting Parameters >
Adjustments.
2. Select
to display the shutdown time setting.
3. Use the up and down buttons to change settings. You can also select None to disable automatic shutdown.
When None is selected, the camera turns off only when battery power is too low to continue operation.
4. When the desired setting is displayed, press
F2
.
1.5.6. Screen Brightness
You can adjust the screen brightness level to ensure good visibility in varying lighting conditions. By default, the
camera is configured in Automatic mode: a brightness sensor adjusts the lighting level at all times. To change
this:
1. Open the Adjustments menu by pressing
F1
in the Main screen and selecting Parameters >
Adjustments.
2. Select
to display the screen brightness setting. Use the up and down buttons to change this setting.
Options are Automatic (the camera automatically adjusts the screen brightness), or a percentage of full
screen brightness (15%, 25%, 50%, 75%, or 100%).
3. When the desired setting is displayed, press
F2
to select it.
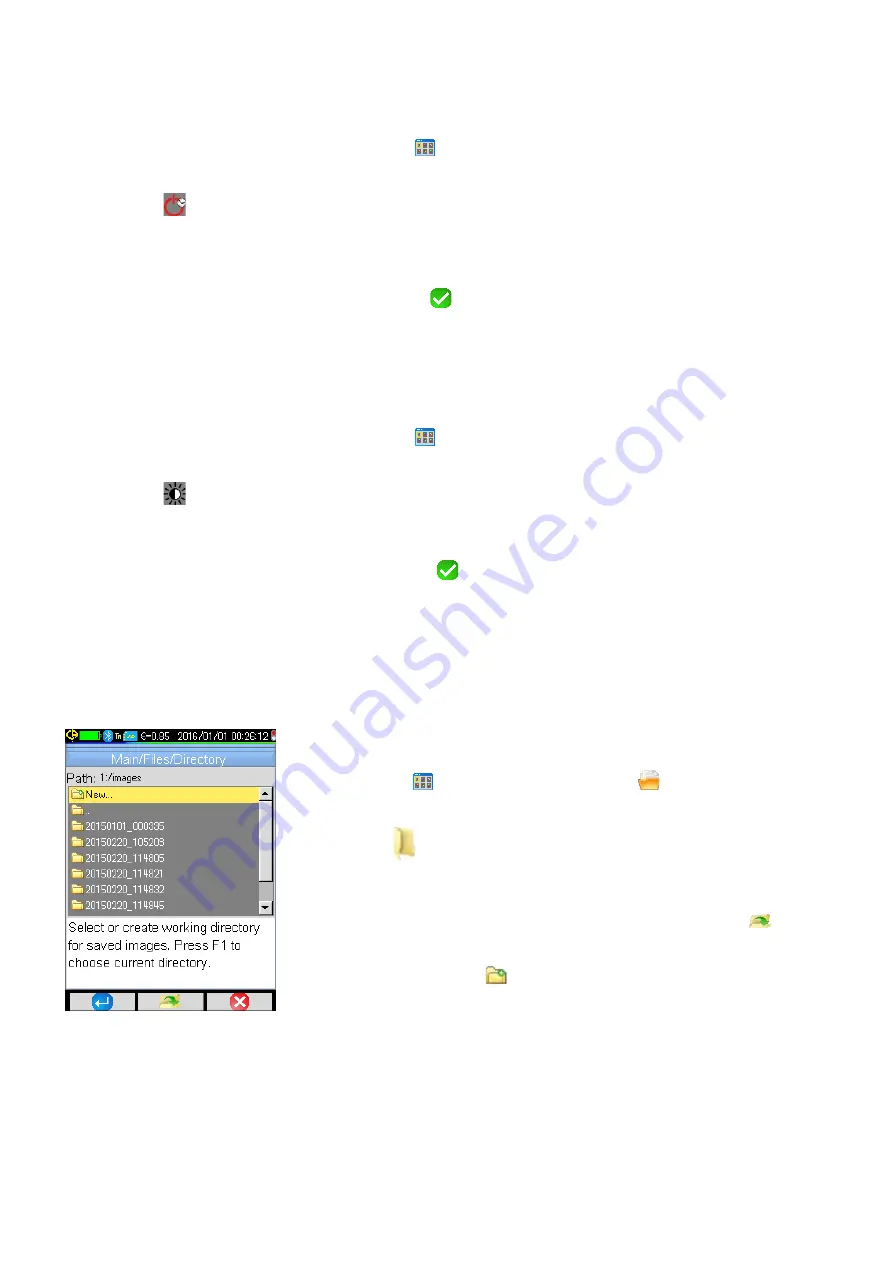
1.5.7. Image Storage Directory
The working directory in which image files are stored must be located on the micro SD card, which must be
present in the camera. By default this is "1:/images."
It is good practice to organize records into several directories and limit the number of files in each. This will
reduce the time needed to display the content of each directory.
To change the working file storage directory:
1. Press
F1
in the Main screen and select
to display the Files
menu.
2. Select
to display the Directory menu (a typical directory is shown
to the left).
3. Use the up and down buttons to navigate through the listed folders. To
open a folder to browse subfolders, highlight it and press
F2
.
4. You can select an existing folder as the working directory, or create a
new one by opening
New. This displays the Create new directory
dialog (shown below):
13
Summary of Contents for 2121.40
Page 1: ...Model 1950 ENGLISH User Manual THERMAL CAMERA...
Page 2: ...2...
Page 35: ...APPENDIX A MENU TREE Display Files and Setup Menus 35...
Page 36: ...Target Parameters and About Menus 36...
Page 37: ...Recall Menus 37...
Page 42: ...NOTES 42...
Page 43: ...NOTES 43...


