34
6
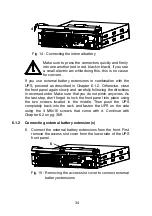
Fig. 14
: Connecting the internal battery
Make sure to press the connectors quickly and firmly
into one another (red in red
, black in black). If you see
a small electric arc while doing this, this is no cause
for concern.
If you use external battery extensions in combination with the
UPS, proceed as described in Chapter 6.1.2. Otherwise, close
the front panel again slowly and carefully following the directions
in reversed order. Make sure that you do not pinch any wires. As
the last step, don’t forget to lock the front panel into place using
the two screws located in the middle. Then push the UPS
completely back into the rack and fasten the UPS on the side
using the 4 M6
x
16 screws that come with it. Continue with
Chapter 6.2 on pg. 36ff.
6.1.2 Connecting external battery extension(s)
6. Connect the external battery extensions from the front. First
remove the access slot cover from the lower side of the UPS
front panel.
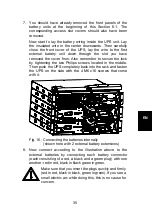
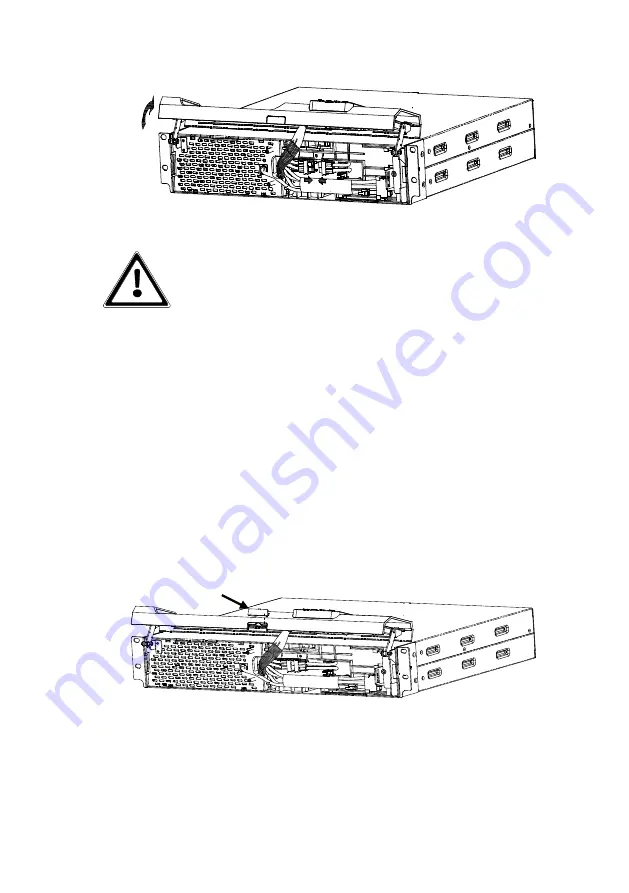
Fig. 15
: Removing the access slot cover to connect external
battery extensions
4
5
Summary of Contents for protect d. 1000
Page 2: ...2 ...
Page 21: ...21 EN 3 3 CE certificate ...
Page 73: ...73 EN 12 3 Notes ...
Page 74: ...74 ...
Page 75: ...75 EN ...

