EKI-9500 Series User Manual
268
4.6.1.8
History Log Summary
Use the Port Access Control History Log Summary page to grant or deny port access
to users configured on the system.
To access this page, click
Security
>
Port Access Control
>
History Log Sum-
mary
.
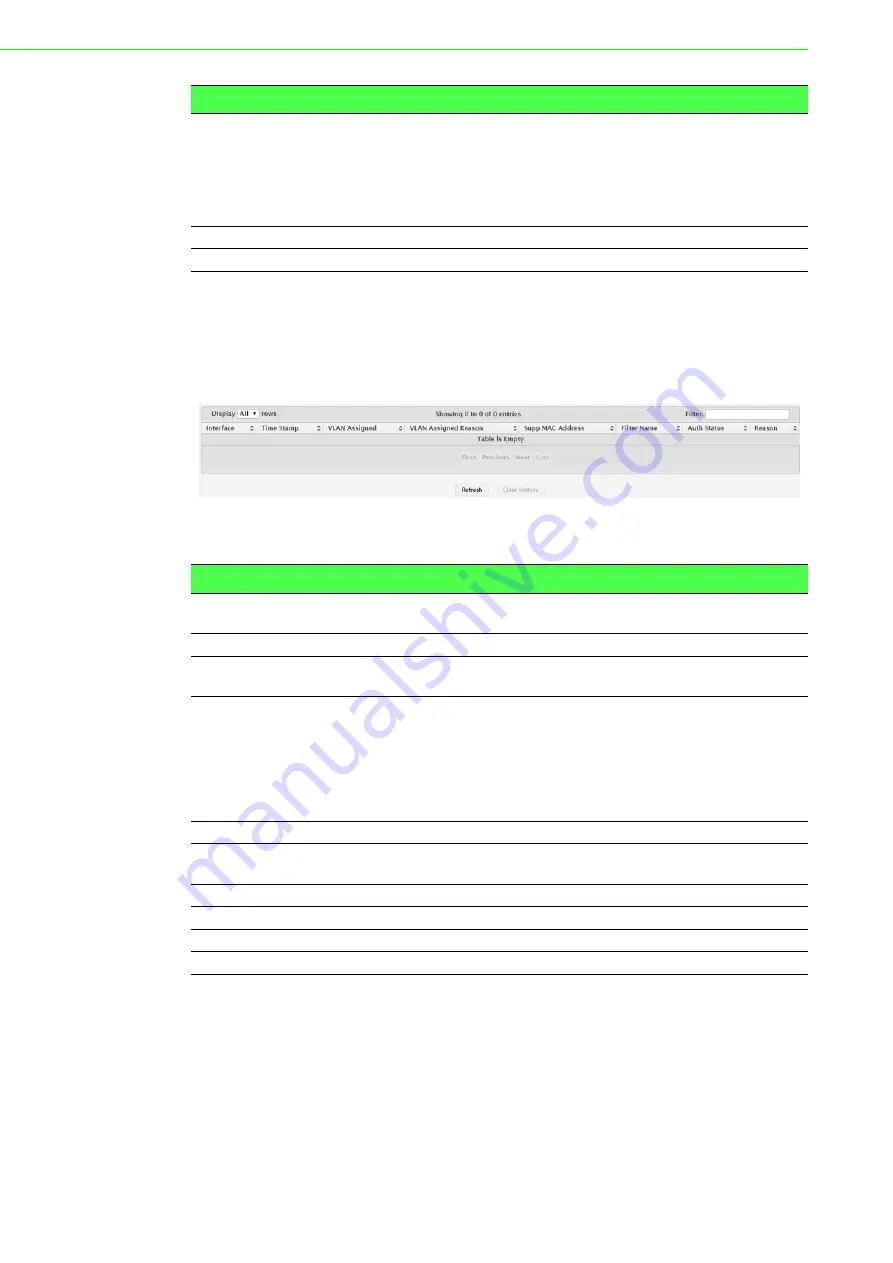
Figure 4.293 Security > Port Access Control > History Log Summary
The following table describes the items in the previous figure.
4.6.2
RADIUS
Remote Authorization Dial-In User Service (RADIUS) servers provide additional
security for networks. The RADIUS server maintains a user database, which contains
per-user authentication information. RADIUS servers provide a centralized authenti-
cation method for:
Telnet Access
Web Access
Console to Switch Access
Users
The users that are allowed access to the system through the associ-
ated port. When configuring user access for a port, the Available Users
field lists the users configured on the system that are denied access to
the port. The users in the Selected Users field are allowed access. To
move a user from one field to the other, click the user to move (or CTL
+ click to select multiple users) and click the appropriate arrow.
Refresh
Click
Refresh
to update the screen.
Edit
Click
Edit
to edit the selected entries.
Item
Description
Item
Description
Interface
The interface associated with the rest of the data in the row. Only inter-
faces that have entries in the log history are listed.
Time Stamp
The absolute time when the authentication event took place.
VLAN Assigned
The ID of the VLAN the supplicant was placed in as a result of the
authentication process.
VLAN Assigned
Reason
The reason why the authenticator placed the supplicant in the VLAN.
Possible values are:
RADIUS
Unauth
Default
Not Assigned
Supp MAC Address The MAC address of the supplicant that is connected to the port.
Filter Name
The policy filter ID assigned by the authenticator to the supplicant
device.
Auth Status
The authentication status of the client or port.
Reason
The reason for the successful or unsuccessful authentication.
Refresh
Click
Refresh
to update the screen.
Clear History
Click
Clear History
to clear the history logs.


