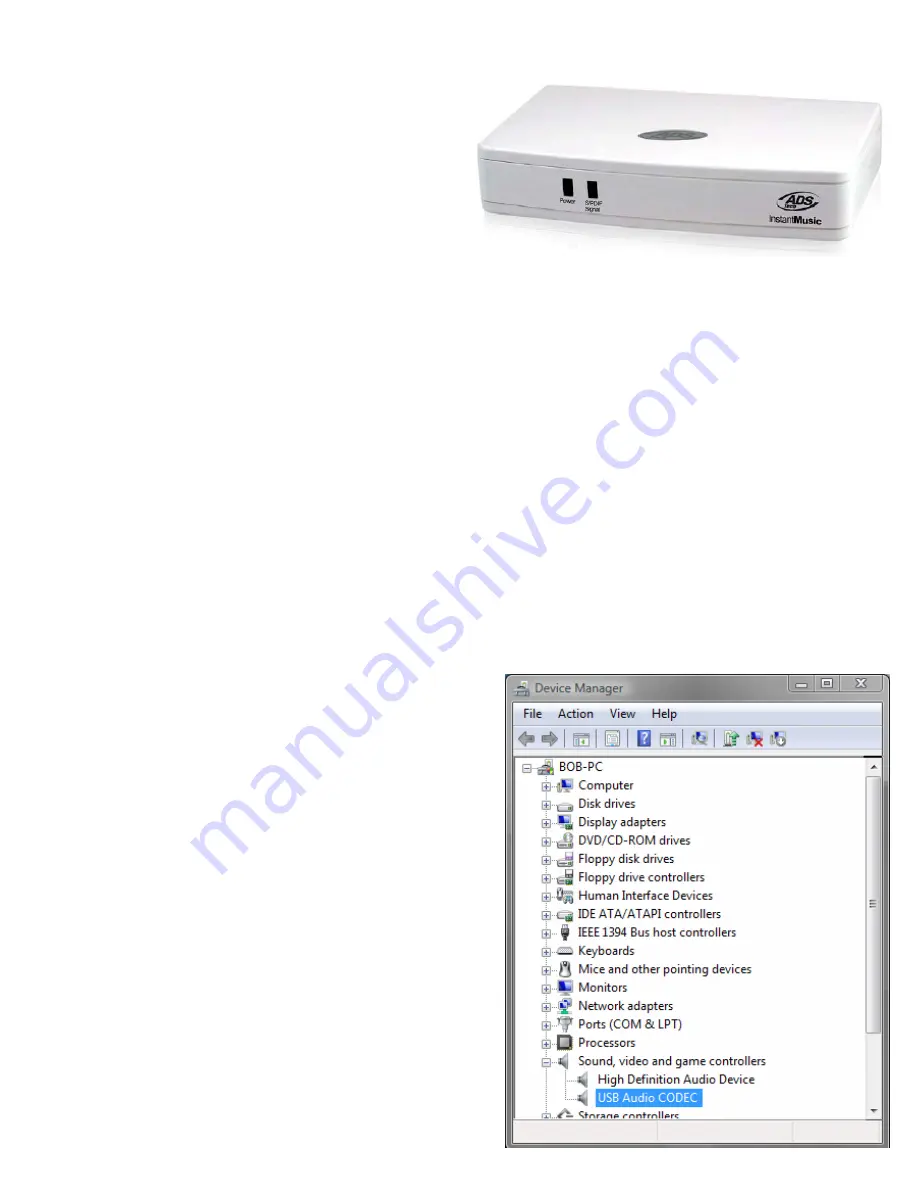
ADS Instant Music
Quick Start
Revision 070717
Guide for hardware and software installation and
basic use in Microsoft Windows.
Some procedural details will vary depending on your Windows version.
Section 1 – Hardware installation and configuration
1)
Connect it up.
a)
Connect the
output
on your source (LP preamp, power amp, stereo receiver etc.) to the
L/R
inputs
on the back of the Instant Music. If your source has an optical digital output you can use
that to connect to the Instant Music.
If your source does not have a set of RCA outputs (boom boxes, some shelf systems with only speaker-wire out) then
you can use an adapter to connect from the headphone jack to the L/R in on the back of the Instant Music.
b)
Run a USB cable from the USB port on the back of the Instant Music to an available USB port on
your PC.
c)
Windows will detect that new hardware has been connected to the PC. If you receive a “Found
New Hardware Wizard” have Windows search
automatically for the appropriate drivers.
Drivers for USB Audio are built into every
current Windows version.
Depending on your own Windows Installation, you may
be asked to provide the Windows CD. You must do this;
the only drivers available are part of the Windows
operating system and as such are legal property of
Microsoft Corporation and cannot be distributed outside
of the Windows CD.
2)
Confirm proper driver installation.
a)
Right-click “Computer” and select “Properties.”
b)
Click Device Manager on the side pane.
In
Windows 2K/XP, click the Hardware tab first, then click
the “Device Manager” button.
c)
Locate “
USB Audio Device
” under the “Sound,
video and game controllers” category.
Assuming you have no other USB Sound
devices connected to your system, that is the
Instant Music.


