Specifying marks and bleeds
Using the Marks And Bleeds panel of the Advanced Print Setup dialog box, you can place
printer marks on the page to indicate the boundaries of document boxes supported by
Adobe PDF, such as trim boxes and bleed boxes. These marks are not actually added to
the Adobe PDF file; however, they are included in the PostScript output.
The options in the Marks And Bleeds panel are unavailable under these circumstances:
●
The PDF file includes printer marks added using a different Acrobat feature, the Add
Printer Marks tool. (See
●
The crop, bleed, and trim boxes are all the same size. The crop box is defined in the Crop
Box dialog box (choose Tools > Print Production > Crop Box). If the artwork contains a
bleed, make sure that the crop box is big enough to accommodate the bleed box and other
printer marks. (See
Adjusting page margins and page sizes
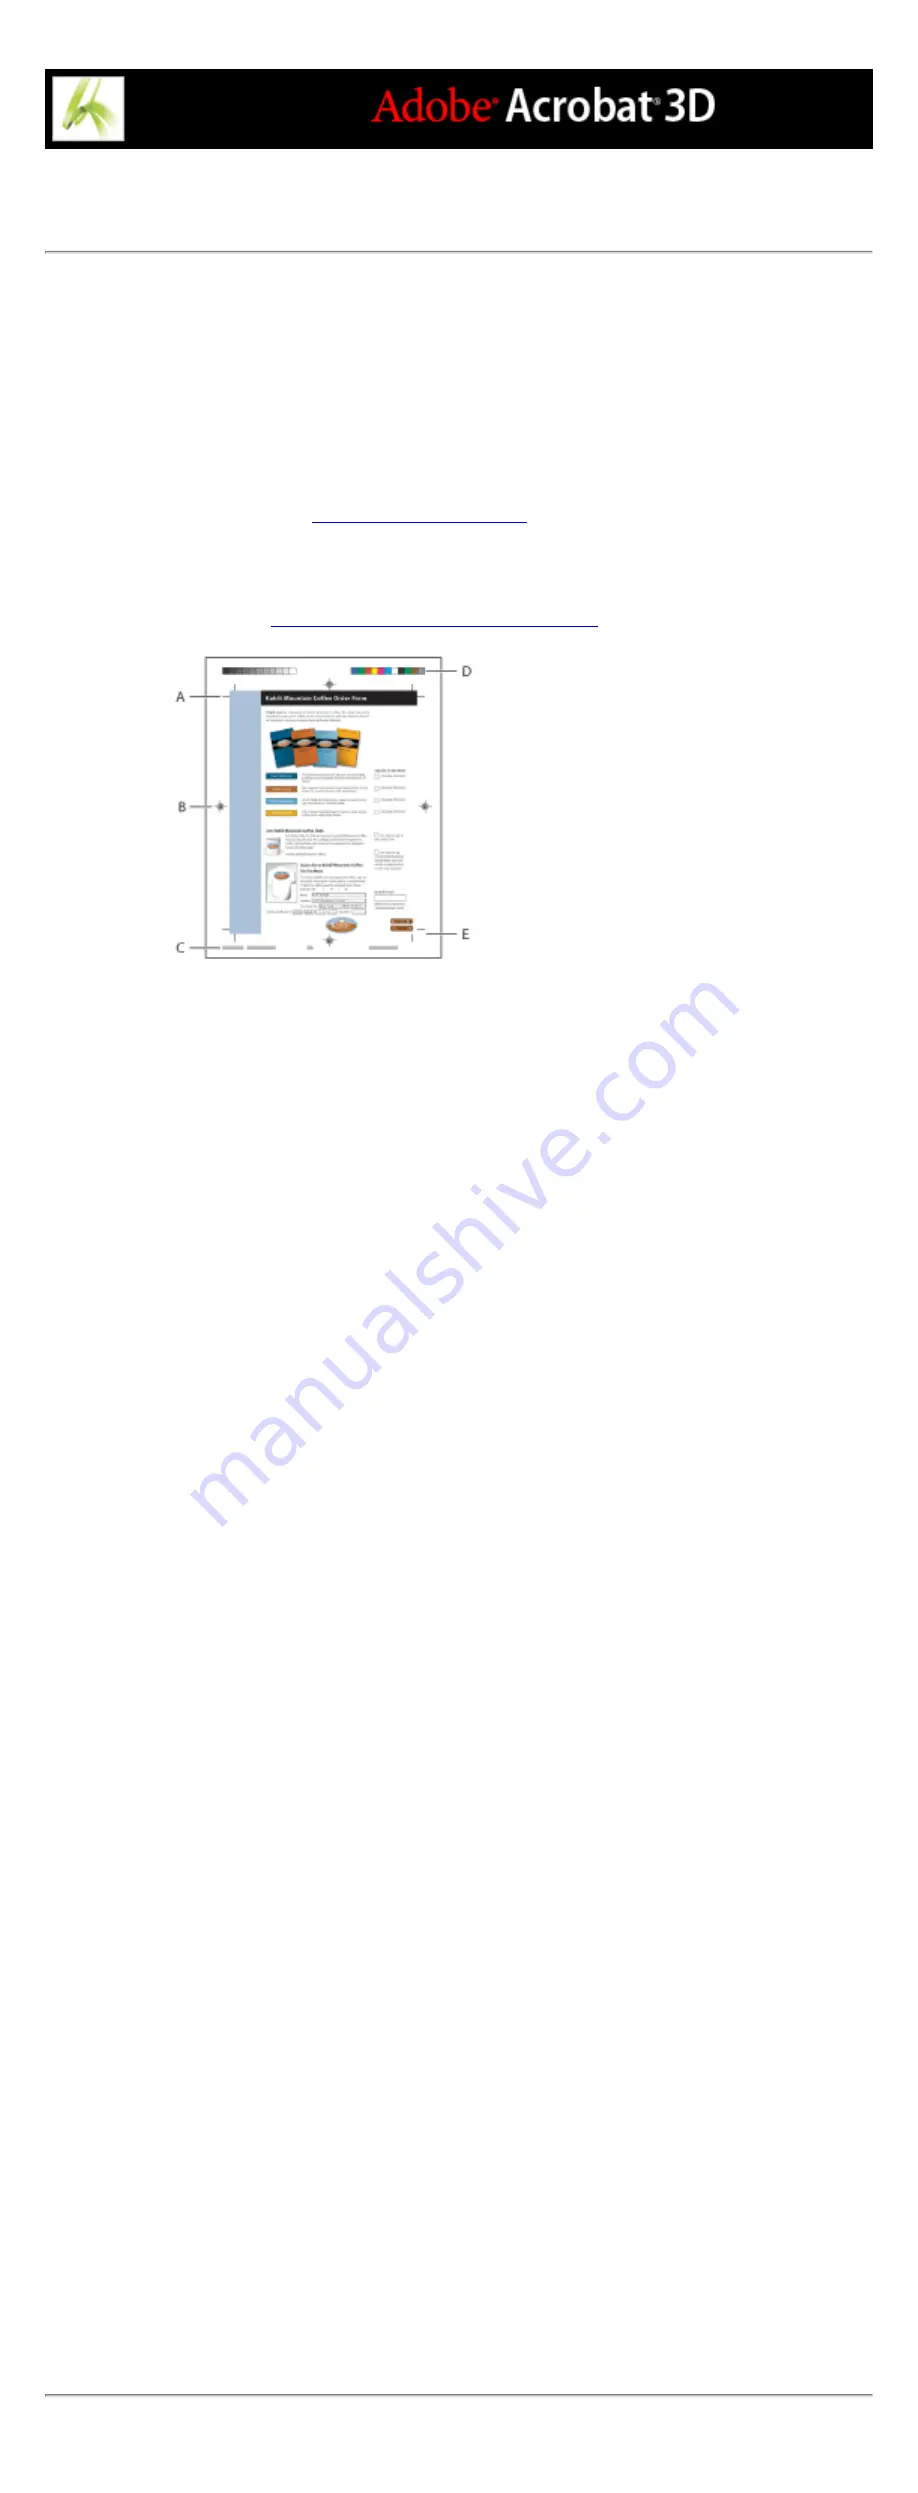
Printer marks A. Trim marks B. Registration marks C. Page information D. Color bars E. Bleed
marks
To add printer marks and bleeds:
1. Select the Marks And Bleeds panel on the left side of the Advanced Print Setup dialog
box.
2. Either use the printer marks annotations embedded from the source application (if
available) or create marks for final output using the following options. The marks appear
in the preview on the left side of the Advanced Print Setup dialog box.
Emit Printer Marks
Uses the marks embedded in the Adobe PDF file.
All Marks
Creates all printer marks at once.
Line Weight
Determines the weight of the lines for trim, bleed, and registration marks.
Style
Determines the appearance of the marks. You can choose default InDesign CS marks, or
marks from other applications as listed.
Trim Marks
Places a mark at each corner of the trim area to indicate the PDF trim box boundaries.
Bleed Marks
Places a mark at each corner of the bleed box to indicate the PDF bleed box boundaries. A
bleed box defines the amount of extra area to image outside the defined page size.
Registration Marks
Places marks outside the crop area for aligning the different separations in a color
document.
Color Bars
Adds a small square of color for each spot or process color. Spot colors converted to
process colors are represented using process colors. Your service provider uses these
marks to adjust ink density on the printing press.
Page Information
Places page information outside the crop area of the page. Page information includes the
file name, page number, current date and time, and color separation name.
Summary of Contents for ACROBAT 3D
Page 1: ......
Page 37: ...What s New in Adobe Acrobat 3D New features ...
Page 95: ...Finding Adobe PDF Files Using Organizer Using the Organizer window ...
Page 184: ...FORMS About Adobe PDF forms Setting Forms preferences ...
Page 241: ...Collecting Data from Submitted Forms Collecting form data by email ...
Page 316: ...SECURITY About security Viewing the security settings of an open Adobe PDF document ...
Page 423: ......
Page 508: ...Optimizing Adobe PDF Documents Using PDF Optimizer ...
Page 571: ...SEARCH AND INDEX About searching Adobe PDF documents ...
Page 602: ...PRINT PRODUCTION About print production in Acrobat ...
Page 729: ...SPECIAL FEATURES About document metadata About JavaScript in Acrobat About Digital Editions ...
Page 738: ...Working with JavaScript Working with JavaScript in Acrobat ...
Page 762: ...ADOBE VERSION CUE About Adobe Version Cue Getting help Key features of Adobe Version Cue ...
Page 809: ...Tutorial Version Cue Getting started with Version Cue ...
Page 821: ...Legal Notices Copyright ...


