7.3 Connecting to the Network
515
7.3.2 Configuring Access to a Network Share
To access the required network share settings:
With the MILLPWR
G2
software running and the Emergency Stop pressed IN,
press the
Left Windows Flag
key on the USB keyboard, then use the arrow
keys to select
Settings
. Now select Shares from the list menu and press
Enter
.
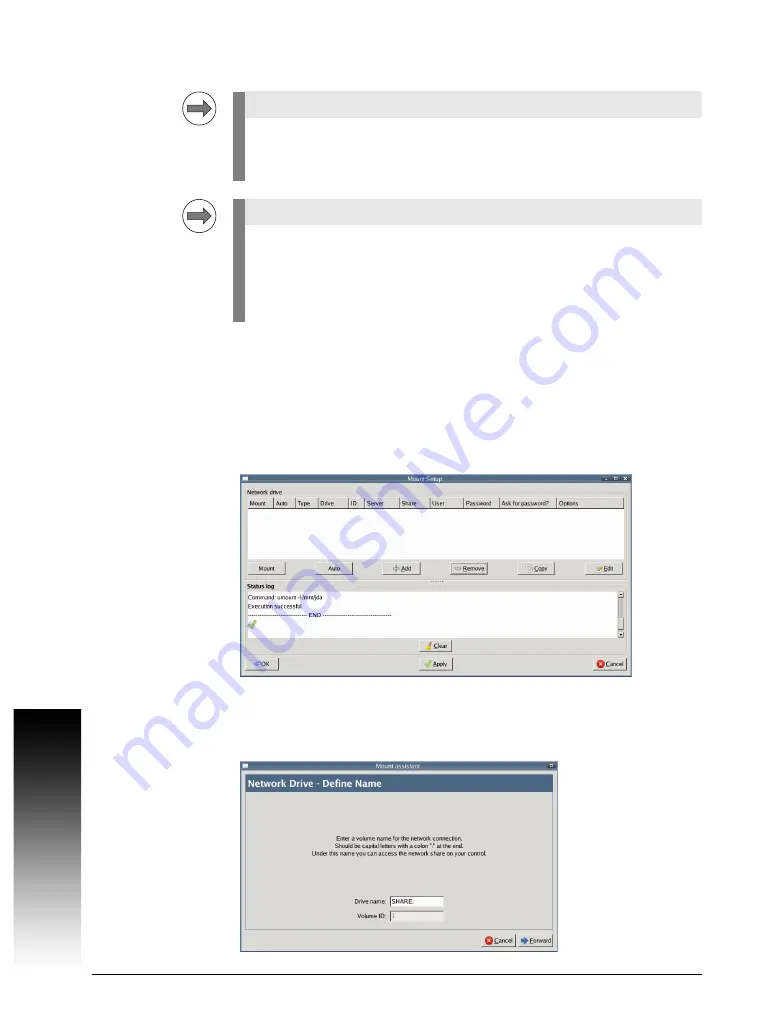
The Network Settings window is now open.
Press the "+Add" key to open the "Mount assistant" window.
Enter the "Drive name" for the share. This is the name of the share as it will
appear in the control software screens. The name must end with a colon ":".
Note
The following procedure requires the entry of numbers and letters. So ple-
ase connect a USB keyboard to the MILLPWR
G2
before network sharecon-
figuration.
Note
You can only map to a root share folder of a server. For example, you can
map to \\server\share only, but can NOT map directly to \\server\share\fol-
der. You must also ensure that you have the proper credentials for the
username being used to access the share on the server (read, write,
delete).
Summary of Contents for MILLPWR G2
Page 1: ...Technical Manual ACU RITE MILLPWRG2 ...
Page 2: ......
Page 14: ...14 ACU RITE Technical Manual MILLPWRG2 ...
Page 40: ...40 ACU RITE Technical Manual MILLPWRG2 ...
Page 58: ...58 ACU RITE Technical Manual MILLPWRG2 3 10 3 USB Hub ...
Page 60: ...60 ACU RITE Technical Manual MILLPWRG2 TS 220 Adapter cable for TS 120 TS 220 ...
Page 61: ...3 10 Dimensions 61 SE 640 transmitter receiver unit ...
Page 62: ...62 ACU RITE Technical Manual MILLPWRG2 SE 540 transmitter receiver unit ...
Page 63: ...3 10 Dimensions 63 TS 440 TS 640 ...
Page 64: ...64 ACU RITE Technical Manual MILLPWRG2 ...
Page 392: ...392 ACU RITE Technical Manual MILLPWRG2 ...
Page 545: ......


