PRELIMINARY DATA ONLY Ver. 5.01 210406
THIS LABEL TO BE REMOVED ON SIGN-OFF
32
Installation and Commissioning Guide- Package Ducted Variable Capacity Commercial
Doc. Part No. 0525-067 Ver. 5 210414
Installation and Commissioning Guide
Variable Capacity Commercial
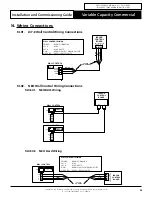
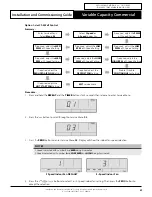
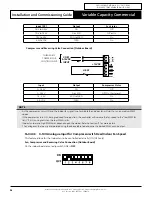
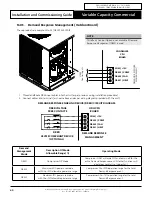
4. On the Indoor Board, ensure that all dip switches are set as per below image.
5. Indoor Fan operation is now operational via Third Party Control (1-speed).
15.04.02. Defrost Fan Setting
This feature allows the installer to set the indoor fan speed (PWM) during defrost mode. By default, this is set to
0
PWM (Fan Off) to avoid cold air draft. However, in some applications, continuous air circulation maybe required
even when the system went to defrost cycle.
The Defrost Indoor fan speed (PWM) is can be set through the NEO or LC7-2 wall control or Outdoor PCB.
Procedures are shown below:
NOTE
To set Defrost Indoor fan speed (PWM) using wall controller please refer to respective wall control Installation and
Commissioning Guide.
Option 1: LC7-2 Wall Control
1. Press and hold the
REPEAT
and the
TIMER
buttons for 3 seconds then release to enter Service Menu.
The display will show the Service Menu
01
.
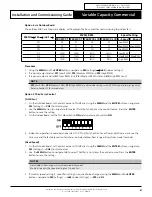
2. Press the
or
buttons to scroll to Service Menu
03
. Press the
PROG
button to enter the Service
Menu
03
.
3. Press the
PROG
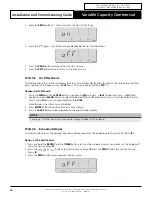
button 9 x times to enter the Defrost Fan Settings.
4. Press the
or
buttons to select the desired indoor fan PWM then press the
PROG
button to accept.
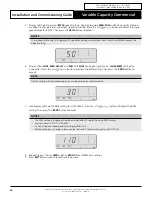
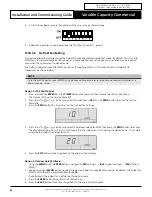
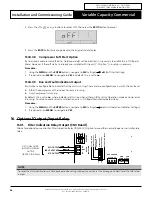
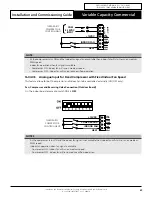
The available range is from 10 to 100. OFF means that the indoor fan is OFF during the defrost cycle. The sample
screen below shows the indoor fan to 20.
5. Press the
EXIT
button twice to go back to the original status display.
Option 2: Outdoor Unit CPU Board
1. Using the
MENU
and the
ENTER
buttons, navigate to
SEt
(Settings)
→
iduS
(Indoor Settings)
→
FPd
(Defrost
PWM)
2. Keep pressing the
MENU
button to select the desired indoor fan speed PWM is shown. By default, the indoor fan
PWM is set to
0
and it is adjustable from
0
to
100
.
Note:
0
means the indoor fan is off during the defrost cycle.
3. Press the
ENTER
button to confirm the PWM settings.
4. Press the
BACK
button three times to go back to the original status display.


