□
□
□
□
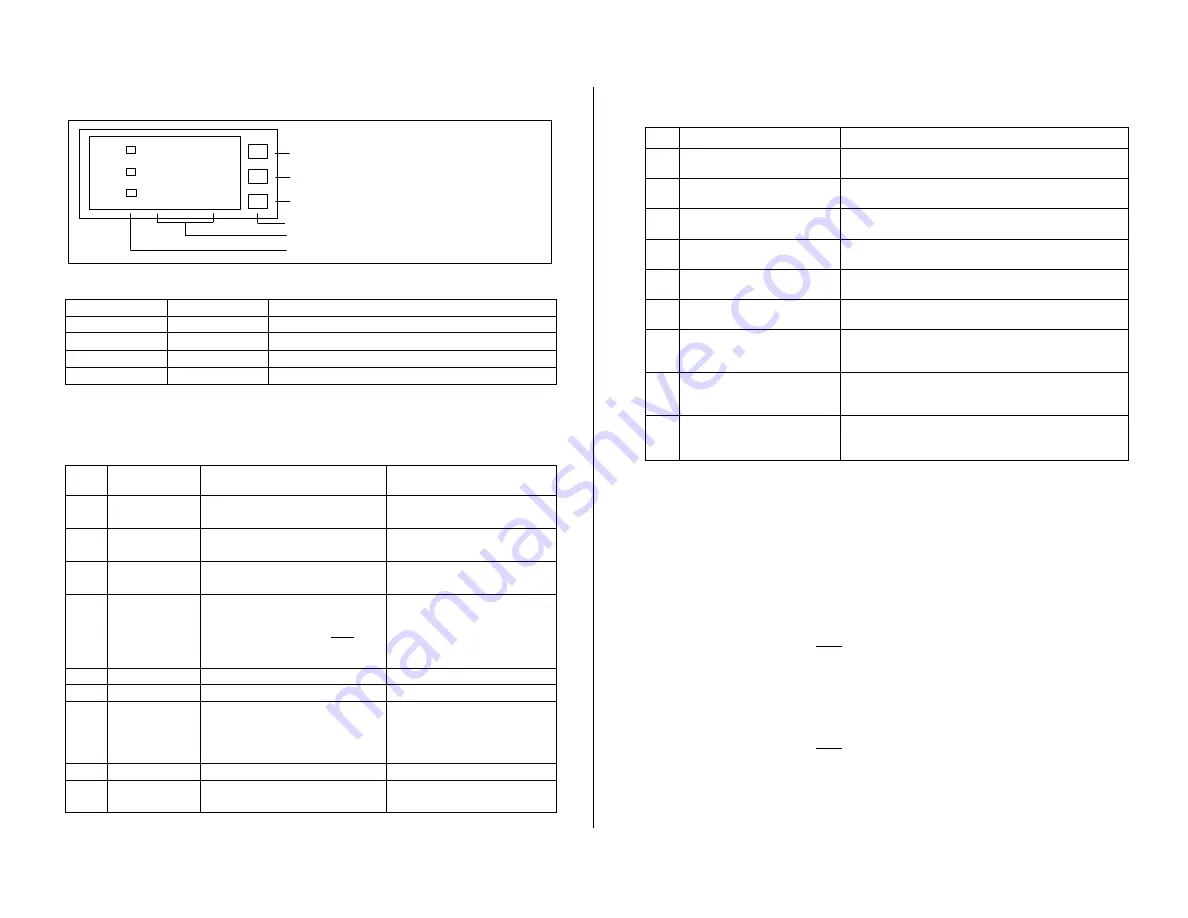
Operation Panel
9 9 9 9
9 9 9 9
9 9 9 9
A
B
C
O p e r a tio n k e y
D is p la y
A la r m s ta te
S e t
C h a n g e n u m b e r
C h a n g e p o s itio n
V
A
W
↑
→
W H A u to p a g e - tu r n in g
1 0 D ig its d is p la y
3 9 9 9
9 9 9 9 9 9 W H
R e m o v e th e p a n e l lid to s e t
S
□
□
□
□
Keys
Key
Function
Instruction
S
SET
Enter setting mode.
↑
Change number
Set and change number
→
Change position
Change position
〝
〝
〝
〝
S
〞
〞
〞
〞
+
〝
〝
〝
〝→
→
→
→〞
〞
〞
〞
Reset the value
Press
〝
〝
〝
〝
S
〞
〞
〞
〞
and
〝
〝
〝
〝→
→
→
→〞
〞
〞
〞
to reset the value (WH).
□
□
□
□
Parameter Setting
Press
〝
S
〞
to enter function selection (01~09).
Press
〝↑〞
to change number. Press
〝→〞
to change position.
Function
Operation
Instruction
01
Voltage ratio
setting
Press
↑
and
→
to set.
Press
〝
S
〞
to enter 02.
Ex: Input range DC 0~50 V.
Set 01 as 5000
02
Ampere ratio
setting
Press
↑
and
→
to set.
Press
〝
S
〞
to enter 03.
Ex: Input range DC 0~20A
Set 02 as 2000
03
Watt unit ratio
Press
↑
to choose
ratio
1 or 1000
Press
〝
S
〞
to enter 04
Ratio: W =1 ,KW=1000
Set as KW when over 9999 W
04
Decimal point
setting
Press
↑
and
→
to set.
Change decimal point
0 0 0 0
Press
〝
S
〞
to enter 05
Hundreds =V decimal point.
Tens = A decimal point.
Units= W/WH decimal point.
Number means how many
digits after decimal point.
05
XXXXXXXX
Press
〝
S
〞
to enter 06
No need to set.
06
XXXXXXXX
Press
〝
S
〞
to enter 07
No need to set.
07
Baud rate
and
Address
Press
↑
to choose Baud Rate
(9600-19200-38400-2400-4800)
Press SET to set Address 1~255.
Press
〝
S
〞
to enter 08
Max. Baud rate: 38400
Address:1-255
08
XXXXXXXX
Press
〝
S
〞
to enter 09
No need to set.
09
Save
Press
〝
S
〞
to enter 89.
Key in99 and press
〝
S
〞
to save.
Any setting needs to be saved
by keying in 99.
**All parameters are preset by
**All parameters are preset by
**All parameters are preset by
**All parameters are preset by our
our
our
our factory for you. Please refer to the
factory for you. Please refer to the
factory for you. Please refer to the
factory for you. Please refer to the instructions
instructions
instructions
instructions if you need to do any alterations.
if you need to do any alterations.
if you need to do any alterations.
if you need to do any alterations.
□
□
□
□
Alarm Hi-Lo setting.
Press
〝
〝
〝
〝
S
〞
〞
〞
〞
to enter
〝
〝
〝
〝
00
〞
〞
〞
〞
.Press
〝
〝
〝
〝→
→
→
→〞
〞
〞
〞
to enter
〝
〝
〝
〝
51
〞
〞
〞
〞
to set.
Function
Instruction
51
S1 value setting 0
~
9999
Press
〝↑〞
and
〝→〞
to set S1 value.
Press
〝
S
〞
to enter 52.
52
S1 deadband setting 0
~
9999
Press
〝↑〞
and
〝→〞
to set S1 deadband.
Press
〝
S
〞
to enter 53.
53
S1 delay time 0
~
99 secs
Press
〝↑〞
and
〝→〞
to set S1 delay time
Press
〝
S
〞
to enter 54.
54
S2 value setting 0
~
9999
Press
〝↑〞
and
〝→〞
to set S2 value.
Press
〝
S
〞
to enter 55
55
S2 deadband setting 0
~
9999
Press
〝↑〞
and
〝→〞
to set S2 deadband.
Press
〝
S
〞
to enter 56
56
S2 delay time 0
~
99 secs
Press
〝↑〞
and
〝→〞
to set S2 delay time.
Press
〝
S
〞
to enter 57
57
S1
;
S2 HI-LO setting
Press
〝
↑
〞
and
〝
→
〞
to set the HI-LO function.
(1=Hi. 0=Lo) Hi-Hi. Hi-Lo. Lo-Hi. Lo-Lo.(selectable).
Press
〝
S
〞
to enter 58
58
Start Delay Time 0
~
99 secs
Press
〝
↑
〞
and
〝
→
〞
to set the number as 99.
Set the delaytime from 0~99.Alarm has no action within the
set time. Press
〝
S
〞
to enter 59.
59
SAVE
Press
〝
S
〞
to enter 89.
Press
〝↑〞
and
〝→〞
to key in 99.
Press
〝
S
〞
to save.
The S3 S4 alarm setting procedure is the same as explained above.
Press
〝
S
〞
to enter
〝
00
〞
.
Press
〝↑〞
to enter 61-62-63-64-65-66-67 setting selection.
□
□
□
□
Example:
1. Input: Voltage DC 50V Current 20A W=50*20= 1000 W
Set 01(Voltage ratio) as 5000
02(Current ratio) as 2000
03(Watt ratio ) as 1 (unit is W)
04(Decimal point) as 0 2 2 0 V= 50.00 A= 20.00 W= 1000
2. Input: Voltage DC 600V Current 1000A/50mv W=600V*1000A=600.0KW
Set 01(Voltage ratio) as 6000
02(Current ratio) as 1000
03(Watt ratio ) as 6000 (unit is KW)
04(Decimal point) as 0 1 0 1 V=600.0 A=1000 W=600.0KW
Note
:
*
All parameters were preset by our factory according to your order specifications.
*If Watt value is blinking, please check if the V, A, W decimal point setting is correct.


