36
Chapter 2
4.
After setting the password, the computer automatically sets the chosen password parameter to Present.
Three password types protect your computer from unauthorized access. Setting these passwords creates
several different levels of protection for your computer and data:
!
Setup Password prevents unauthorized entry to the BIOS Utility. Once set, you must key-in this
password to gain access to the BIOS Utility.
!
Power-On Password secures your computer against unauthorized use. Combine the use of this
password with password checkpoints on boot-up and resume from hibernation for maximum
security.
!
Hard Disk Password protects your data by preventing unauthorized access to your hard disk.
Even if the hard disk is removed from the computer and moved to another computer, it cannot be
accessed without the Hard Disk Password.
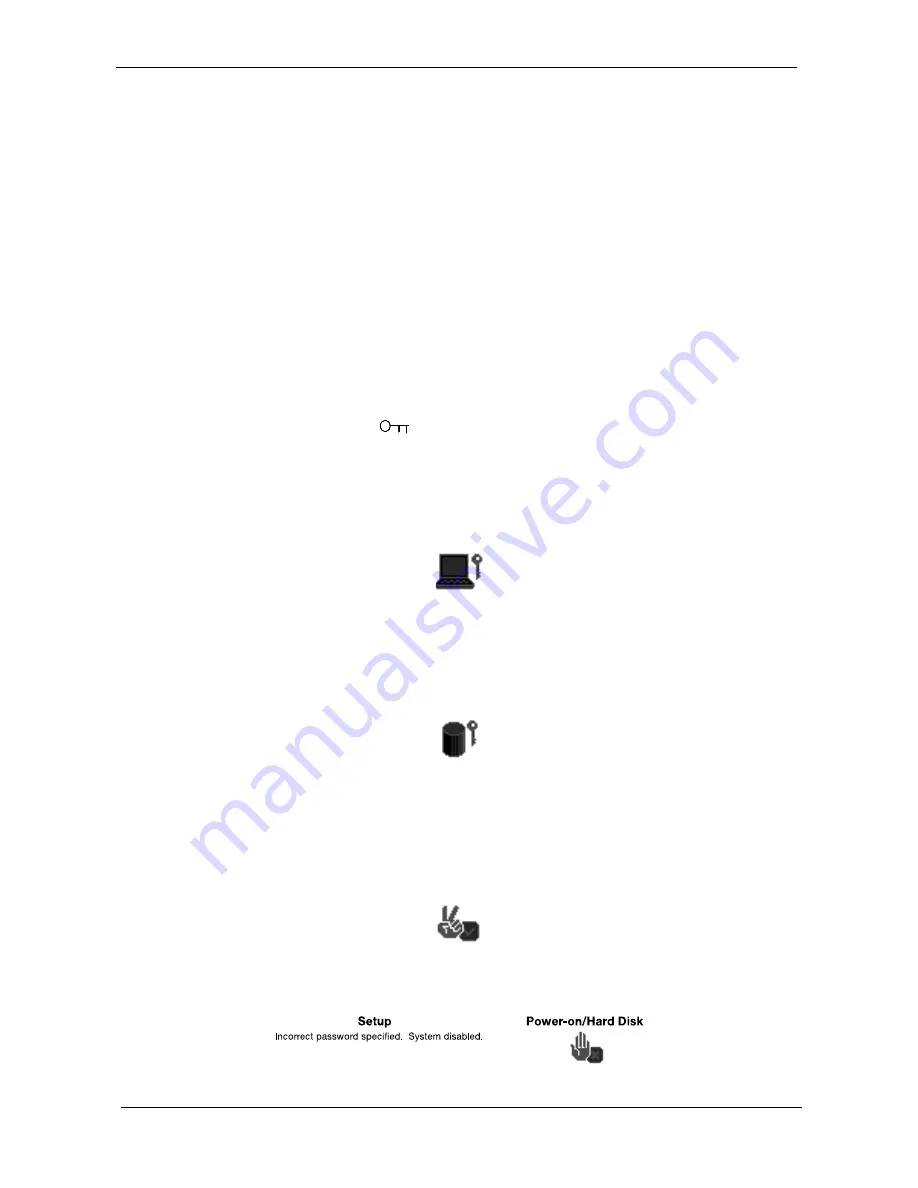
When a password is set, a password prompt appears on the left-hand corner of the display screen.
1.
When the Setup Password is set, the following prompt appears when you press
m
m
m
m
to enter the BIOS
Utility at boot-up.
Type the Setup Password and press
e
e
e
e
to access the BIOS Utility.
2.
When the Power-on Password is set, the following prompt appears at boot-up.
Type the Power-on Password (a symbol appears for each character you type) and press
e
e
e
e
to use the
computer. If you enter the password incorrectly, an x symbol appears. Try again and press
e
e
e
e
.
3.
When the Hard Disk Password is set, the following prompt appears at boot-up.
Type the Hard Disk Password (a symbol appears for each character you type) and press
e
e
e
e
to use the
computer. If you enter the password incorrectly, an x symbol appears. Try again and press
e
e
e
e
.
You have three chances to enter a password. If you successfully entered the password, the system starts
Windows.
If you fail to enter the password correctly after three tries, the following message or symbol appears.
Setup Password
Summary of Contents for TravelMate 220 series
Page 6: ...VI ...
Page 51: ...42 Chapter 2 ...
Page 105: ...96 Chapter 5 ...
Page 107: ...98 Chapter 6 Exploded Diagram ...
Page 117: ...108 Chapter 6 ...
Page 119: ...110 Appendix A ...
Page 123: ...114 Appendix C ...
Page 127: ...118 Index ...


