4.5 Connecting Host Port
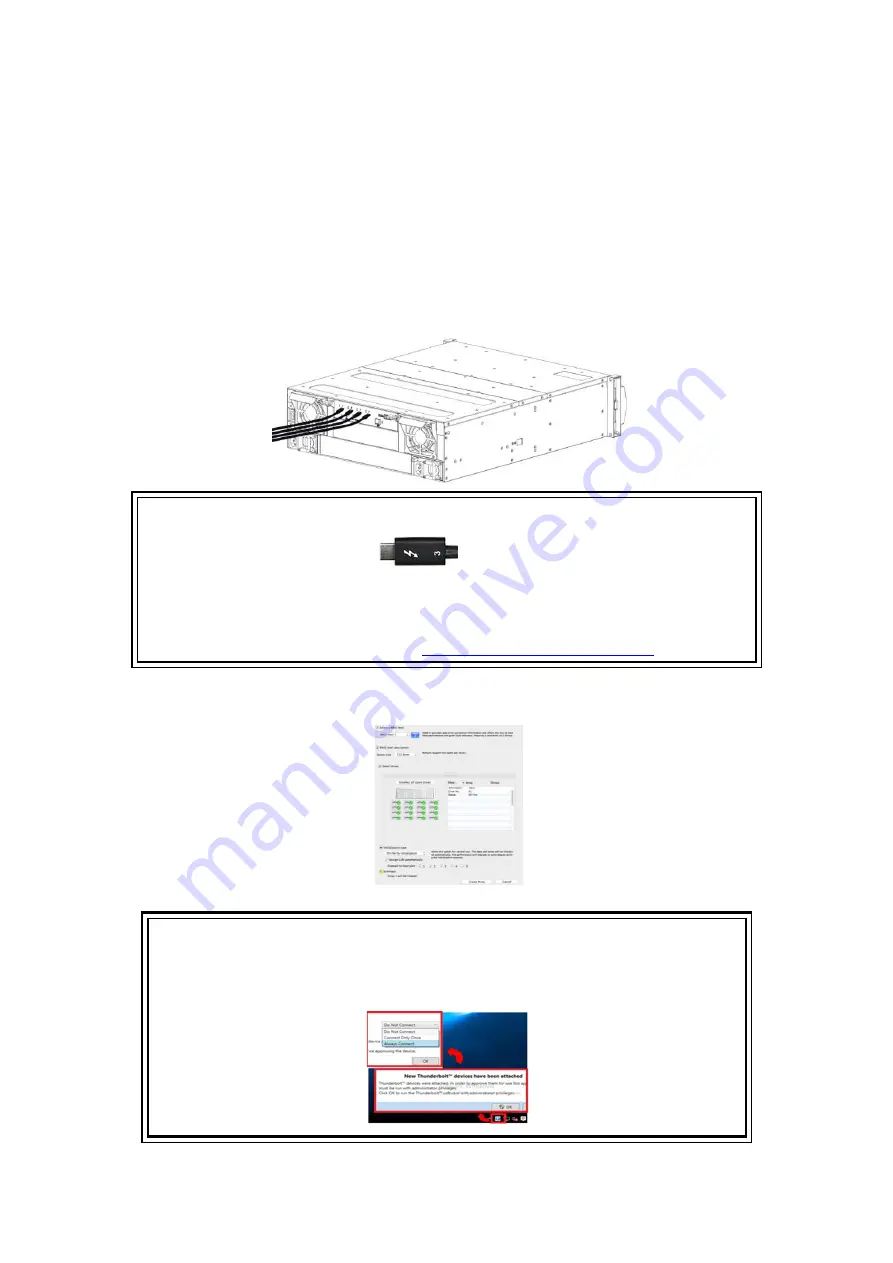
A16T3-Share supports four Thunderbolt 3 and one PCIe 3.0 host ports, depends on
your plan, you can create multiple arrays for dedicated host or create an array be
visible by all hosts to build a SAN environment,
Follow the steps below to setup a host connection,
1. Connect cable to one of host port.
Note
1. Use valid Thunderbolt 3 cable
, or the connection will fail.
2. Connect to
SAN port
(Z2M, C2M) when connect to PCIe host.
3. The PCIe port can be used for T-Share Expansion by connecting two
A16T3-Share RAID systems. (refer to
2. On RAIDGuardX, create array and select Thunderbolt host port, e.g. plan to build a
SAN, set array can be visible for all host ports.
3. Click
Create Array
, the new volume shell be recognized by host in seconds.
Note
In first connection, Windows would prompt
“New Thunderbolt devices have been
attached
”, following the instruction and choose “Always Connected”.
Summary of Contents for TShare A16T3-Share
Page 1: ...A16T3 Share User Guide Accusys Storage Ltd 2017 Version V1 0 ...
Page 2: ...Revision Sheet Release No Date Revision Description V1 0 2017 8 Officially released ...
Page 8: ...1 Introduce Shareable Thunderbolt RAID System ...
Page 10: ...2 What s in the box ...
Page 12: ...3 Introduce A16T3 Share ...
Page 17: ...4 Install A16T3 Share ...
Page 26: ...5 RAIDGuardX ...
Page 55: ...6 RAID Overview ...
Page 60: ...7 Appendix ...


