Warranty information inside
Owners
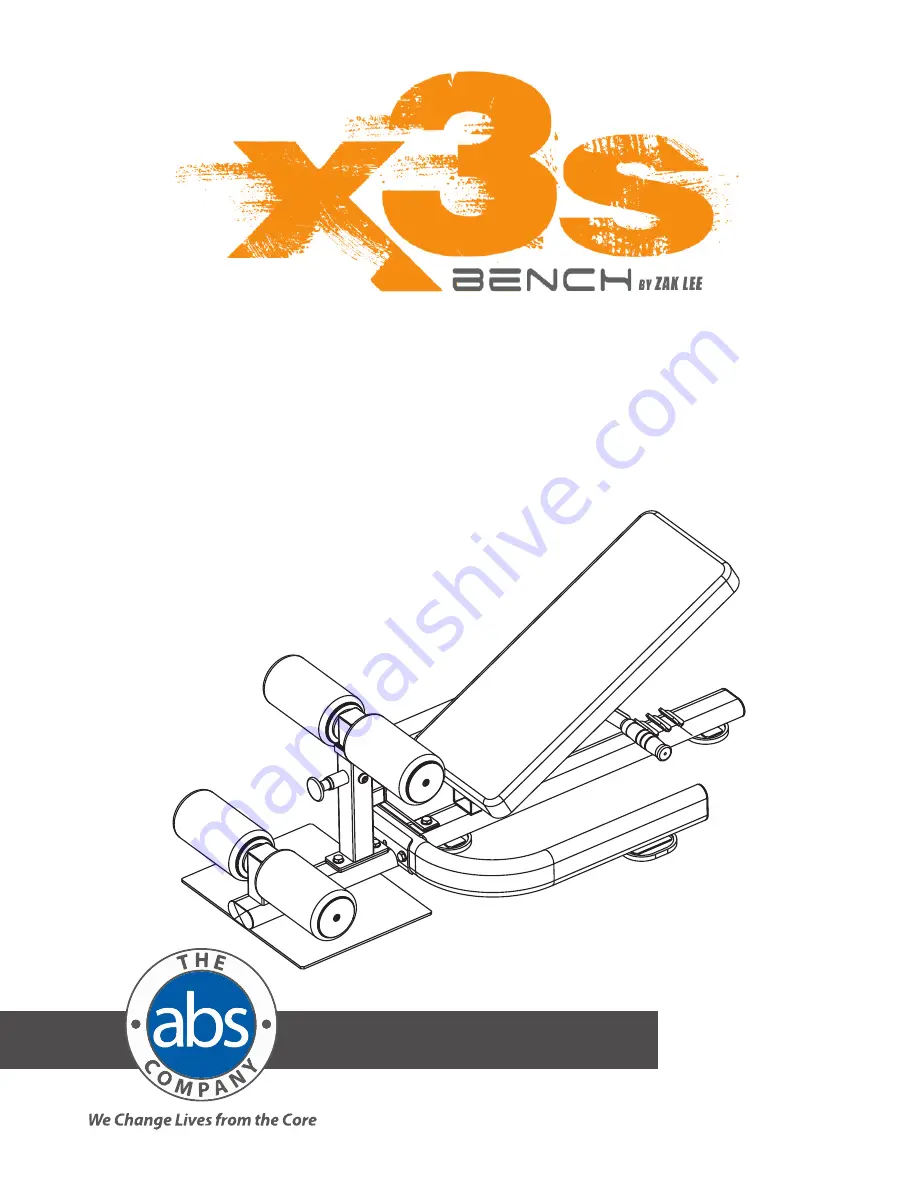
Manual
Model #ABS2007
®
Page 1: ...Warranty information inside Owners Manual Model ABS2007...
Page 2: ...dware Kit pg 7 Measurement Guide pg 8 Assembly Instructions pg 9 Assembly pg 10 General Maintenance Schedule pg 13 General Maintenance Information pg 14 Training Tips pg 15 Warranty pg 16 TABLE OF CON...
Page 3: ...t your physician 6 This equipment is not intended to be used as or with medical apparatus instruments 7 Never operate the unit when it has been dropped or damaged Never drop or insert anything into an...
Page 4: ...provide the smoothest most effective exercise motion possible After assembly you should check all functions to ensure correct operation If you experience problems first recheck the assembly instructio...
Page 5: ...r 4 12 Foot Foam Pad 23 220 200 4 13 Foam Mount Tube 2 14 Spring Pull Pin 1 15 Aluminum Inner Cap 4 16 Acrylic Retaining Ring 4 17 Aluminum End Cap 4 18 Connection Plate 1 19 M8 35 Flat Head Cap Screw...
Page 6: ...LODED VIEW 1 2 4 5 6 3 8 7 9 9 10 11 10 11 11 11 10 10 12 12 12 12 13 13 14 16 15 17 16 15 17 16 15 17 18 19 19 19 21 20 21 22 21 23 21 21 24 24 21 21 24 25 26 21 21 27 28 29 30 31 16 15 17 19 32 33 2...
Page 7: ...7 HARDWARE KIT...
Page 8: ...8 Bolt Bolt Bolt Bolt MEASUREMENT GUIDE...
Page 9: ...professional installer to complete the assembly You may find it quicker safer and easier to assemble this equipment with the help of an assistant as some components may be large heavy or awkward to ha...
Page 10: ...chor it using M10 65 Button Head Cap Bolt 20 two 10 Flat Washer 21 one M10 Cap Nut 22 3 Install the Foam Mount Tube 13 by inserting it through the Front Adjustment Frame 6 and securing it with two Acr...
Page 11: ...3 to the Front Base ASSY 1 using two M10 65 Hex Bolt 23 four 10 Flat Washer 21 two M10 Cap Nut 24 2 Install the Connection Plate 18 using two M10 20 Hex Bolt 27 two 10 Flat Washer 21 Note Tighten all...
Page 12: ...tall the Back Pad Frame ASSY 4 to the Rear Base Frame ASSY 3 using one M10 75 Hex Bolt 25 two 10 Flat Washer 21 one M10 Cap Nut 24 3 Attach the Back Pad 32 to the Back Pad Frame ASSY 4 using four M8 2...
Page 13: ...MAINTENANCE SCHEDULE A fitness facility should have a regular maintenance schedule in place that this equipment can be added into For personal in home use please follow the home maintenance schedule l...
Page 14: ...igned to supply secure footing and need to be replaced if they appear worn or become slippery Belts and Cables Visually inspect the belts and cables for fraying cracking peeling or discoloration While...
Page 15: ...lf By deciding on an exercise plan that is right for you prior to starting you will contribute significantly to your success Warm up properly before engaging in weight resistance training Stretching y...
Page 16: ...this product is limited in duration to the duration of this warranty Some states do not allow limitations on how long an implied warranty lasts so the above limitation may not apply to you 4 Repair o...
Page 17: ...umer purchaser and is not transferable In addition proof of purchase must be demonstrated This warranty is void if the product has been subject to accident misuse abuse improper maintenance or repair...