- 1-
Wireless Router with 4-Port EtherSwitch
Quick Installation Guide for Windows 95/98/ME/NT/2000/XP
M73-APO07-300
Step 1: Cabling
Step 2: Configuration via Web
Step 3: Checking the Internet Connection
STEP 1: CABLING
•
Power down your PC, Cable or DSL modem and this Wireless Router.
•
Connect the included power -supply cable adapter to the power pack marked as 5V DC.
•
Connect your broadband modem (i.e. cable/DSL modem) to the Internet port on the rear of
the Wireless Router.
•
Connect a network cable from one of your PCs’ Ethernet ports to one of the Local (1 to 4)
ports on the rear of the Wireless Router.
•
Both UTP Ethernet straight cable and cross-over cable are suitable for all WAN/LAN
connections, press the MDI/MDIX button for your case.
•
Power on this device.
•
Make sure these three LEDs (Power, Internet, Local) lit.
STEP 2: CONFIGURATION VIA WEB
1.
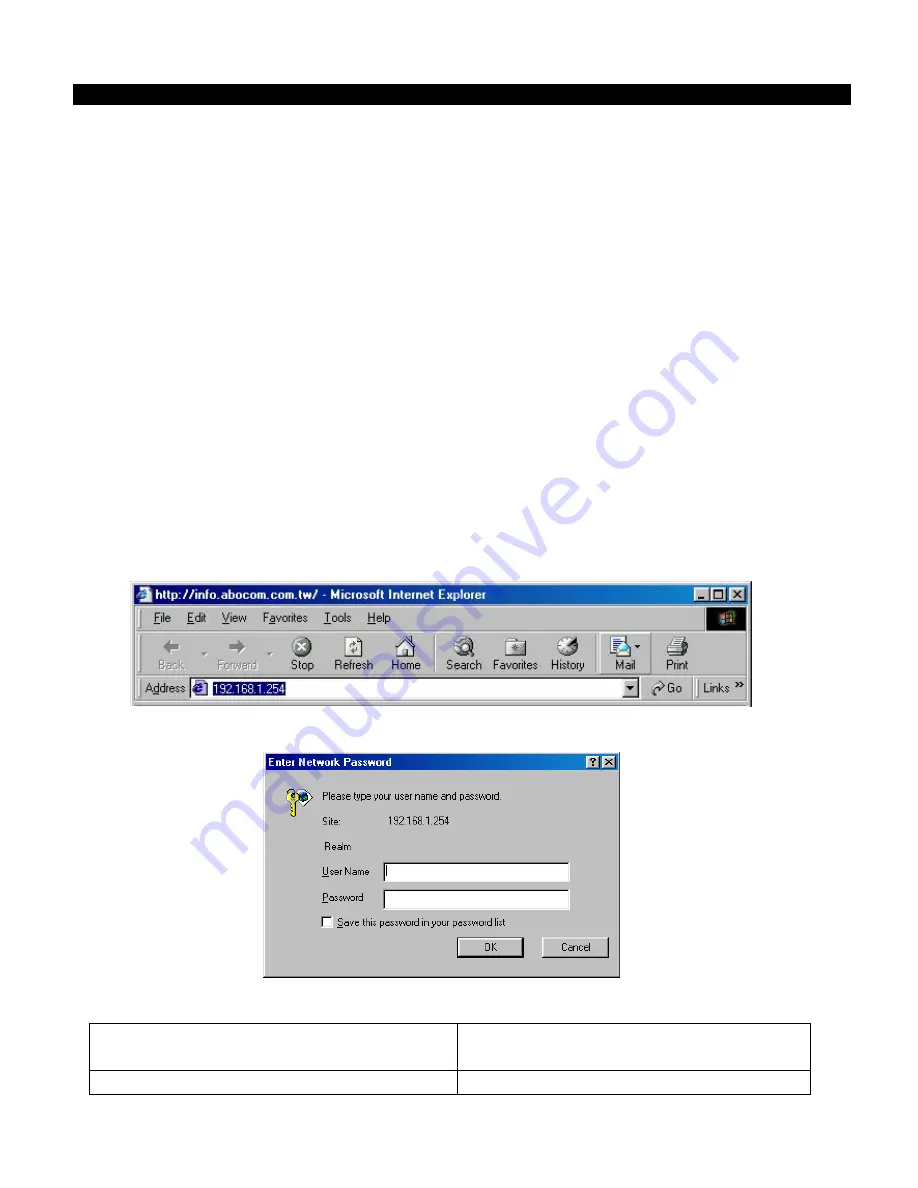
Open your PC’s web browser and type
http://192.168.1.254
in the browser’s Address box.
Press
Ente
r.
2.
No user name is required. The default password is left blank. Click
OK
to continue.
3.
The opening screen contains settings for the Global (Internet connection) interface.
Click on the
down arrow
to select the desired Internet connection mode on the list.
Obtain configuration automatically
(CATV dynamic mode)
For users who are using Cable Modem
Internet service.
PPPoE (DSL dynamic mode)
For users who are using xDSL Internet


