www.tractortoolsdirect.com
(260) BALE-HAY
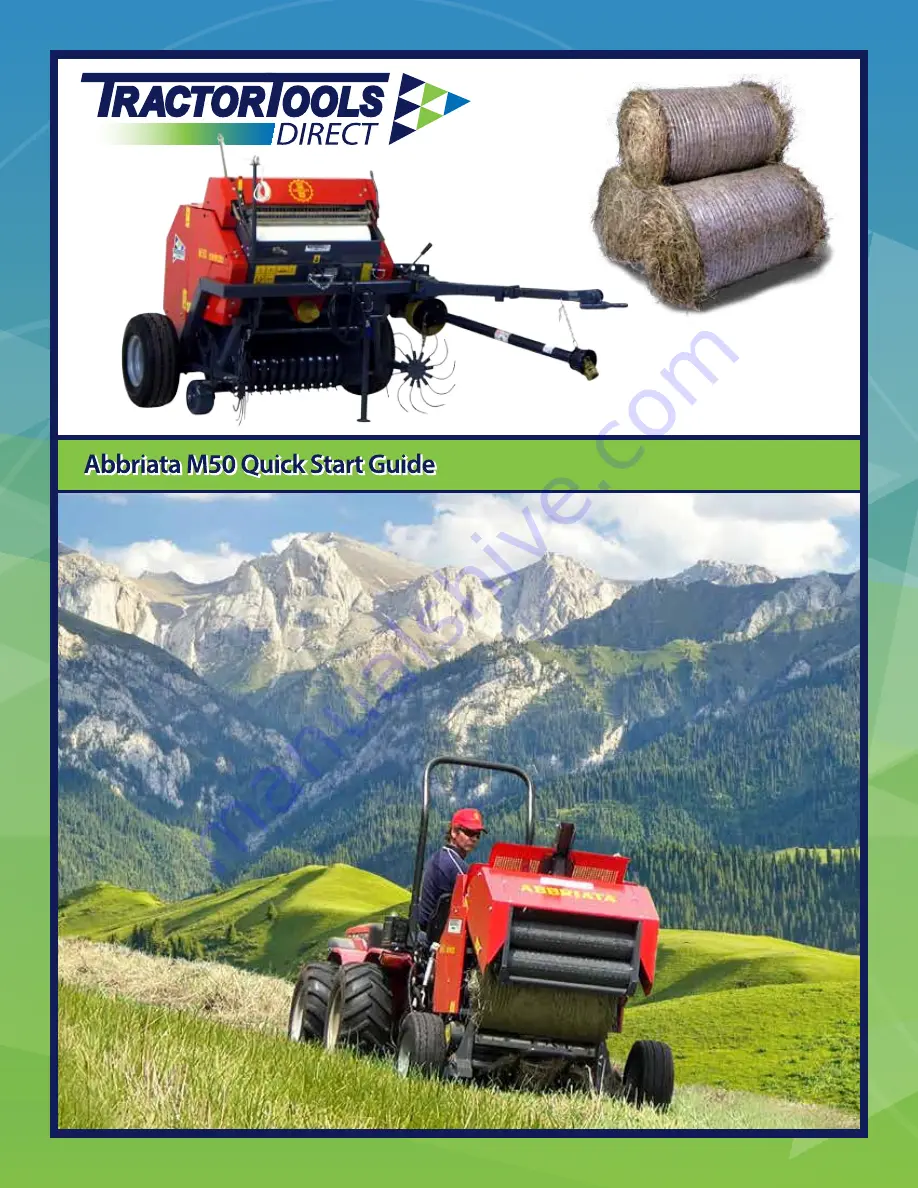
Page 1: ...www tractortoolsdirect com 260 BALE HAY...
Page 2: ...ty 14 Shear pin 15 Bag of spares 15 Bale ejector plates 16 Lift points 17 Oil the chains 17 Door speed control 18 Figure 1 fork form this side if possible 3 Figure 2 center draw type are attached to t...
Page 3: ...s shown 12 Figure 19 pickup height handle and pin shown in transport position 12 Figure 20 pickup in down position 13 Figure 21 gauge wheel shown in stored position and the bale position 13 Figure 22...
Page 4: ...s on our website at www tractortoolsdirect com The driveline supplied with your implement also has an owner s manual that has instructions detailing this procedure Read the owner s manual This guide o...
Page 5: ...ute 2 22 mm wrenches or adjustable 7 8 will substitute 3 19 mm wrench or socket 3 4 will substitute 4 Crowbar or wrecking bar for removing nailed down wood Do not cut the steel strapping around the wh...
Page 6: ...lts that hold drawbar angle adjustment use 24 mm socket Figure 5 cut steel strap holding the draw bar down Cut any strapping holding the draw bar down Remove the wood around the drawbar if needed with...
Page 7: ...wrench loosen the bolts on both sides of the 2nd adjustment and fold down the draw bar Then tighten the bolts being sure the teeth are engaged and tight if loose the baler will fall forward Figure 7 d...
Page 8: ...e Copyright 2015 Tractor Tools Direct Page 7 Figure 9 hitch to baler Remove boards from pallet Remove the stack up of boards that the draw bar was resting on Figure 10 remove block in center Remove th...
Page 9: ...ractor To lift the draw bar use a jack under the arm Attach to the tractor as in figure 9 above Set the brakes on the tractor Remove all steel strapping on the wheels and under the baler so it is free...
Page 10: ...igure 13 remove pin and raise jack Figure 14 pickup tines in raised position Check to be sure the pick tines are raised and locked in the up position Drive the baler off the pallet Measure tractor hit...
Page 11: ...raw arm of the baler set the height of the bottom of the pintle hitch on the baler to about 1 below the height of the top of the draw bar on the tractor This will make it easier to remove the pin in t...
Page 12: ...the pin on the tractor When the baler is attached to the tractor the bottom of the jack stand should be just off the ground to make raising it easier Gathering wheels The center draw and lateral draw...
Page 13: ...re pallet Install as shown Be sure the wheel clears the hardware Pickup height setting The pickup tines and the gathering wheels are raised into the transport position and lowered into the bale positi...
Page 14: ...and the bale position Height verification Now that the gathering wheels and the gauge wheel are installed attach the PTO and run the machine with the tractor at an idle Keeping well clear of the mach...
Page 15: ...e battery as needed Figure 22 location of siren switch and battery To test the siren open the cover on the other side and push up on the switch trip arm Figure 23 testing the siren is on Bale density...
Page 16: ...otected from overload damage by a shear pin that is designed to break at a designed torque Use only the correct type of bolt a hardened bolt will not break and will cause damage There are spares in a...
Page 17: ...irect Page 16 Figure 26 bag of spare parts Bale ejector plates Should you experience difficulty with bales ejecting from the baler there are 2 plates to install that are included with the baler Figure...
Page 18: ...ght oil that can penetrate to the inside of the roller chain Various brands are available at the automotive department at Wal Mart and auto part stores The one pictured below in figure 29 is what we r...
Page 19: ...r Tools Direct Page 18 Door speed control The rear door is raised and lowered by hydraulics Be sure the valve is on The valve can be closed a little to allow the door to close more slowly Shown on the...