Page 4–6
2101510 Rev. AG
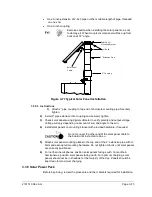
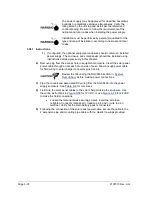
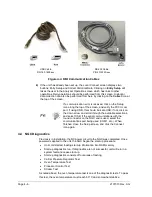
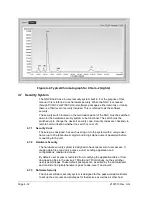
USB Cable
P/N 180 1800-xxx
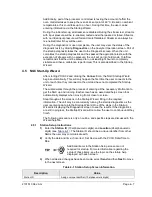
RS-232 Cable
P/N 2015240-xxx
Figure 4-4 MMI Communication Cables
4)
If the unit has already been set up, the Local Connect
screen displays two
buttons: Entry Setup and Collect Historical Data. Clicking on
Entry Setup
will
takes the user to the Analyzer Operation screen which has links to other
operations. Daily operations should be performed from this screen. Historical
data collection can also be performed from here by clicking on the
Collect
icon at
the top of the screen.
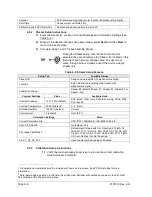
If a communication error is received, click on the Setup
icon along the top of the screen, and verify the PCCU com
port. If using USB, this should indicate USB; if not, click on
the down arrow and scroll through the available selections,
and select USB. If the serial communications with the
round connector on the NGC end is used, select the
communications port being used (COM1, etc.). When
finished, close the Setup screen, and click the Connect
icon again.
4.4 NGC Diagnostics
Previously in Installation, the DC power circuit to the NGC was completed. Once
power was applied to the unit, the NGC began the start-up procedure:
•
Unit cold started, loading start-up information into RAM memory
•
Start-up diagnostics run. If diagnostics are not successful, unit will return a
system fault and cease start-up.
•
Start-up diagnostics consists of four areas of testing:
•
Carrier Pressure Regulator Test
•
Oven Temperature Test
•
Processor Control Test
•
Stream Test
As noted above, the oven temperature test is one of the diagnostic tests. To pass
this test, the oven temperature must reach 60
°
C and somewhat stabilize.

