Operation Manual / 4 Product description / A130-M.. - A145-M..
8 Dismantling and fitting / 8.16 Radial clearances N and R
© Copyright 2017 ABB. All rights reserved.
HZTL4031_EN
Revision F
August 2017
8.16
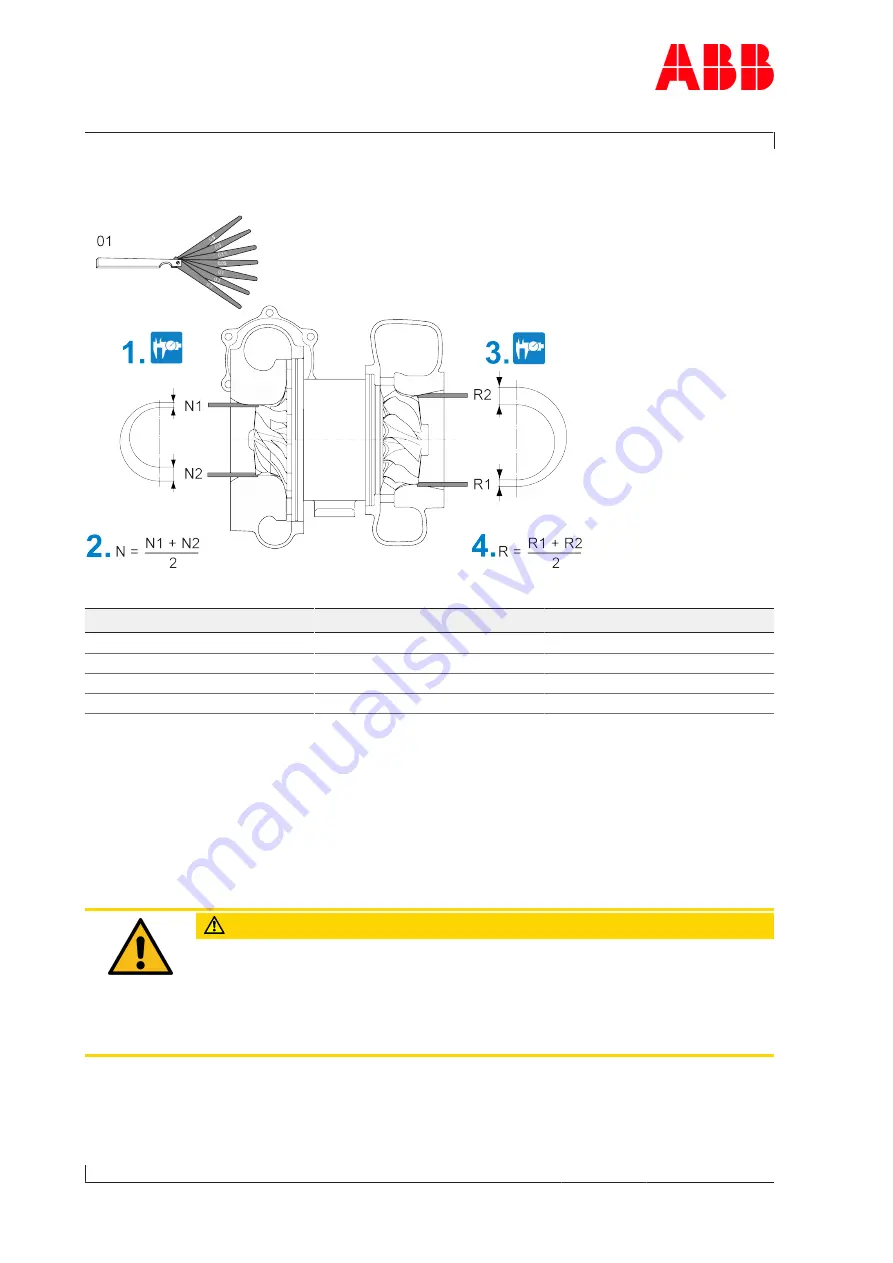
Radial clearances N and R
Fig. 50: Measuring clearances N and R
Product
N [mm]
R [mm]
A130
0.26 ... 0.60
0.45 ... 0.70
A135
0.34 ... 0.70
0.51 ... 0.85
A140
0.45 ... 0.90
0.64 ... 1.00
A145
0.56 ... 0.95
0.76 ... 1.20
Table 43: Permissible clearances N and R
1. Push the feeler gauges (01) into the gap such that there is no clearance. The upper direc-
tion (N1) and lower direction (N2) must be covered simultaneously.
2. Calculate clearance N and compare it with the permissible values in the table.
3. Push the feeler gauges (01) into the gap such that there is no clearance. The upper direc-
tion (R2) and lower direction (R1) must be covered simultaneously.
4. Calculate clearance R and compare it with the permissible values in the table.
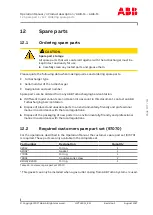
CAUTION
Clearances outside the tolerance
Serious damage to engines or property can be caused by clearances outside
the tolerance and excessively worn parts.
u
Have the components assessed and, if necessary, replaced by an ABB Tur-
bocharging Service Station.
Page
92
/
111


