bdi
RDI
JTAG debug interface for RDI compatible debuggers
ARM7 / ARM9
User Manual
Manual Version 1.10 for BDI1000
© 1999-2003 ABATRON AG
Page 1: ...bdiRDI JTAG debug interface for RDI compatible debuggers ARM7 ARM9 User Manual Manual Version 1 10 for BDI1000 1999 2003 ABATRON AG ...
Page 2: ...tion of the Configuration Software 14 2 6 Configuration 15 2 6 1 BDI1000 Setup Update 15 3 Init List 17 3 1 Init CP15 Registers 19 4 BDI working modes 21 4 1 Startup Mode 23 4 1 1 Startup mode RESET 23 4 1 2 Startup Mode STOP 23 4 1 3 Startup mode RUN 23 5 Working with RDI Debuggers 24 5 1 ADW AXD from ARM Ltd 24 5 1 1 Configuration 24 5 1 2 Implementation notes 25 5 2 BDI Direct Commands 26 5 2 1...
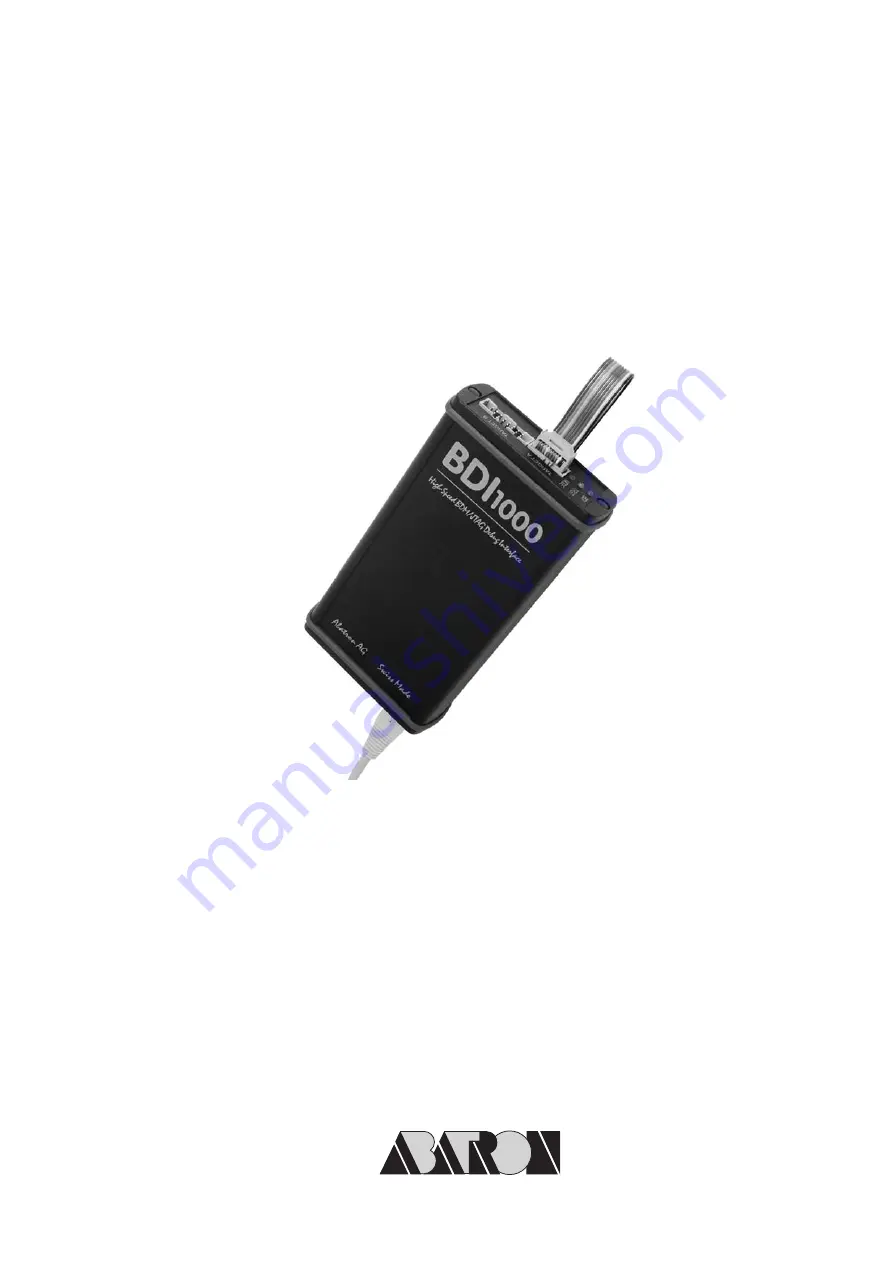
Page 3: ...ks with the RDI compatible debugger 1 1 BDI1000 The BDI1000 is a processor system in a small box It implements the interface between the JTAG pins of the target CPU and a 10Base T Ethernet RS232 connector BDI1000 is powered by a MC68331 256Kbyte RAM and a flash memory of 512Kbyte As a result of consistent implementation of lasted technology the BDI1000 is optimally prepared for further enhancement...
Page 4: ...h must not exceed 20 cm 8 TARGET A connector signals see table on next page BDI1000 A A A Ab b b ba a a at t t tr r r ro o o on n n n A A A AG G G G S S S Sw w w wi i i is s s ss s s s M M M Ma a a ad d d de e e e Target System ARM 1 13 14 2 The green LED TRGT marked light up when target is powered up 14 pin Target Connector 1 Vcc Target 2 GROUND 3 TRST 4 GROUND 5 TDI 6 NC 7 TMS 8 NC 9 TCK 10 NC 1...
Page 5: ... on the target Default driver type is open drain 3 5 GND System Ground 4 TCK JTAG Test Clock This output of the BDI1000 connects to the target TCK line 6 TMS JTAG Test Mode Select This output of the BDI1000 connects to the target TMS line 7 RESET This open collector output of the BDI1000 is used to reset the target system 8 TDI JTAG Test Data In This output of the BDI1000 connects to the target TD...
Page 6: ...PPC a new setup has to be done see chapter 2 6 Configuration During this process the target cable must be disconnected from the target system The BDI1000 needs to be supplied between 2 5V and 5V via the POWER connector For more information see chapter 2 2 1 External Power Supply To avoid data line conflicts the BDI1000 must be disconnected from the target system while programming the logic for an ...
Page 7: ...is received For more information about adaptive clocking see ARM documentation Note Adaptive clocking is only supported with a special target cable This special cable can be ordered separately from Abatron For TARGET B connector signals see table on next page The green LED TRGT marked light up when target is powered up 1 Vcc Target 2 NC 3 TRST 4 NC 5 TDI 6 NC 7 TMS 8 GROUND 9 TCK 10 GROUND 11 RTCK...
Page 8: ...rget has power and it is also used to create the logic level reference for the input comparators It also controls the output logic levels to the target It is normally connected to Vdd I O on the target board 7 TCK JTAG Test Clock This output of the BDI1000 connects to the target TCK line 8 TRST JTAG Test Reset This open drain push pull output of the BDI1000 resets the JTAG TAP controller on the ta...
Page 9: ...eration of the BDI1000 keep the power supply cable as short as possible For error free operation the power supply to the BDI1000 must be between 2 5V and 5V DC The maximal tolerable supply voltage is 5 25 VDC Any higher voltage or a wrong polarity might destroy the electronics Please switch on the system in the following sequence 1 external power supply 2 target system POWER Connector 1 Vcc 2 5 5V...
Page 10: ...o Target Insert the en closed Jumper as shown in figure below Please ensure that the jumper is inserted correctly For error free operation the power supply to the BDI1000 must be between 2 5V and 5V DC The maximal tolerable supply voltage is 5 25 VDC Any higher voltage or a wrong polarity might destroy the electronics POWER Connetcor 1 Vcc BDI1000 2 5 5V 2 Vcc Target 2 5 5V 3 GROUND 4 NOT USED The...
Page 11: ... LED MODE The built in LED indicates the following BDI states MODE LED BDI STATES OFF The BDI is ready for use the firmware is already loaded ON The power supply for the BDI1000 is 2 5VDC BLINK The BDI loader mode is active an invalid firmware is loaded or loading firmware is active TARGET A TARGET B BDI TRGT MODE ...
Page 12: ...etween BDI and Host is a serial cable RXD TXD are crossed There is the same connector pinout for the BDI and for the Host side Refer to Figure below RS232 Connector for PC host BDI1000 A A A Ab b b ba a a at t t tr r r ro o o on n n n A A A AG G G G S S S Sw w w wi i i is s s ss s s s M M M Ma a a ad d d de e e e Target System RS232 PC Host 1 NC 2 RXD data from host 3 TXD data to host 4 NC 5 GROUN...
Page 13: ...e media converter BNC 10 BASE T between your network and the BDI1000 Contact your network administrator if you have questions about the network 10 BASE T PC Host Target System Ethernet 10 BASE T 1 TD 2 TD 3 RD 4 NC 5 NC 6 RD 7 NC 8 NC Connector BDI1000 A A A Ab b b ba a a at t t tr r r ro o o on n n n A A A AG G G G S S S Sw w w wi i i is s s ss s s s M M M Ma a a ad d d de e e e RS232 LI POWER 10...
Page 14: ...n program b10arm hlp Helpfile for the configuration program b10arm cnt Help contents file b10armfw xxx Firmware for BDI1000 for ARM targets armjed10 xxx JEDEC file for the BDI logic device programming bdiifc32 dll BDI Interface DLL for configuration program bdirdi dll RDI Interface DLL bdi Configuration Examples Example of an installation process Copy the entire contents of the enclosed diskette i...
Page 15: ...e help system F1 2 6 1 BDI1000 Setup Update First make sure that the BDI is properly connected see Chapter 2 1 to 2 4 The BDI must be con nected via RS232 to the Windows host To avoid data line conflicts the BDI1000 must be disconnected from the target system while programming the logic for an other target CPU see Chapter 2 1 1 The following dialogbox is used to check or update the BDI firmware an...
Page 16: ... xxx xxx xxx xxxe g 255 255 255 0 A subnet mask of 255 255 255 255 disables the gateway feature Ask your network administrator for the correct subnet mask Default Gateway Enter the IP address of the default gateway Ask your network administra tor for the correct gateway IP address If the gateway feature is disabled you may enter 255 255 255 255 or any other value Transmit Click on this button to s...
Page 17: ...t is stored in the Flash memory of the BDI1000 and worked through every time the target comes out of reset Use it to get the target operational after a reset The memory system is usually initialized through this list After processing the init list the RAM used to download the application must be accessible Use on line help F1 and the supplied configuration examples on the distribution disk to get ...
Page 18: ...ile the BDI stuffs instruction into the ARM core It may be necessary to set the PC to a safe non vector address before external mem ory is accessed to prevent pre fetching code from an invalid address range Enter a safe non vector address for the PC into this special BDI registers 8009 By default the TRST signal is driven with an open drain driver by the BDI Write a 1 to this special BDI register ...
Page 19: ...sed either direct physical access mode or via interpreted MCR MRC instructions Read also ARM920T manual part Debug Support Scan Chain 15 Register number for physical access mode bit 12 0 0 0 0 0 0 0 0 i 0 0 0 x nbr The bit i selects the instruction cache scan chain bit 33 the bit x extends access to register 15 scan chain bit 38 Register number for interpreted access mode bit 12 1 opc_2 1 CRm opc_...
Page 20: ...trol 2 or 0x32 Translation table base 3 or 0x33 Domain access control 5 or 0x35 Fault status 6 or 0x36 Fault address 8 or 0x38 Cache information 13 or 0x3d Process ID 0x10 TI925T Status 0x11 TI925T Configuration 0x12 TI925T I max 0x13 TI925T I min 0x14 TI925T Thread ID 0x18 Flush I D TLB 0x19 Flush I TLB 0x1a Flush I TLB entry 0x1b Flush D TLB 0x1c Flush D TLB entry 0x20 Flush I cache 0x22 Flush I...
Page 21: ... not catch vectors when debugging code stored in ROM Then the 2 hardware break points of the ICEBreaker module can be used by the user Otherwise only one is available the other is used for software breakpoints CPU Type Select the CPU type of the target system Workspace If a workspace is defined the BDI uses a faster download mode via the ARM s Debugger Communications Channel DCC The workspace is u...
Page 22: ...an format JTAG Clock This option allows to select the used JTAG clock rate adaptive needs a special cable from Abatron please ask for it JTAG Scan Chain The BDI can also handle systems with multiple devices connected to the JTAG scan chain In order to put the other devices into BYPASS mode and to count for the additional bypass registers the BDI needs some informa tion about the scan chain layout ...
Page 23: ...the target system The code in this ROM handles base initialization At the end of the code the initialization program enters an endless loop until it is interrupted by the BDI This mode is intended for special requirements on the reset sequence e g loading a RAM based programmable logic device In this mode the following steps are executed by the BDI after system reset or power up RESET is activated...
Page 24: ...ger Configuration Choose Target dialog box Add BDIRDI to the list of Target Environment To setup the communication parameters press button Configure This opens the BDI Communi cation Setup dialog box Enter the appropriate communication parameters The Startup mode defines how the BDI interacts with the target when the debugger starts If Reset is selected default the BDI forces a hardware reset of t...
Page 25: ...efore Semihosting is only supported if breakpoint mode is Software and the SWI semihosting vector is writable In cases where the vector table is in ROM you can force the BDI to use a hardware breakpoint to support Semihosting via a special init list entry see chapter 3 Init List For ARM9 targets the hardware vector catch register is used and therefore Semihosting works also if the vector table is ...
Page 26: ...w This Direct Commands are not interpreted by the debugger but directly sent to the BDI After processing the command the result is displayed in the debugger s Command Line Window Direct Commands are ASCII Strings with the following structure Object Action ParName ParValue Example flash erase addr 0x02800000 All names are case insensitive Parameter values are numbers or strings Numeric parameters c...
Page 27: ...thm is processed within the BDI The workspace is used for a 1kByte data buffer and to store the algorithm code There must be at least 2kBytes of RAM available for this purpose MAC7100 internal flash CFM32 CFM16 To erase and program the MAC7100 Program Flash Module CFM32 you have to access it via the programming interface address 0xFC100000 This programming interface address has to be used for eras...
Page 28: ...CK and SECTOR default is sector 4k 1k page erase mass erase the whole MAC7100 flash bdi flash setup type cfm32 workspace 0x40000000 bdi flash erase addr 0xFC101000 mode block Erase 4k program page at 0xFC101000 0xFC101000 0xFC101FFF bdi flash setup type cfm32 workspace 0x40000000 bdi flash erase addr 0xFC101000 Erase 1k data page at 0xFE000000 0xFE000000 0xFE0003FF bdi flash setup type cfm16 works...
Page 29: ...e used flash memory AM29F010 flash setup type am29f size 0x20000 bus 8 workspace 0x00001000 Erase sector 0 to 7 of flash memory bank flash erase addr 0x04000000 flash erase addr 0x04004000 flash erase addr 0x04004000 flash erase addr 0x04008000 flash erase addr 0x0400C000 flash erase addr 0x04010000 flash erase addr 0x04014000 flash erase addr 0x04018000 flash erase addr 0x0401C000 Enable loading ...
Page 30: ...algorithm support chip erase Block erase is only supported with the AT49 algorithm If the algorithm does not support the selected mode sector erase is performed If the chip does not support the selected mode erasing will fail The erase command sequence is different only in the 6th write cycle Depending on the selected mode the following data is written in this cycle see also flash data sheets 0x10...
Page 31: ...culated checksum RD display general purpose registers RDALL display all ARM registers RDCP number display control processor 15 register RDIB number display IceBreaker register RM number value modify general purpose or user defined register RMCP number value modify control processor 15 register RMIB number value modify IceBreaker register BOOT reset the BDI RESET reset the target system GO pc set P...
Page 32: ...00 38 400 57 600 115 200 Data Bits 8 Parity Bits none Stop Bits 1 Network Interface 10 BASE T Serial Transfer Rate between BDI and Target 5 5 Mbit s BDM 12 Mbit s JTAG Supported target voltage 1 8 5 VDC Operating Temperature 5 C 60 C Storage Temperature 20 C 65 C Relative Humidity noncondensing 90 rF Size 160 x 85 x 35 mm Weight without cables 280 g Electromagnetic Compatibility EMC EN 50081 2 EN ...
Page 33: ...rface for RDI Debuggers BDI1000 User Manual 33 Copyright 1999 2003 by ABATRON AG V 1 10 8 Environmental notice Disposal of the equipment must be carried out at a designated disposal site 9 Declaration of Conformity CE ...
Page 34: ... but not limited loss of profit special incidental consequential or other similar claims ABATRON Switzerland specifically disclaims all other warranties expressed or implied including but not limited to implied warranties of merchantability and fitness for particular purposes with respect to defects in the diskette cable BDI1000 and documentation and the program license granted here in including w...
Page 35: ...ation port Com 1 Com 4 is selected Problem No working with the target system loading firmware is ok Possible reasons Wrong pin assignment BDM JTAG connector of the target system see chapter 2 Target system initialization is not correctly enter an appropriate target initialization list An incorrect IP address was entered BDI1000 configuration BDM JTAG signals from the target system are not correctl...
Page 36: ... please proceed according to the following steps Observe precautions for handling Electrostatic sensitive device Unplug the cables before opening the cover Use exact fuse replacement Microfuse MSF 1 6 AF 1 2 3 BDI1000 A A A A b b b b a a a a t t t t r r r r o o o o n n n n A A A A G G G G S S S S w w w w i i i i s s s s s s s s M M M M a a a a d d d d e e e e 1 1 Unplug the cables 2 1 Remove the t...
Page 37: ...hat the LEDs align with the holes in the front panel elastic sealing Reinstallation back panel 5 2 Push carefully the front panel and the blue elastig sealing on the casing Check that the LEDs align with the holes in the front panel and that the 5 3 Mount the screws do not overtighten it 5 4 Mount the two plastic caps that cover the screws 5 5 Plug the cables position of the sealing is as shown in...
Page 38: ...bdiRDIJTAG interface for RDI Debuggers BDI1000 User Manual 38 Copyright 1999 2003 by ABATRON AG V 1 10 C Trademarks All trademarks are property of their respective holders ...