

Touch Keypad Installation Guide
Specifications:
Voltage: +10 to +15VDC (from a Battery Backed up PSU)
Current: 250mA(Normal) 500mA(Max.)
Maximum Cable Length: 30m (4C2 0.2mm²) 80m (4C5 0.5mm²)
125KHz RFID Prox Reader (Prox model only)
Dimensions: 140(w) x 96(h) x 14(d)mm
Screen Resolution: 800 x 480 pixels
Touch Sensor: Resistive (glove and stylus friendly)
Supported SD Cards: 1GB AAP Micro SD Card only, Fat32 format (supplied)
Photo Format: .pic (custom AAP format)
Compatible with:
ESL, Elite-S and Elite-S Lite (V9.00 and above)
-Up to 8 Touch Keypads can work on these systems.
-A maximum of 2 Touch Keypads should be connected directly to these systems.
-More than 2 Touch Keypads will require a larger/extra power supply.
Installation:
Recommended Mounting Height: 1500mm
Only use the supplied screws to fasten the keypad to the wall
Keypad bus termination should only be done with system powered down.
Connector colour code:
Red = +12VDC (Positive)
Black = -0VDC (Negative)
Yellow = Clock
Blue = Data
White = Optional Input feature (see Keypad settings to configure)
Field Update:
The Touch keypads can be field updated even by the end user.
Download the latest firmware from www.aap.co.nz/touch and copy it to the SD card.
With the SD card back in the Touch Keypad, go to ‘Settings’ then ‘My Settings’
Enter your user code. Then go down the and select ‘Update Firmware from SD card’
Choose the file, then press the Start Button. The keypad will reboot when done.
(depending on the update you might also need to update the Icons and Tones please see update notes)
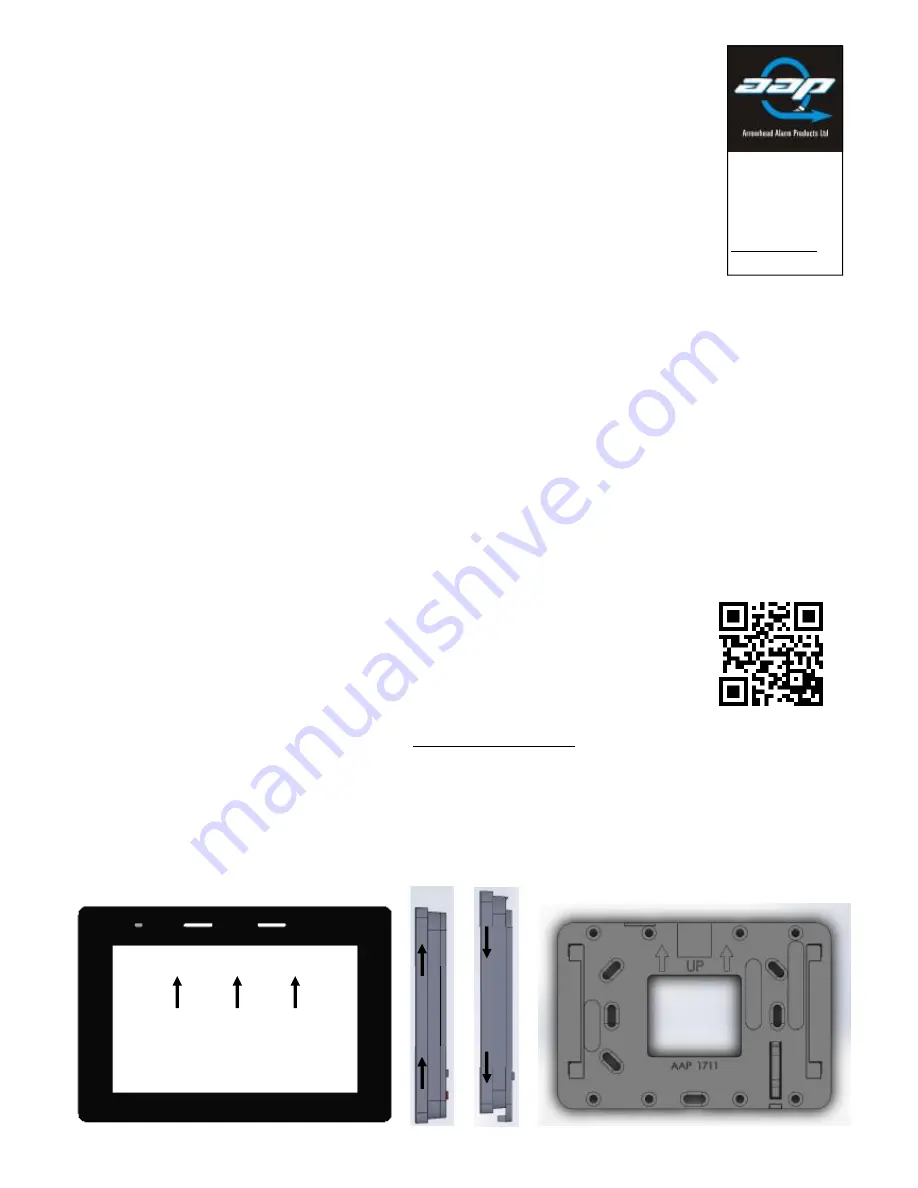
Push Up
to remove from back
Speakers to the Top
Cable
Entry
Point
Front View
Side View
Back Plate View
Up T
o
R
emove
Do
w
n T
o
Att
ach
AAP
344b Rosedale Rd,
Albany,
Auckland.
Ph. 09 414 0085
www.aap.co.nz
v1.2


