32
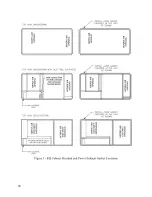
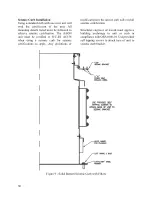
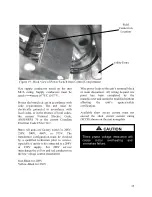
Figure 13 - Seismic Rigid Mount Curb Cross Section
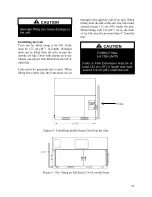
Horizontal Duct Connection
Note:
If outside air will be in contact with the
air tunnel base the unit must include the base
insulation option or the base must be field
insulated.
Remove shipping covers and attach duct to
flanges provided on the unit. The installer is
responsible for sealing ducts to the flanges to
prevent water leaks.
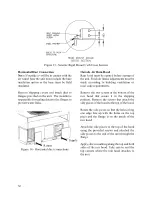
Figure 14 - Horizontal duct connections
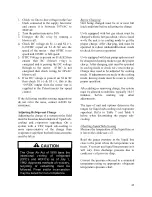
Outside Air Rain Hood
Rain hood must be opened before startup of
the unit. Fresh air intake adjustments must be
made according to building ventilation or
local code requirements.
Remove the two screws at the bottom of the
rain hood that secure it in the shipping
position. Remove the screws that attach the
side pieces of the hood to the top of the hood.
Rotate the side pieces so that the holes along
one edge line up with the holes on the top
piece and the flange is on the inside of the
rain hood.
Attach the side pieces to the top of the hood
using the provided screws and attached the
side pieces to the end of the unit through the
flange.
Apply silicon caulking along the top and both
sides of the rain hood. Take care to seal the
top corners where the rain hood attaches to
the unit.
Return
Supply
Summary of Contents for RQ NextGen Series
Page 2: ......
Page 26: ...26 Figure 3 RQ Cabinet Standard and Power Exhaust Gasket Locations...
Page 40: ...40 Figure 23 Post Corner Hole Piping Figure 24 Post Back Hole Piping...
Page 88: ...88 Gas Heater Operating Instructions Figure 36 Gas Heater Instructions...
Page 95: ...95...
Page 96: ...96...
Page 105: ...105 Maintenance Log E Coated Coil...
Page 107: ...107...

