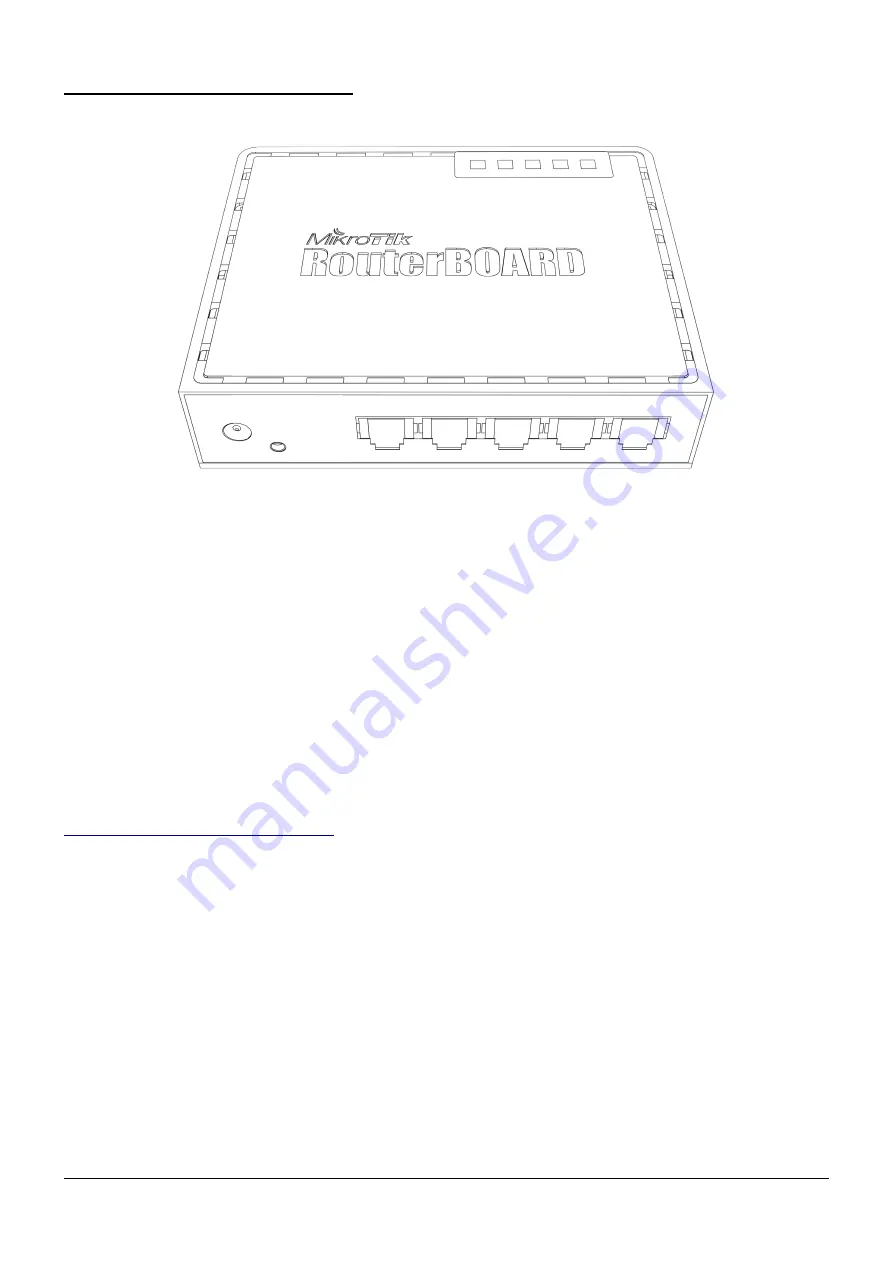
RouterBOARD 750G
Quick Setup Guide and Warranty Information
First use
1.
Connect your WAN cable to port 1, and LAN computers to ports 2-5
2.
Set LAN computer IP configuration to
automatic
(DHCP)
3.
RB750G Default IP address from LAN is 192.168.88.1 or http://router
Powering
The board accepts powering from the power jack or from the first ethernet port (Passive PoE):
●
direct-input power jack (5.5mm outside and 2mm inside diameter, female, pin positive plug) accepts 8..28V DC
●
first ethernet port accepts passive Power over Ethernet accepts 8-28V DC
Normally the power consumption of this device is 2.4W, under maximum load - 3.6W
Booting process
This device doesn't come fitted with a Serial Port connector, so initial connection has to be done via the Ethernet cable, using
the MikroTik Winbox utility. Winbox should be used to connect to the default IP address of
192.168.88.1
with the username
admin
and no password.
In case IP connection is not available, Winbox can also be used to connect to the MAC address of the device. More
information here:
http://wiki.mikrotik.com/wiki/First_time_startup
In case you wish to boot the device from network, for example to use MikroTik Netinstall, hold the RESET button of the
device when starting it until the LED light turns off, and RB750G will start to look for Netinstall servers.
By default, the device is preconfigured with a simple firewall on the WAN port, this configuration can be viewed when first
connecting to the Router via Winbox. It will ask whether to keep this configuration or clean it to use your own.
Extension Slots and Ports
●
Five individual Gigabit Ethernet ports, supporting automatic cross/straight cable correction (Auto MDI/X), so you can
use either straight or cross-over cables for connecting to other network devices. The First Ethernet port accepts 8..28
V DC powering from a passive PoE injector.
Buttons and Jumpers
●
ROS reset jumper hole (on the bottom of case, behind one of the rubber feet) – resets RouterOS software to
defaults. Must short circuit the metallic sides of the hole (with a screwdriver, for example) and boot the device. Hold
screwdriver in place until RouterOS configuration is cleared.
●
RouterBOOT reset button (RESET, front panel) has two functions:
●
Hold this button during boot time until LED light starts flashing,
release the button to
reset RouterOS configuration
(same result as with reset hole)
●
Hold this button during boot time longer, until LED turns off,
then release it to make RB750G
look for Netinstall servers.
rev. A (6-Nov-2009)
4Gon www.4Gon.co.uk [email protected] Tel: +44 (0)1245 808295 Fax: +44 (0)1245 808299


