26
4.13.
SPOOLING MENU
–
RUNNING
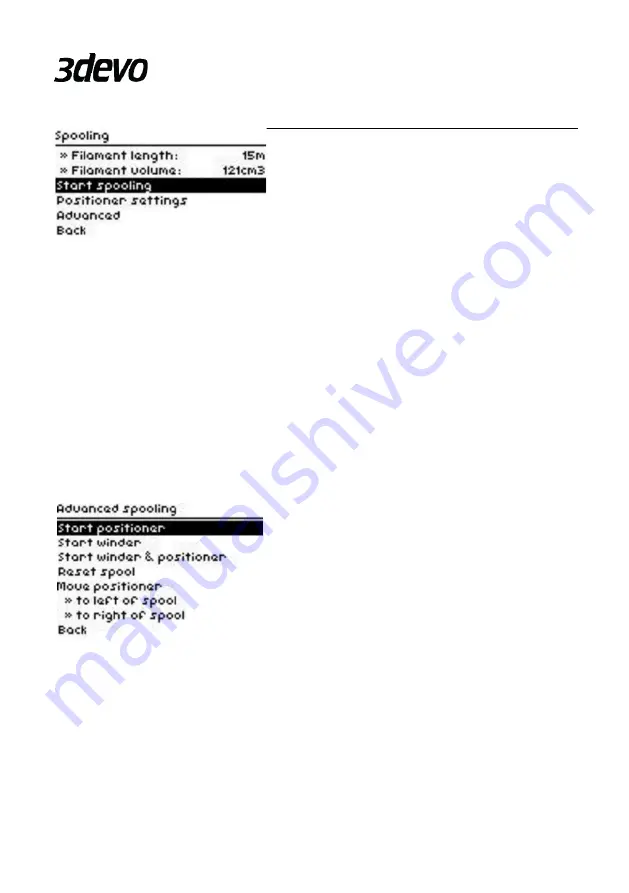
In this chapter the spooling menu settings will
be explained, the ‘Start spooling’ option, which
s
tarts the ‘Spooling wizard’, will be explained in
the ‘Start extruding’ chapter. The ‘positioner
settings’ are settings related to the used size of
the spool. The calculations used for spooling
are dependent on the measurements of the spool itself. Measure the sizes using a
calliper or other tool and change the settings of the ‘Empty spool diameter’, ‘Full
spool diameter’, ‘Spool width’ and the offset distance of the positioner end
-switch
to the beginning of the spool as ‘Right position’. Because of the pre
cision, input the
lengths in millimetres. The ‘Empty spool diameter’ and ‘Full spool diameter’ settings
are available in the settings menu. It is possible to do this step without calliper, by
using the ‘Preview positions’ options. This moves the positioner
to the locations set
using the width settings.
Note that if the machine has not been started with ‘Start extruding’, it will home the
positioner first before continuing with the selected preview position.
The ‘Advanced’ menu under the ‘Spooling’
menu, contains options useful while spooling.
It is possible to start or stop both the winder
and positioner manually. When a spool is full,
the user is also able to manually stop the
motors while replacing the spool and move
Do not forget to use the ‘Reset
spool’ option when replacing the spool, since the
extruder assumes that the old spool is still getting filled. The winder and positioner
speed will continue to be reduced otherwise. Pressing the reset spool option returns the
winder and positioner speed to the initial speed. The recommended way of replacing
the spool is to make use of the spooling wizard once again after pressing ‘Stop
spooling’.


