3D SYSTEMS, INC.
75-D059 REV_A
13
BONUS Z
Description:
Bonus Z occurs when the laser melts a part beyond the specified
depth—usually 0.1 mm (0.004 inches) on the first few scans—and causes vertical
growth in the Z axis . The difference between growth and bonus Z is that growth may
occur on any part edge, while bonus Z occurs only on downward facing surfaces .
Theory of Cause:
When the first layer is scanned, the laser penetrates to the
unmelted material below the print boundary . In extreme cases, bonus Z will occur
with wash out .
Visual Signs:
You cannot observe this during printing .
Consequences:
The part is out of tolerance in the Z axis .
Corrective Action:
While printing, there are no corrective actions you can take .
Prior to beginning the print job, you can:
Minimize the possibility of bonus Z by reducing the Fill Laser Power parameter in the
Print Profile for the first few layers (between the first and fourth layers).
Use the Z-growth compensation features of Build Setup; see your
Build Setup help
.
If bonus Z occurs
, you can clean the part during post-processing by sanding
or
machining off the appropriate amount .
CLUMPING
Description:
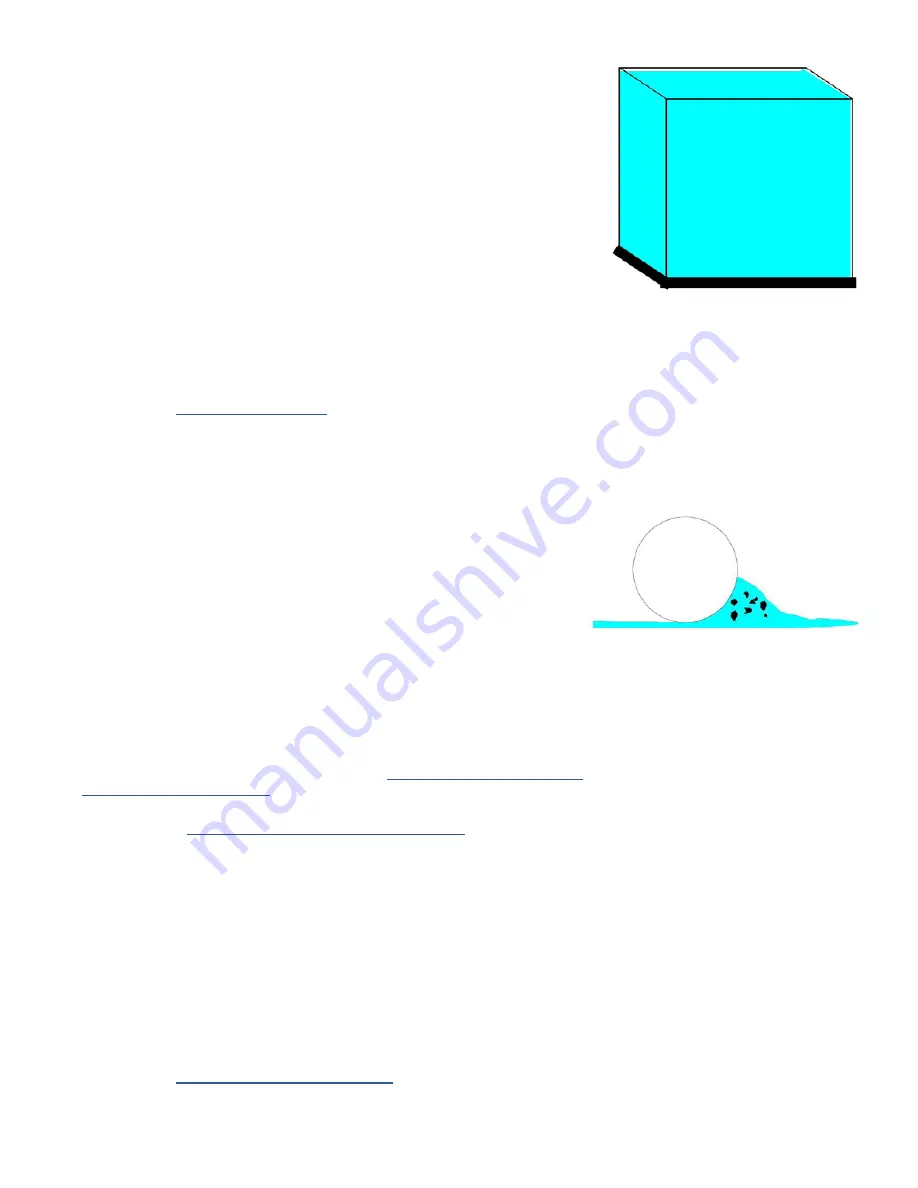
Agglomerated material on the material bed surface accumulates in
front of the roller as it moves across the print bed and streaks appear behind the
roller .
Theory of Cause:
This is usually the result of one of the following:
• Improperly sifted, recycled material .
• Overheating the material in the feed beds .
• Contaminants in the compressed air or air line .
Visual Signs:
The roller pushes clumps across the print bed which may cause
streaks to appear after the roller passes .
Consequences:
Material does not feed
properly, causing poor quality parts . Improper material feeding causes uneven
material thickness which may cause growth or inadequate melting . Streaks
may
be
apparent on
upward
and downward facing
surfaces
of parts .
Corrective Action:
Reduce the temperature set points for the feed beds .
Thoroughly sift recycled material before using it . See
“Recycling Material” on page 9
and
”Sifiting Material” on page 8.
Make sure your material storage methods do not allow contaminants into the
material . The section
“Material Storage and Disposal” on page 11
describes
appropriate material storage .
Make sure the supply for clean dry air meets the specifications given in your
printer’s Facility Guide .
If clumping occurs in an area of the print bed that does not contain the part(s), you
probably can continue the print job .
If clumping occurs in the area of the print bed containing the part(s), you may not be
able to complete the print job successfully .
If you terminate the print, do the following:
1 . Discard any lumps of material .
2 . Clean the print chamber .
3 . Clean the textured roller and wipers .
Related Problems:
Cracking of Print Bed” on page 14
Bonus Z
Side view of roller and powder,
showing clumps


