Preparation of the printing surface
How the material is adhered to the printing surface and more exactly the firsts few layers, it will
be determent to the quality of the end product. To obtain the correct adhesion, follow the next
recommendations:
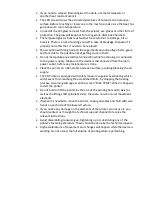
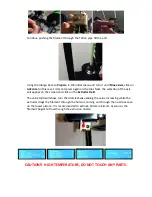
The tempered glass must be completely clean. To be able to do it, loosen the clamps
from the aluminum base, take out the glass from the printer and clean it (it is
recommended to use soapy water and a clean rag).
Once the glass is clean, dried and put back on the aluminum base, spray a very thin layer
of hairspray on it to help the material stick more easily.
The printer will be
ready for the first impression
with these two simple steps.
There is an object made from this printer included to prove correct operation after assembly.
Let’s see how to proceed with the first printing:
6.1. Manual Printing from SD Card
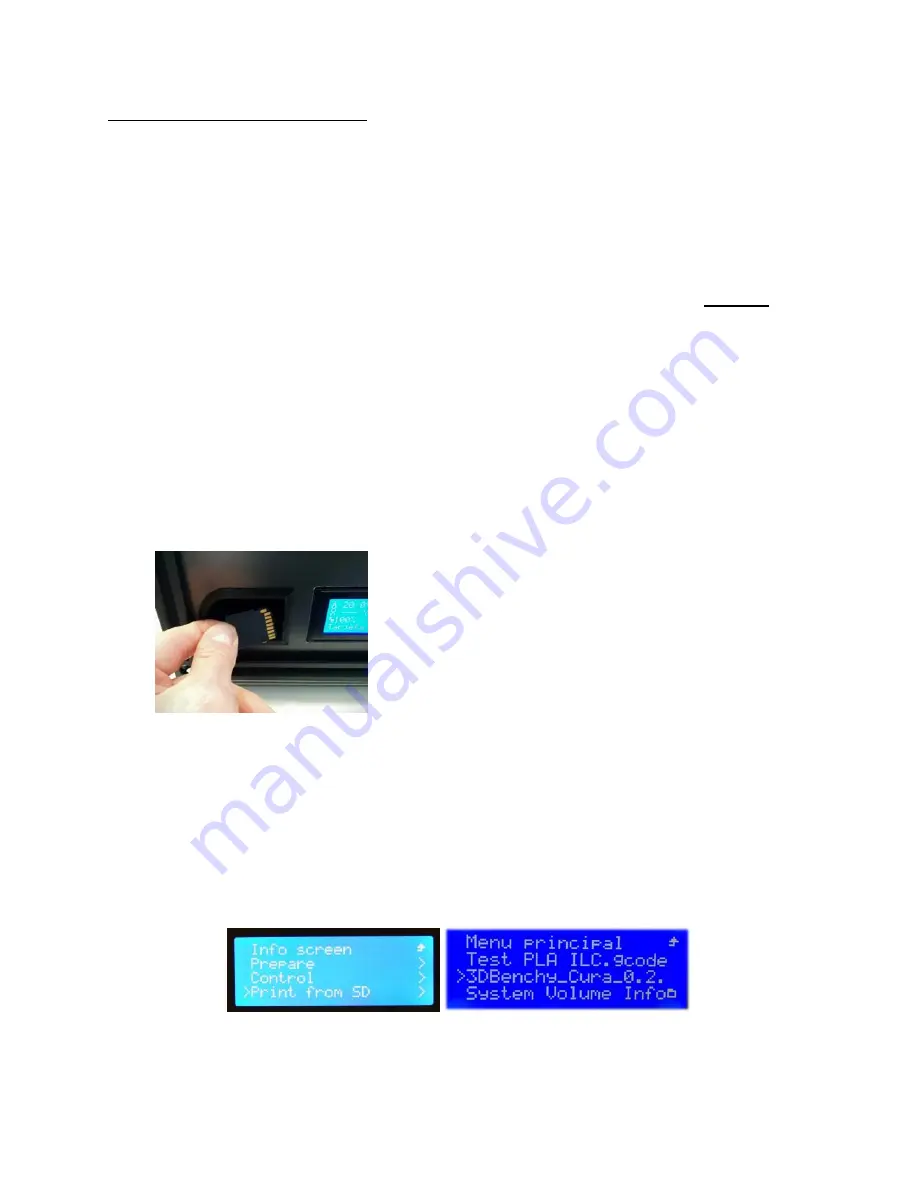
The SD card is inserted in the reader after the display, and
the sense of introduction is with the label back and the
gold contacts forward. It is inserted in the reader this way:
to insert or remove the SD card, hold it with the index
finger and the thumb for more comfort. You will not be
able to be inserted upside down as it will not enter into
the reader.
There are a couple of files included in the SD Card: one is a file of the tested piece and
the other is a test piece to determent the ideal temperature point of PLA (temperature
range from 190 C to 210 C, 5 by 5 ºC).
The SD card is already included in the reader, so only the printer will need to be turned
on, access the menu of the LCD’s SD card and choose the print file. For example, the
ship sample piece (BENCHY.GCODE)
Startup routine will begin immediately, by zeroing all axes and performing a leveling
measurement of the printing base, taking the height data in 9 points of the surface, so a
Summary of Contents for ILC
Page 1: ...Welcome to a Revolution with No Limits ENGLISH USER MANUAL Rev 1 1 ...
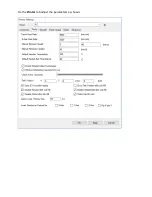
Page 24: ...On the Printer tab adjust the parameters as shown ...
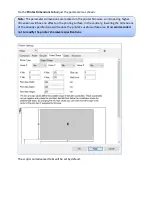
Page 25: ...On the Extruder tab adjust the parameters as shown ...
Page 29: ......
Page 30: ......
Page 34: ......
Page 35: ......
Page 36: ......
Page 37: ......
Page 38: ......
Page 53: ...Show Entirely Show One Layer ...
Page 54: ...Show Range of Layers ...

