247Security Inc. | 4400 North Point Parkway, Suite # 158, Alpharetta, GA 30022, USA | 1-866-693-7492 | www.247securityinc.com
USER MANUAL,
ZEUS Pt
57
6
One Frame Forward
Advances one frame forward while in Pause mode
7
Audio All Channels/Single
Channel
Switches audio playback from all channels
simultaneously or a single channel
8
Volume Control
Slider Bar to control volume from 0 (Mute) to 100
5.9.2
EXPORT VIDEO
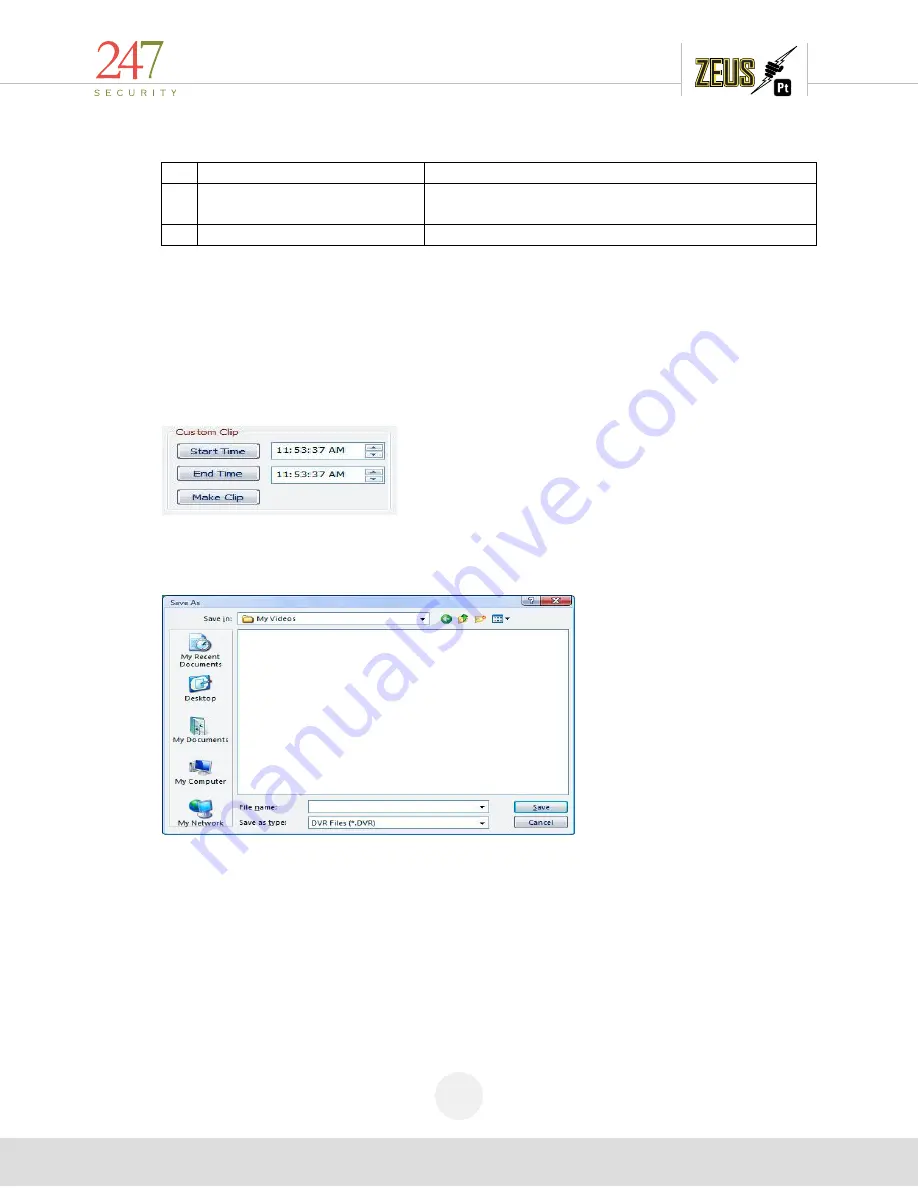
“Custom Clip” menu allows user to create a video file with custom start and end times. User can
move the pointer on the timeline bar to the desired time location and set this location as begin time by
clicking on “Start Time” button. Same procedure applies to setting the end time but clicking on “End
Time” button. Both “Start Time” and “End Time” boxes should now have the desired time stamps you
selected to create your video file. User can also manually input these time stamps by typing directly into
each box. With the latest version of DVR Viewer, you can also export the clip as an .AVI file. Just be
aware that when using this option, the saved clip can be viewed by anyone.
Finally click on “Make Clip” button to save the selected video time frame in a new video file on
your computer. This video file will have a “.DVR” extension and can be stored on a hard disk, CD, DVD,
USB thumb drive, etc… for later retrieval and viewing.
The new video file with “.DVR” extension is an encrypted file and can only be played by the
DVRViewer application; this feature disables the ability of manipulating the video data so that it can be
used in legal matters.
5.10
PLAY FILE
This button will prompt user to open a video clip previously saved on their hard disk, CD, DVD, USB
thumb drive, etc… using the “Custom Clip” feature. All video and audio will start playing immediately
and the standard playback controls as described in 6.7.3 are available for control of playback.


