Zanussi ZRT 143W, Instruction Book
The Zanussi ZRT 143W instruction book is available for free download on our website. This comprehensive manual provides step-by-step guidance on operating and maintaining your ZRT 143W appliance. Discover all the essential information and helpful tips to enhance your experience with the Zanussi ZRT 143W – download now from manualshive.com.
Share
Download


Reviews:
No comments
Related manuals for ZRT 143W
DF10 9 G Series
Brand: Samsung Pages: 52
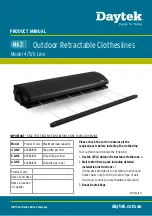
4 LINE
Brand: DAYTEK Pages: 4
4200
Brand: Safco Pages: 2

97004
Brand: Harbor Freight Tools Pages: 7
XE Series
Brand: NatureMill Pages: 18

FUZZ-AWAY
Brand: OBH Nordica Pages: 16
Somat SMART ALL-IN-1
Brand: Henkel Pages: 11
HURRICANESHIELD 80GY0102
Brand: Pella Pages: 10

340492 1910
Brand: Kompernass Pages: 62
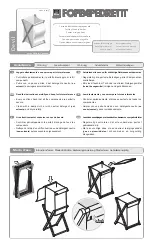
Snake 90
Brand: Foppapedretti Pages: 4
105647
Brand: Brabantia Pages: 2
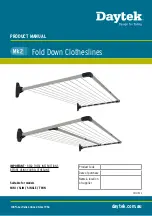
MK2 MINI
Brand: DAYTEK Pages: 8
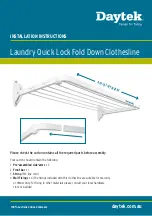
Laundry Quick Lock Fold Down Clothesline
Brand: DAYTEK Pages: 4
Devil 03
Brand: Foppapedretti Pages: 2
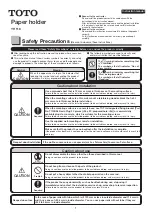
YH116
Brand: Toto Pages: 4

shUVee
Brand: Kagan Pages: 20
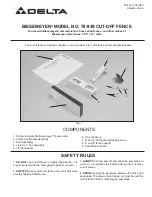
BIESEMEYER 78-939
Brand: Delta Pages: 8
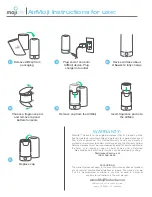
AirMoji
Brand: MojiLife Pages: 2


