Yamaha SW1000XG, Owner'S Manual
The Yamaha SW1000XG boasts cutting-edge features and superior sound quality. Unlock its full potential with the Advanced Manualbook, a comprehensive manual that covers all functionalities in detail. Download this manual for free from manualshive.com and delve into the limitless possibilities of this exceptional product.
Share
Download


Reviews:
No comments
Related manuals for SW1000XG

DUB-1310
Brand: D-Link Pages: 2

DWL-500
Brand: D-Link Pages: 6

AirPro DWL-A520
Brand: D-Link Pages: 8

AirPro DWL-A520
Brand: D-Link Pages: 63

T1
Brand: Xilinx Pages: 48

Express5800/320Ma
Brand: NEC Pages: 74

AirConnect
Brand: 3Com Pages: 14

ACS-61100
Brand: Accusys Pages: 2

Lagoon
Brand: M-Audio Pages: 28

1212M
Brand: E-Mu Pages: 108

XEVA200
Brand: hager Pages: 6

Gigabit Network Set
Brand: Hama Pages: 6

10/100 EtherJet
Brand: IBM Pages: 64

PCI-P16C16
Brand: ICP DAS USA Pages: 6

5710
Brand: IBM Pages: 52
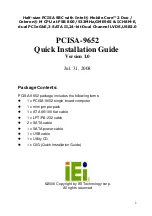
PCISA-9652
Brand: IEI Technology Pages: 12

HDC-301MS-R10
Brand: IEI Technology Pages: 40

EC20
Brand: Quectel Pages: 37


