


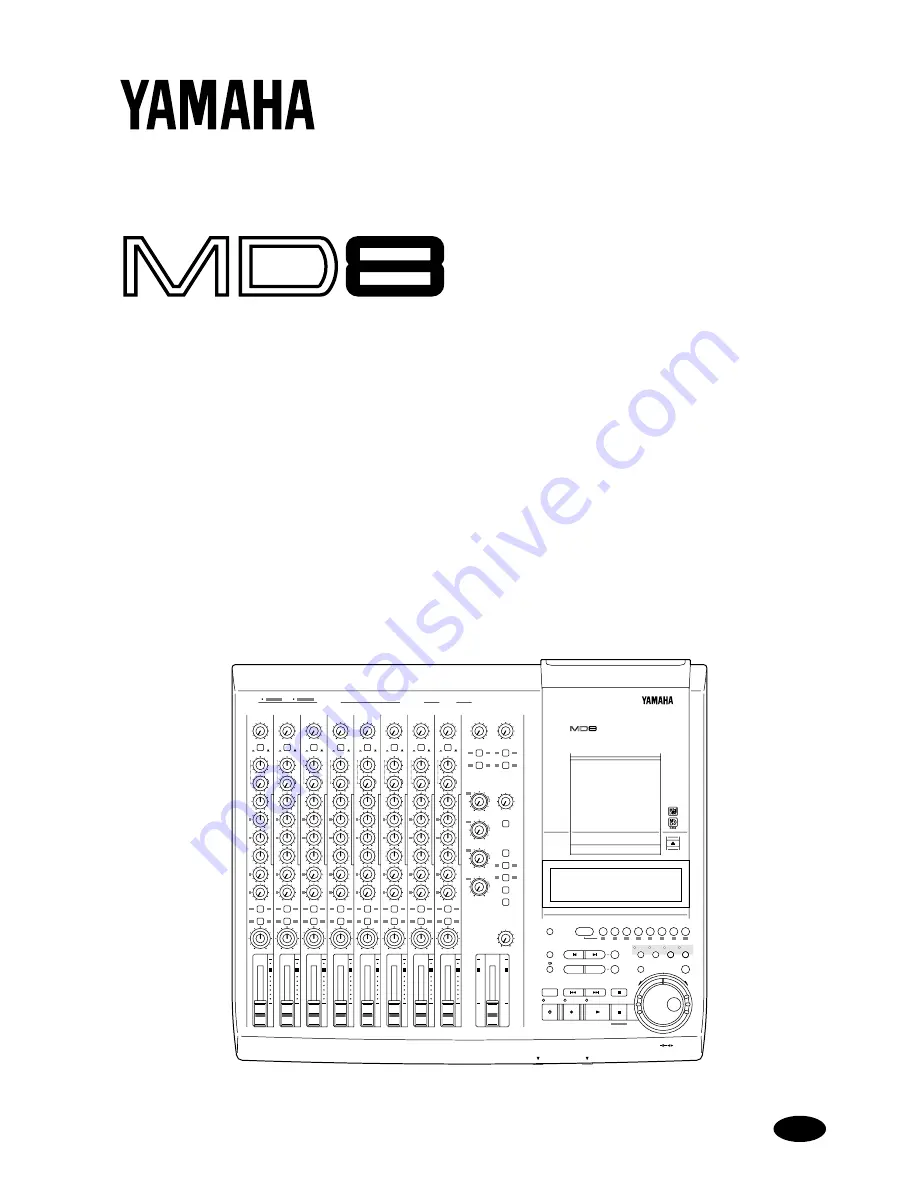
MULTITRACK MD RECORDER
Owner’s Manual
E
MULTITRACK MD RECORDER
GROUP
1
CH 1
CH 2
CH 3
CH 4
CH 5
CH 6
CH 7
CH 8
2
3
4
5
6
7
8
REC SELECT
DISPLAY
REPEAT
MARK SEARCH
MARK
AUTO
PUNCH I/O
SONG SEARCH
PAUSE
REHE
REC
PLAY
STOP
A B
LAST REC SEARCH
SET
EXIT
ADJUST
PITCH
EDIT
UTILITY
ENTER
PHONES
PUNCH I/O
DATA
+ –
CURSOR
1
1
2
3
4
2
1
2
3
4
3
4
GROUP ASSIGN
GROUP ASSIGN
1
3
2
4
GROUP
2TR IN
MONITOR
SELECT
CUE MIX
TO STEREO
CUE
MASTER
GROUP
MASTER
STEREO
CUE
0
10
0
10
0
10
0
10
0
10
0
10
0
10
MONITOR
LEVEL
MIN
MAX
9-10
LINE
GAIN
HIGH
MID
LOW
AUX
PAN
MIC
L
R
8
8
STEREO
11-12
10
9
8
7
6
5
4
3
2
1
0
10
9
8
7
6
5
4
3
2
1
0
10
9
8
7
6
5
4
3
2
1
0
–15
+15
–15
+15
–15
+15
250
5k
FLIP
CUE
0
10
F
G
1
0
10
2
0
10
1
2
3
4
GROUP ASSIGN
L
ODD
R
EVEN
LINE
GAIN
HIGH
MID
LOW
AUX
PAN
MIC
L
R
7
7
10
9
8
7
6
5
4
3
2
1
0
–15
+15
–15
+15
–15
+15
250
5k
FLIP
CUE
0
10
F
G
1
0
10
2
0
10
1
2
3
4
GROUP ASSIGN
L
ODD
R
EVEN
LINE
GAIN
HIGH
MID
LOW
AUX
PAN
MIC
L
R
6
6
10
9
8
7
6
5
4
3
2
1
0
–15
+15
–15
+15
–15
+15
250
5k
FLIP
CUE
0
10
F
G
1
0
10
2
0
10
1
2
3
4
GROUP ASSIGN
L
ODD
R
EVEN
LINE
GAIN
HIGH
MID
LOW
AUX
PAN
MIC
L
R
5
5
10
9
8
7
6
5
4
3
2
1
0
–15
+15
–15
+15
–15
+15
250
5k
FLIP
CUE
0
10
F
G
1
0
10
2
0
10
1
2
3
4
GROUP ASSIGN
L
ODD
R
EVEN
LINE
GAIN
HIGH
MID
LOW
AUX
PAN
MIC
L
R
4
4
10
9
8
7
6
5
4
3
2
1
0
–15
+15
–15
+15
–15
+15
250
5k
FLIP
CUE
0
10
F
G
1
0
10
2
0
10
1
2
3
4
GROUP ASSIGN
L
ODD
R
EVEN
LINE
GAIN
HIGH
MID
LOW
AUX
PAN
MIC
L
R
3
3
10
9
8
7
6
5
4
3
2
1
0
–15
+15
–15
+15
–15
+15
250
5k
FLIP
CUE
0
10
F
G
1
0
10
2
0
10
1
2
3
4
GROUP ASSIGN
L
ODD
R
EVEN
LINE
GAIN
HIGH
MID
LOW
AUX
PAN
MIC
L
R
2
2
10
9
8
7
6
5
4
3
2
1
0
–15
+15
–15
+15
–15
+15
250
5k
FLIP
CUE
0
10
F
G
1
0
10
2
0
10
1
2
3
4
GROUP ASSIGN
L
ODD
R
EVEN
LINE
GAIN
HIGH
MID
LOW
AUX
PAN
MIC
L
R
1
1
10
9
8
7
6
5
4
3
2
1
0
–15
+15
–15
+15
–15
+15
250
5k
FLIP
PB
MIC/
LINE
CUE
0
10
F
G
1
0
10
2
0
10
1
2
3
4
GROUP ASSIGN
L
ODD
R
EVEN
P
A
N
L
E
V
E
L
PB
MIC/
LINE
P
A
N
L
E
V
E
L
PB
MIC/
LINE
P
A
N
L
E
V
E
L
PB
MIC/
LINE
P
A
N
L
E
V
E
L
PB
MIC/
LINE
P
A
N
L
E
V
E
L
PB
MIC/
LINE
P
A
N
L
E
V
E
L
PB
MIC/
LINE
P
A
N
L
E
V
E
L
PB
MIC/
LINE
P
A
N
L
E
V
E
L
MIC/LINE INPUT
LINE INPUT
AUX SEND
1
2
3
4
5
6
7
8
9
10
11
12
1
2
INSERT I/O
INSERT I/O
1
2
3
4
1
2
3
4
TOC WRITE
IN
OUT


