1
PLAYBACK
2
REC/PLAYBACK
EJECT
DOLBY B NR
DISC CHANGE
Active Servo
Technology
DISC
LOCATION
USER
VOLUME
DOWN
UP
MEMORY
BAND
REC/PAUSE
MODE
HOUR
MIN
NORMAL
DUBBING
HIGH
MEMORY
TIME ADJ
DOLBY NR
AUTO/MAN’L
TIMER
TIMER REC
MUSIC
POWER
PHONES
PRESET/TUNING
A/B/C/D/E
RANDOM
REPEAT
EDIT
DISPLAY
CD
TUNER
AUX
TAPE 1/2
START
MODE
FREQ PS/PTY/RT/CT
PTY SEEK
EJECT
Active Servo
Technology
Active Servo
Technology
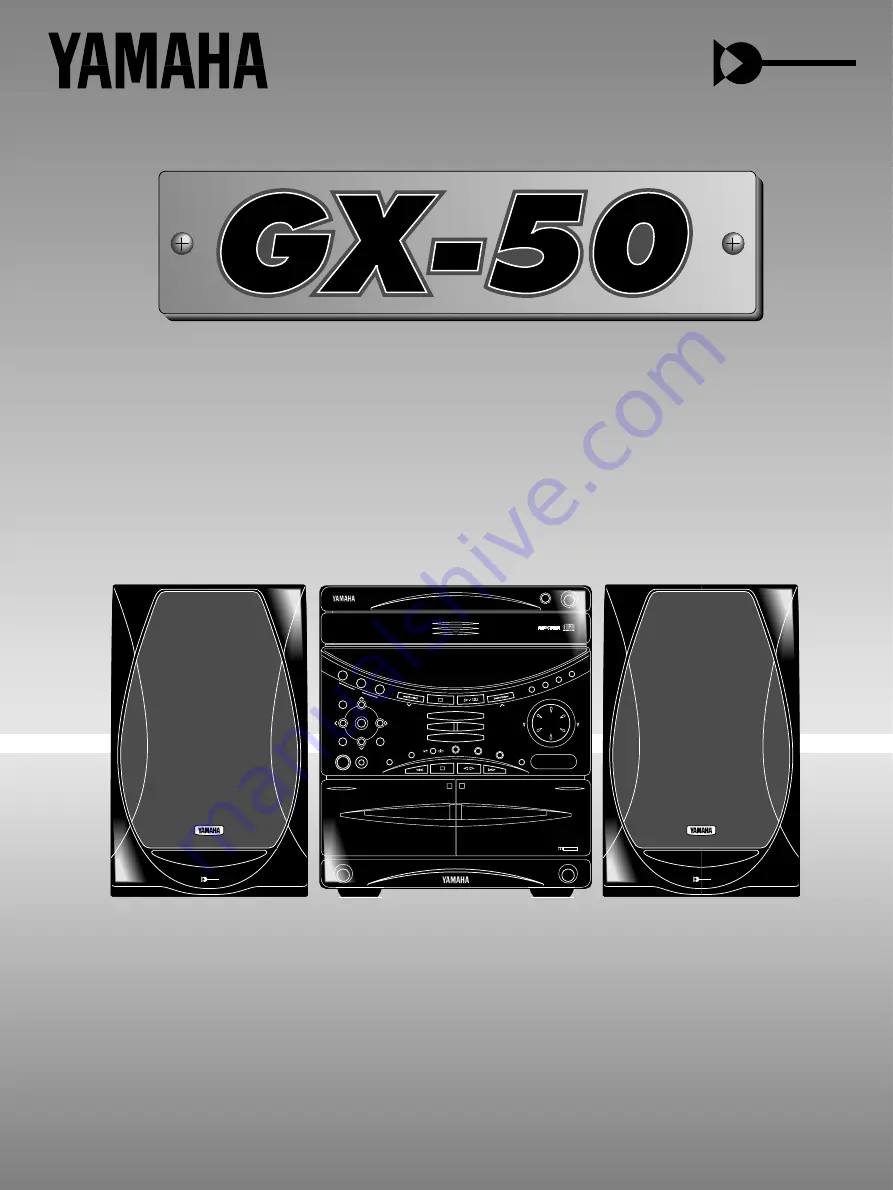
MINI COMPONENT SYSTEM
GX–50
1
2
3
OPEN/CLOSE
Active Servo
Technology
Natural Sound Mini Component System
Chaîne Mini de la série “Natural Sound”
OWNER‘S MANUAL
MODE D‘EMPLOI