


Summary of Contents for CD Recordable/Rewritable Drive CRW-F1
Page 1: ......
Page 4: ......
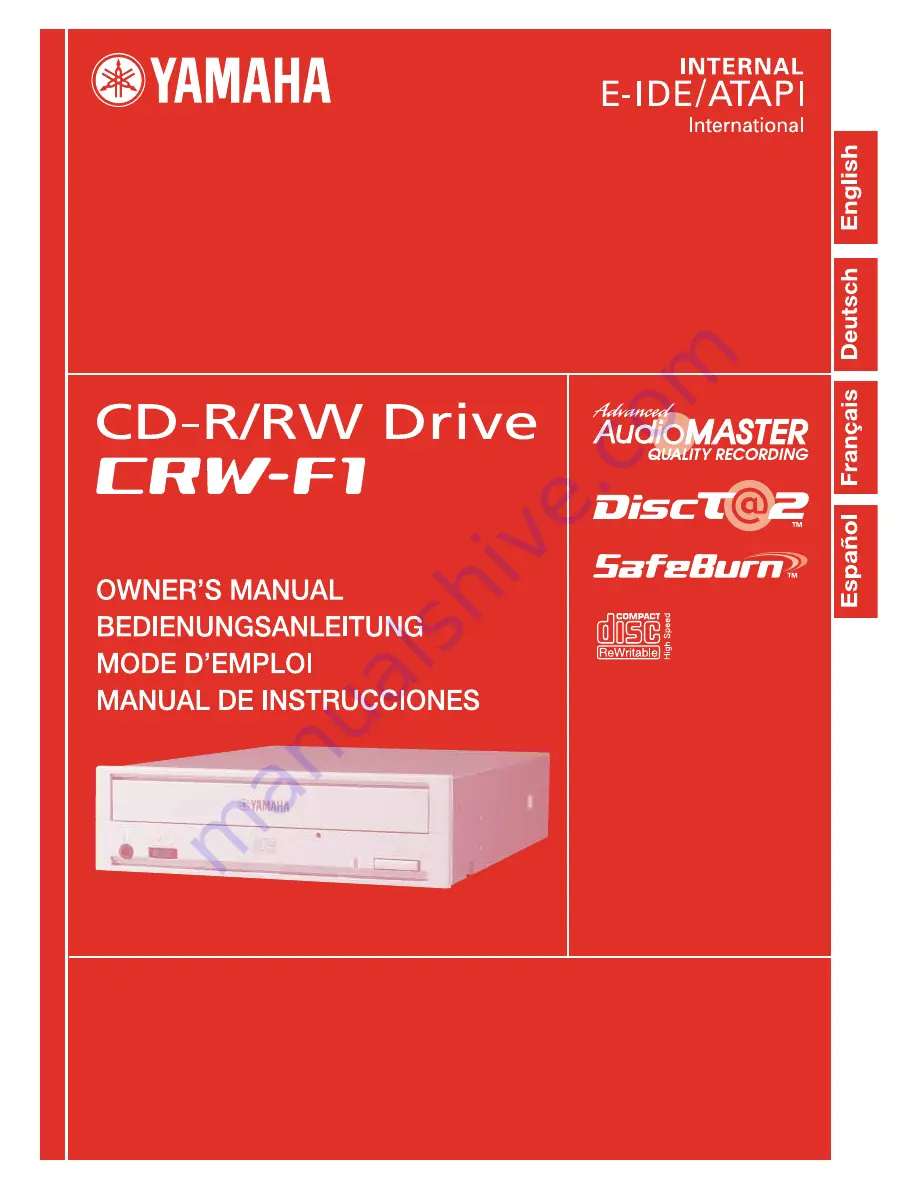
Page 5: ...i OWNER S MANUAL English ...
Page 52: ......
Page 54: ......
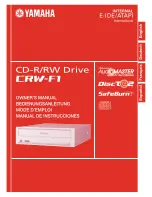
The Yamaha CD Recordable/Rewritable Drive CRW-F1 offers exceptional recording and rewriting capabilities. Fully explore the features of this high-quality product by referring to the comprehensive Owner's Manual. Download the manual for free from manualshive.com and get the most out of your CRW-F1 with the help of detailed instructions and guidelines.
Page 1: ......
Page 4: ......
Page 5: ...i OWNER S MANUAL English ...
Page 52: ......
Page 54: ......