Whirlpool 220-240~volt, Instructions For Installation And Use Manual
The Whirlpool 220-240~volt appliance brings convenience and power to your home. Ensure easy setup with the included Installation Instructions manual, which you can download for free at manualshive.com. Download now to effortlessly set up and maximize the benefits of your Whirlpool product.
Share
Download


Reviews:
No comments
Related manuals for 220-240~volt
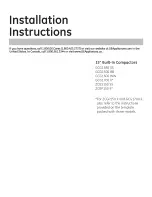
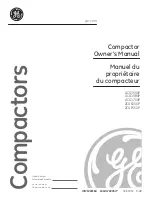
GCG1500 BB
Brand: GE Pages: 24
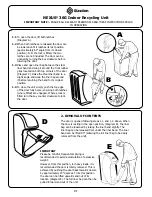
NEXUS 36G
Brand: Glasdon Pages: 2
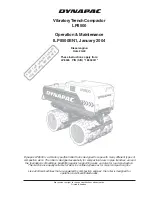
LP8500
Brand: Dynapac Pages: 34
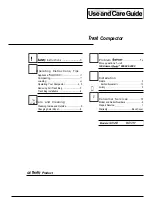
Universal II
Brand: GEAppliances Pages: 16
GCG1700II
Brand: GE Pages: 24

TC707S
Brand: Jenn-Air Pages: 3
Wesco Ergo-Master 060100-47
Brand: Cucine Oggi Pages: 3
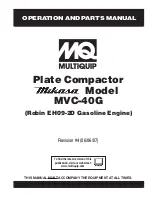
Mikasa MVC-40G
Brand: MULTIQUIP Pages: 62
TC507W - Jenn-Air Trash Compactor
Brand: Jenn-Air Pages: 28
MTUC7000AWB
Brand: Maytag Pages: 16
E15TC75HPS - Fully Integrated Trash Compactor
Brand: Electrolux Pages: 44
E15TC75HSS - ICON Designer
Brand: Electrolux Pages: 2
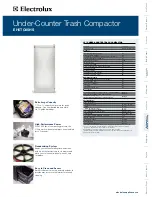
EI15TC65HS - Undercounter Trash Compactor
Brand: Electrolux Pages: 12
EI15TC65HS - Undercounter Trash Compactor
Brand: Electrolux Pages: 2
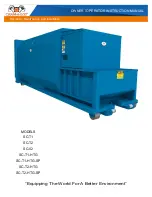
SC-02
Brand: CRAM-A-LOT Pages: 42
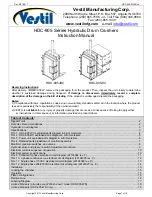
HDC-905 Series
Brand: Vestil Pages: 19
GCG1200
Brand: GE Pages: 16
GCG1500P
Brand: GE Pages: 28


