

Summary of Contents for VN-1KSAE
Page 32: ......
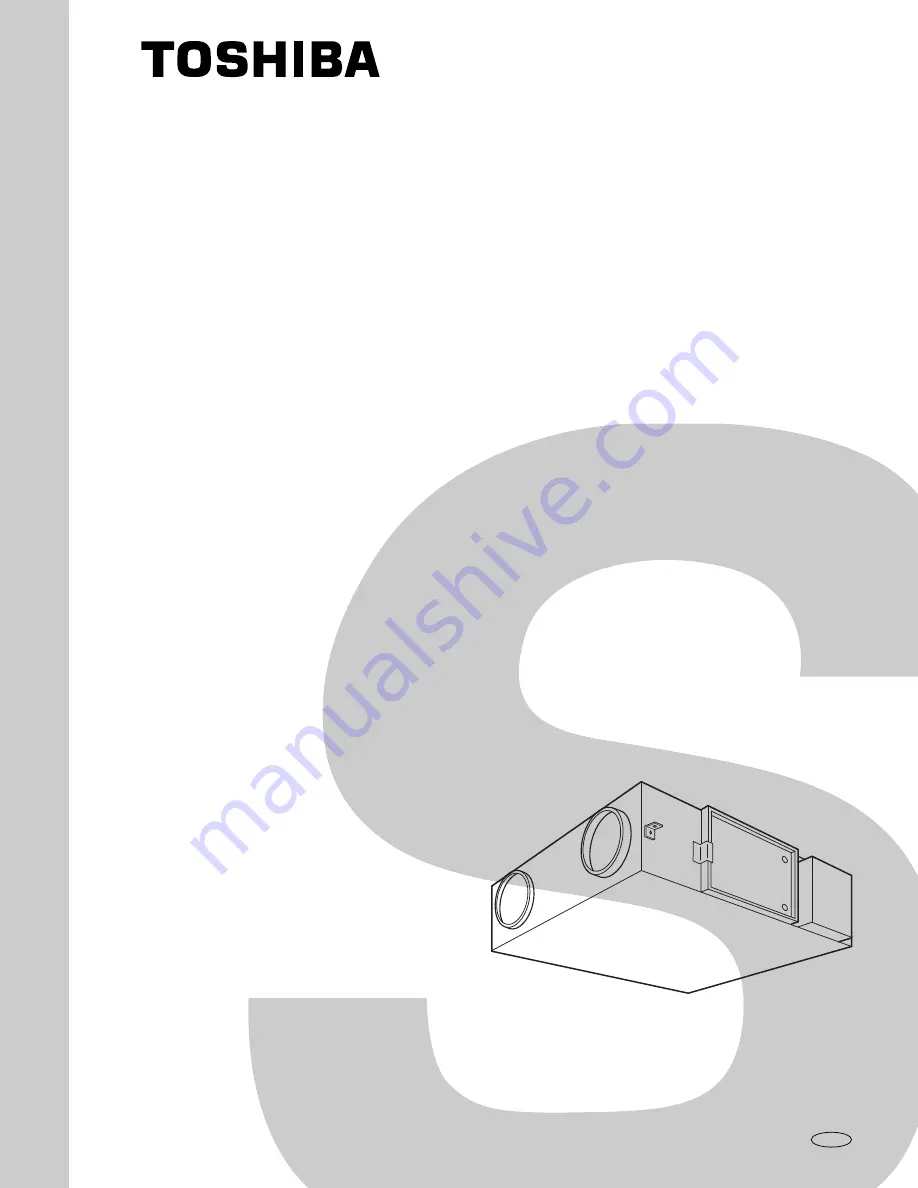
The Toshiba VN-1KSAE Service Manual is a comprehensive guide for troubleshooting and maintenance of this high-performance device. Easily downloadable for free from our website, it provides detailed instructions and diagrams to ensure seamless operation, helping you make the most of your Toshiba VN-1KSAE product.
Page 32: ......


