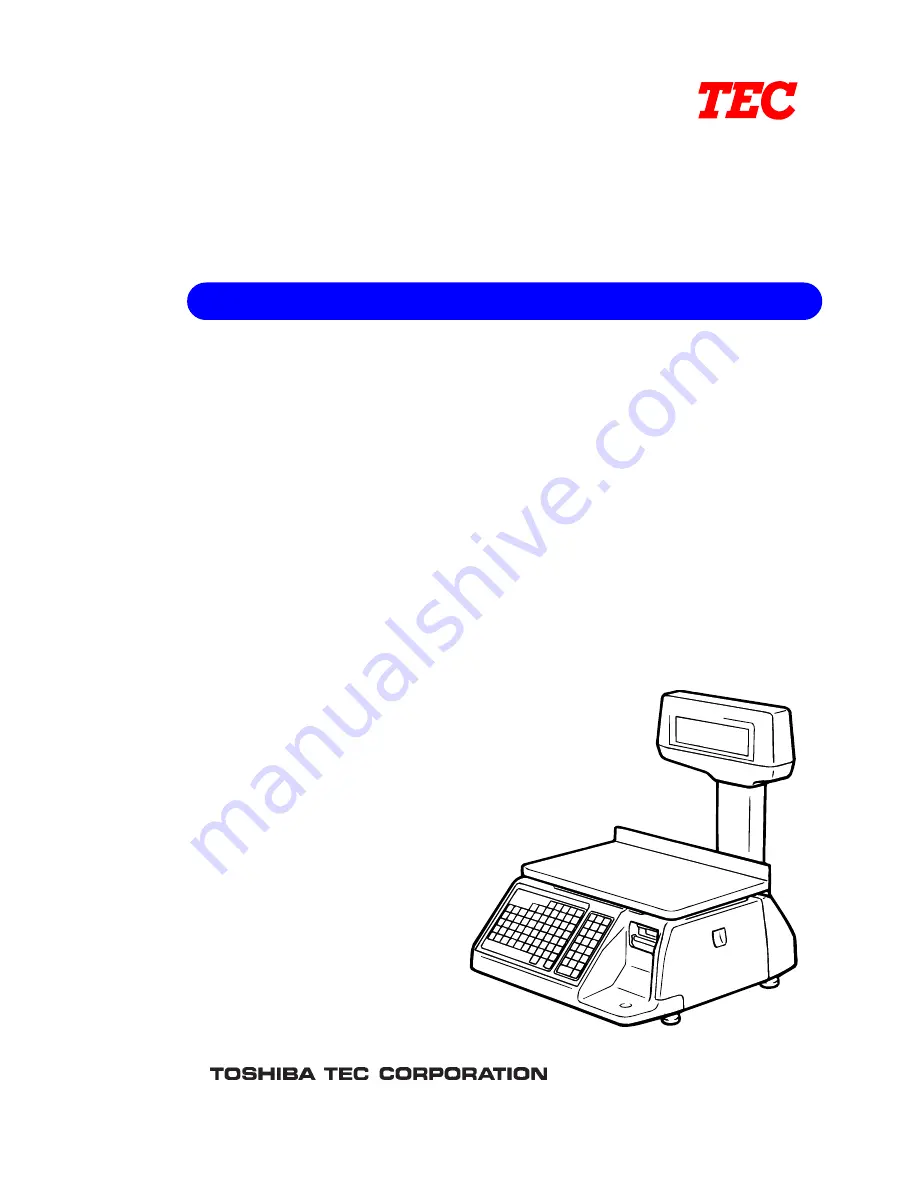
Toshiba TEC EM1-31074, Owner'S Manual
The Toshiba TEC EM1-31074 Owner's Manual is essential for maximizing the potential of your device. Discover the product's full range of features and functionality by downloading the manual for free from our website. Gain detailed insights and expert instructions that help you get the most out of your Toshiba TEC EM1-31074.
Share
Download


Reviews:
No comments
Related manuals for TEC EM1-31074

7000 Series
Brand: OHAUS Pages: 134
713
Brand: Jata hogar Pages: 20
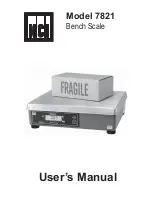
7821
Brand: NCI Pages: 28
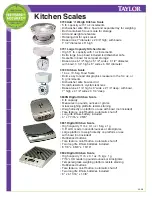
3700
Brand: Taylor Pages: 2
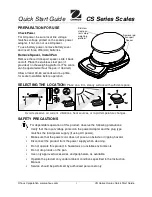
CS Series
Brand: OHAUS Pages: 2
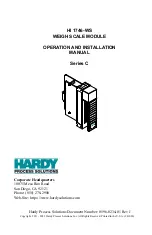
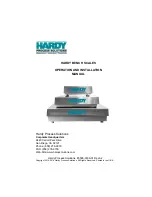
C Series
Brand: Hardy Process Solutions Pages: 92
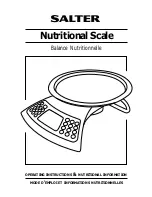
pmn
Brand: Salter Housewares Pages: 25
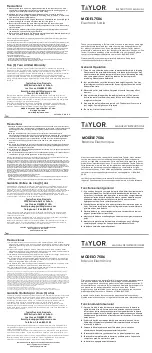
7356
Brand: Taylor Pages: 2
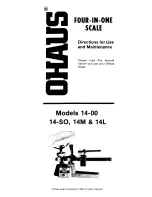
1400 Series
Brand: OHAUS Pages: 5
400 Series
Brand: Hardy Process Solutions Pages: 18
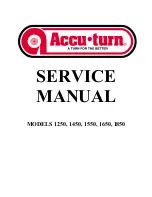
1250
Brand: Accu-Turn Pages: 85

BC-1000
Brand: Tanita Pages: 3
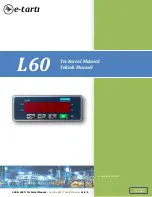
L60
Brand: e-tarti Pages: 15
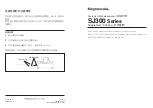
SJ300 Series
Brand: Magnescale Pages: 2

531
Brand: Jata hogar Pages: 24
7506
Brand: Taylor Pages: 2
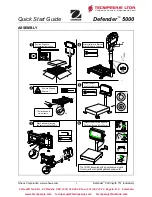
5000
Brand: OHAUS Pages: 4
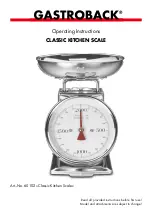
60102
Brand: Gastroback Pages: 5


