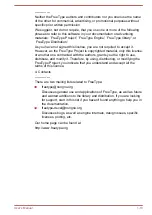
Toshiba dynaPad WT12PE-A Series, User Manual
The Toshiba dynaPad WT12PE-A Series offers a high-performance tablet experience. Unlock its full potential with the detailed User Manual packed with essential instructions and tips. Download the manual for free at manualshive.com and discover the endless possibilities this cutting-edge device has to offer.
Share
Download


Reviews:
No comments
Related manuals for dynaPad WT12PE-A Series

Aspire E5-411
Brand: Acer Pages: 89

Aspire ES11
Brand: Acer Pages: 80
Aspire MS2298
Brand: Acer Pages: 374

Aspire One Cloudbook 14
Brand: Acer Pages: 66

Aspire Switch 12
Brand: Acer Pages: 87
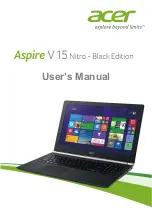
Aspire V 15 Nitro
Brand: Acer Pages: 80
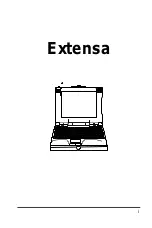
Extensa Series
Brand: Acer Pages: 88

NITRO 5 SPIN
Brand: Acer Pages: 76
a7600
Brand: Lenovo Pages: 83
A556U
Brand: Asus Pages: 118
DA8276
Brand: Asus Pages: 124
DA8878
Brand: Asus Pages: 108
X555U
Brand: Asus Pages: 114

X556U
Brand: Asus Pages: 120

LIFEBOOK U537
Brand: Fujitsu Pages: 29

LIFEBOOK E546
Brand: Fujitsu Pages: 111
240 G6
Brand: HP Pages: 108
EliteBook 725 G4
Brand: HP Pages: 101


