


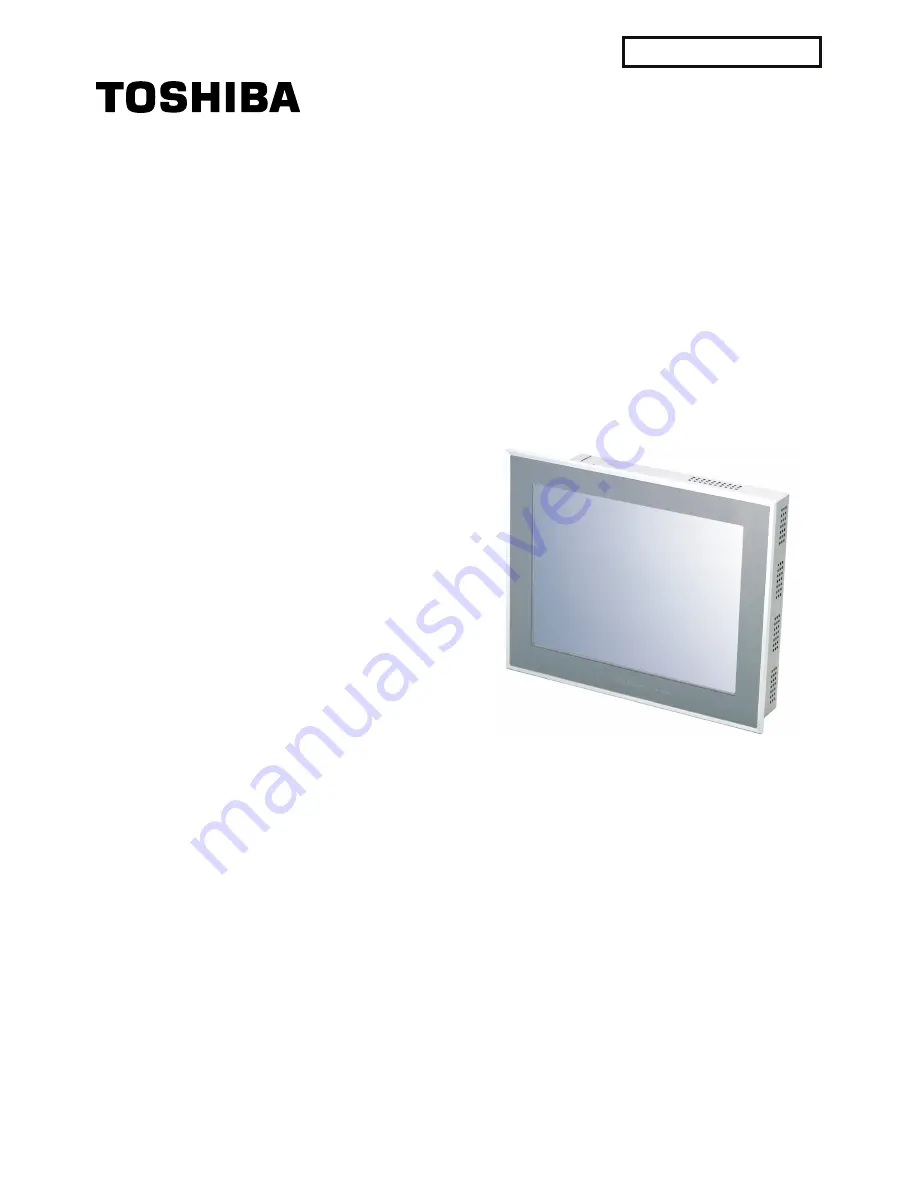
Air Conditioning Control System
Système de contrôle de la climatisation
Klima-Steuerungssystem
• Thank you very much for purchasing TOSHIBA Air Conditioning Control System.
• Please read this manual carefully beforehand for thorough understanding to use this product correctly and safely.
• Please keep this manual at hand for quick reference.
• Be sure to have the product’s warranty.
• Nous vous remercions d’avoir porté votre choix sur un système de contrôle de la climatisation TOSHIBA.
• Commencez par lire attentivement ce manuel pour bien comprendre le système afin de pouvoir l’utiliser
correctement et en toute sécurité.
• Conservez ce manuel à portée de main pour pouvoir le consulter rapidement.
• Veillez à disposer de la garantie produit.
• Vielen Dank, dass Sie sich für das TOSHIBA Klima-Steuerungssystem entschieden haben.
• Bitte lesen Sie dieses Handbuch vor dem Betrieb sorgfältig durch, um zu gewährleisten, dass Sie die korrekte
Handhabung und die Sicherheitshinweise verstehen.
• Bitte bewahren Sie dieses Handbuch griffbereit auf, damit Sie jederzeit darin nachschlagen können.
• Stellen Sie sicher, dass die Produktgarantie beiliegt.
OWNER’S MANUAL
MODED’EMPLOL
BENUTZERHANDBUCH
MODEL/MODELE/MODELL
BMS-TP5121PWE
BMS-TP5121ACE
BMS-TP0641PWE
BMS-TP0641ACE
VOLUME-1


