


TOSHIBA FULLY AUTOMATIC WASHING MACHINE
Thank you for purchasing TOSHIBA Fully Automatic
Washing Machine.
•
Please read this manual carefully in order to operate the
machine properly.
•
Sometimes you may find some water
remaining in the drainage hose at your first
operation. This is caused by the production-
line test and nothing to worry about.
CONTENTS
WARNING ............................................ 2
CAUTION ............................................. 3
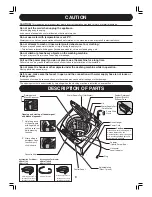
DESCRIPTION OF PARTS .................. 3
CONTROL PANEL
DESCRIPTION.................................4~5
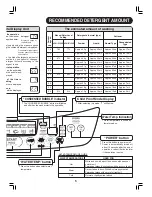
RECOMMENDED DETERGENT
AMOUNT.............................................. 5
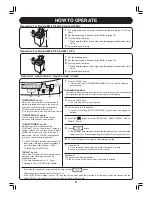
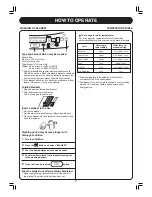
HOW TO OPERATE.........................6~7
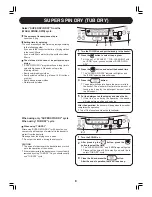
SUPER SPIN DRY (TUB DRY) ............ 8
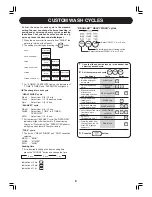
CUSTOM WASH CYCLES ................... 9
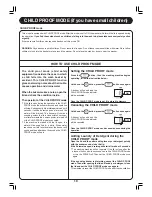
CHILD PROOF MODE ....................... 10
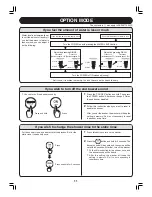
OPTION MODE.................................. 11
PRESET MODE ................................. 12
RESUME FUNCTION ........................ 12
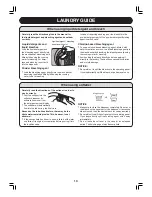
LAUNDRY GUIDE .............................. 13
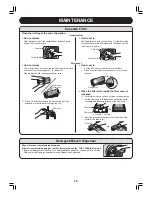
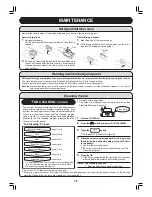
MAINTENANCE ...........................14~16
INSTALLATION ............................16~18
BEFORE CALLING
THE SERVICEMAN .....................19~20
HANDLING METHOD FOR
EMERGENCY .................................... 20
SPECIFICATIONS ............................. 20
OWNER’S MANUAL
A E W - 9 7 7 0 S
AEW-9770SUP
A E W - 1 1 7 0 S
AEW-1170SUP


