

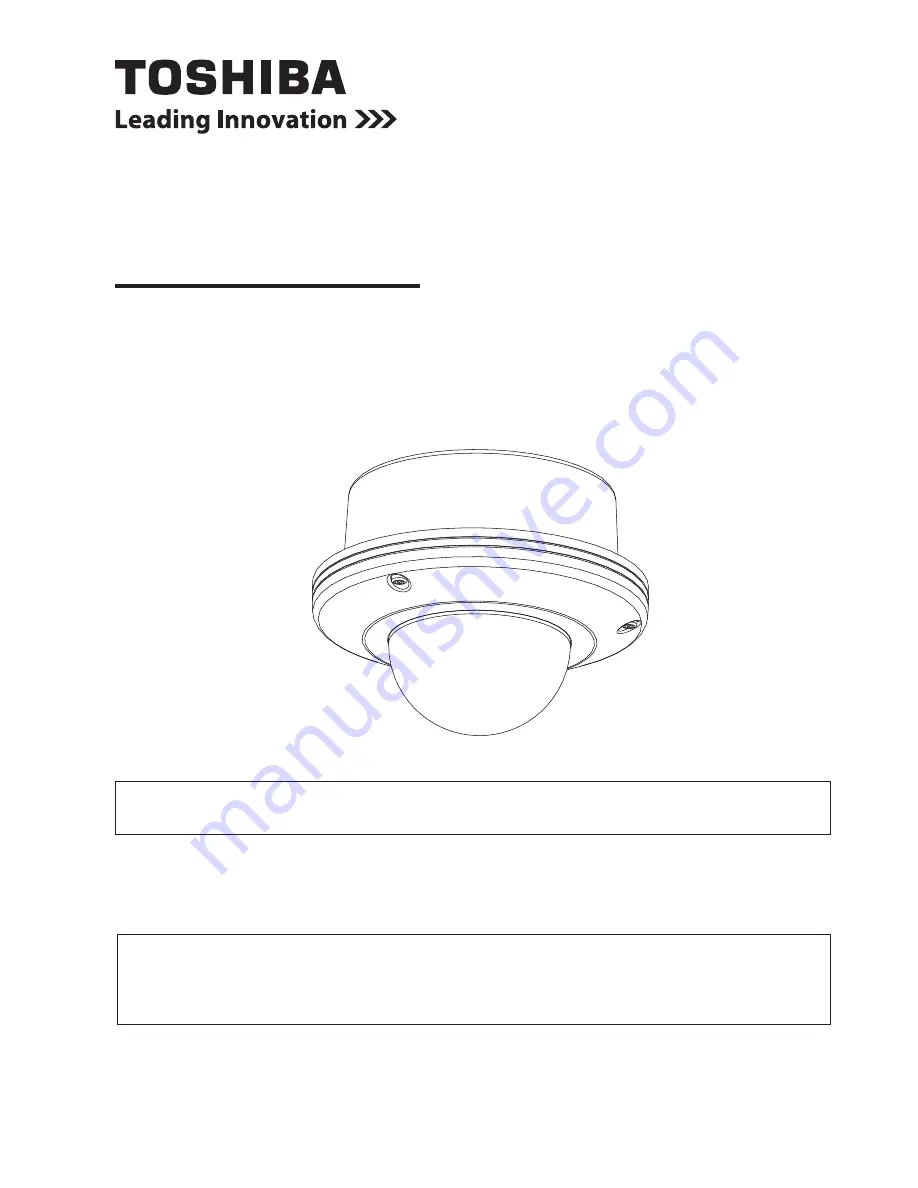
NETWORK CAMERA
Model: IK-WR12A
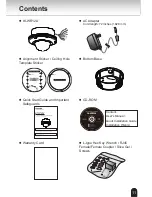
Quick Start Guide and Important Safeguards
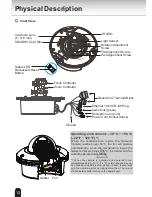
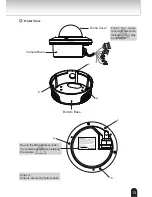
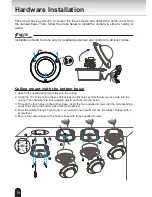
This guide describes the hardware installation.
Refer to the user's manual (PDF file) contained in the CD-ROM for settings, operations
and other information.
The application Adobe Reader is needed to view PDF files. If you do not have this
application, download it from the Adobe Systems Incorporated website.
For information on our latest products and peripheral devices, refer to the following
Website:
n
http://www.toshibasecurity.com
If the URL changes, refer to the Toshiba website (http://www.toshiba.com).
Summary of Contents for 625012200G
Page 23: ...23 Notes ...


