Siemens SPCK 420, User Manual
The Siemens SPCK 420 user manual is an essential guide to unlock the full potential of your device. Find step-by-step instructions, troubleshooting tips, and useful information for free download on our website. Make the most of your Siemens SPCK 420 with our comprehensive manual available at manualshive.com.
Share
Download


Reviews:
No comments
Related manuals for SPCK 420
816
Brand: IDS Pages: 64
NetworX Series
Brand: GE Pages: 24
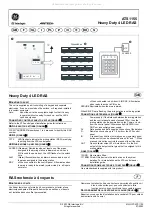
Interlogix Aritech ATS1155
Brand: GE Pages: 2
KTD-404
Brand: KALATEL Pages: 8
NX-148E - Security NetworX LCD Keypad
Brand: GE Pages: 24
OfficeServ ITP-5121D
Brand: Samsung Pages: 2
DS 5000 Series
Brand: Samsung Pages: 91

DS 5007S KEYSET
Brand: Samsung Pages: 20
OfficeServ 7200
Brand: Samsung Pages: 43
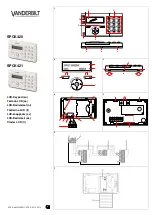
SPCK420
Brand: Vanderbilt Pages: 11
SCF SERIES
Brand: AC Tech Pages: 2

09 Series
Brand: eao Pages: 19
CK2.2
Brand: B&K Pages: 6
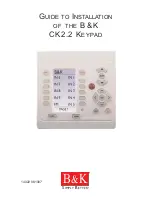
CK2.2
Brand: B&K Pages: 12
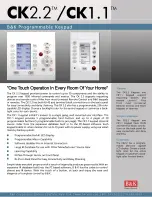
CK1.1
Brand: B&K Pages: 2
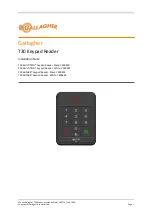
T30
Brand: Gallagher Pages: 13
System 236i
Brand: C&K systems Pages: 40
NX148-E
Brand: CADDX Pages: 16


