Siemens HB678GB.6B, Instruction Manual
The Siemens HB678GB.6B comes with a comprehensive Instruction Manual to help you make the most of its advanced features. Download the free manual from our website to access step-by-step instructions, troubleshooting tips, and useful guidelines for optimal usage of this innovative product.
Share
Download


Reviews:
No comments
Related manuals for HB678GB.6B

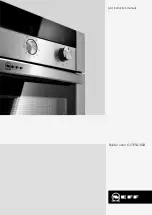
B25CR22.1B
Brand: NEFF Pages: 44

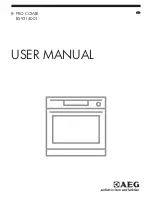
BC3000001M
Brand: AEG Pages: 29

BP5023001M
Brand: AEG Pages: 36
C17E54.3GB
Brand: NEFF Pages: 32
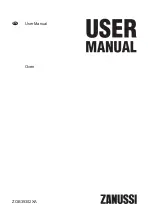
ZOB35302XA
Brand: Zanussi Pages: 20
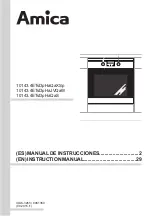
10143.4ETsDpHaJVQaW
Brand: Amica Pages: 56
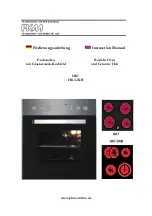
HK7
Brand: Pkm Pages: 46
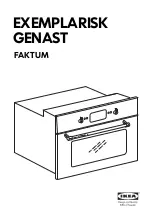
EXEMPLARISK GENAST
Brand: IKEA Pages: 20

EXEMPLARISK GENAST
Brand: IKEA Pages: 92

C27MS22.0B
Brand: NEFF Pages: 56
ProCombi BS9304001
Brand: AEG Pages: 52

HBA53B5.0A
Brand: Bosch Pages: 28

HBG23T5.0J
Brand: Bosch Pages: 28

HBL53B5.0A
Brand: Bosch Pages: 28
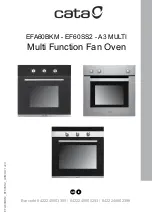
A3MULTI
Brand: Cata Pages: 36
Bellissimo TB86MSS-3
Brand: Technika Pages: 31
RBO-IA8X-70SS
Brand: Rubine Pages: 23
CZ55580
Brand: Coolzone Pages: 16


