A5E00127926D-05
GN: 30050_VentilMC / Dresch
Manual Edition 03/2006
Siemens Aktiengesellschaft
Automation and Drives
Process Instrumentation and Analytics
76181 KARLSRUHE
GERMANY
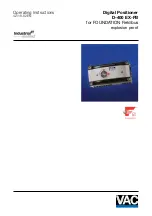
Electropneumatic Positioner
SIPART PS2 PA
6DR55xx
www.siemens.com/processinstrumentation
Electr
opneumatic P
ositioner SIP
AR
T PS2 P
A
0
3
/2006
Manual
sipart
A5E00127926-05
@ 1 P A 5 E 0 0 1 2 7 9 2 6 @
A5E00127926
Summary of Contents for 6DR55 Series
Page 2: ......
Page 8: ...6 SIPART PS2 PA Manual A5E00127926 05 ...
Page 24: ...Introduction 22 SIPART PS2 PA Manual A5E00127926 05 ...
Page 46: ...Design and method of operation 44 SIPART PS2 PA Manual A5E00127926 05 ...
Page 92: ...Preparing for operation 90 SIPART PS2 PA Manual A5E00127926 05 ...
Page 132: ...Operation 130 SIPART PS2 PA Manual A5E00127926 05 ...
Page 160: ...Functions operation via PROFIBUS PA 158 SIPART PS2 PA Manual A5E00127926 05 ...
Page 163: ...Technical data 161 SIPART PS2 PA Manual A5E00127926 05 Technical data see following pages 7 ...
Page 177: ......