

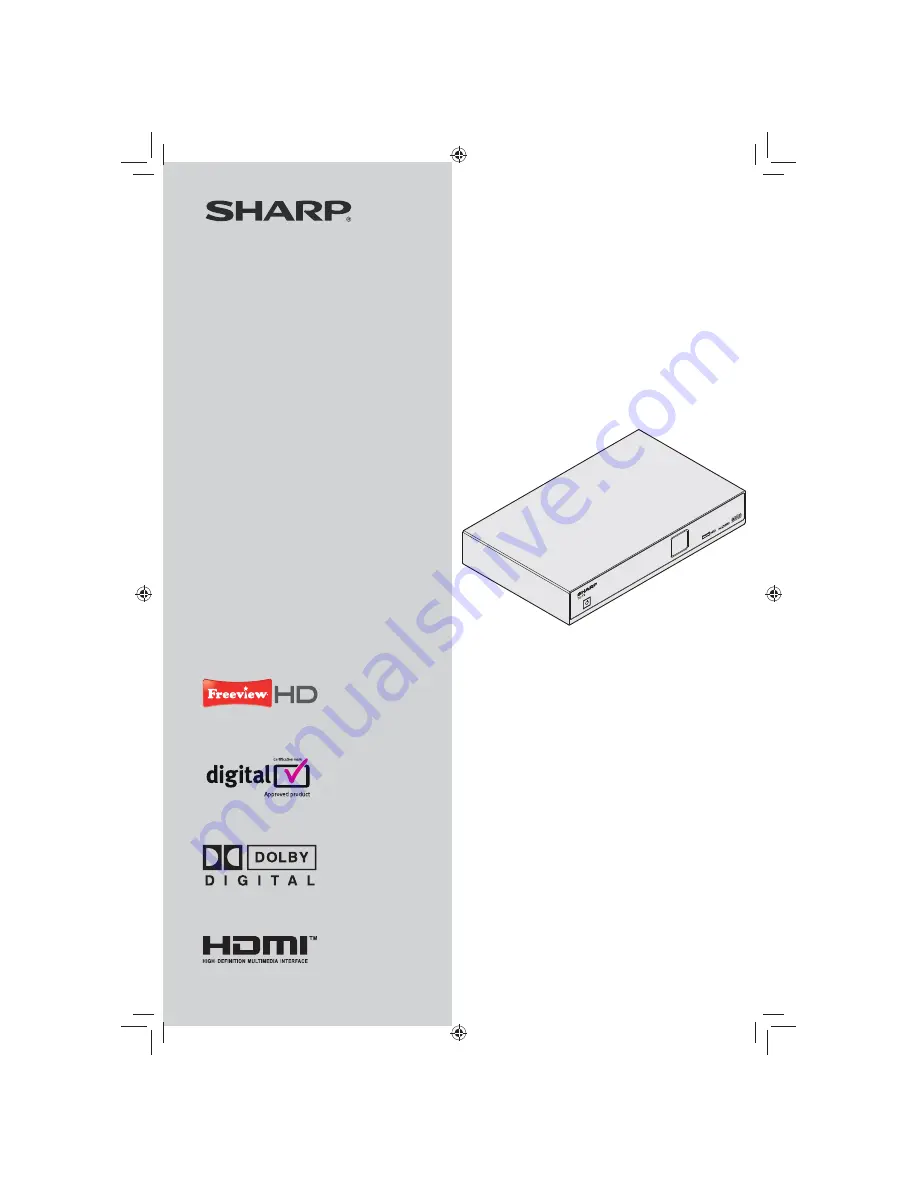
Digital Terrestrial HD Receiver
MODEL
TU-T2
Thank you for purchasing this SHARP product. To obtain the best
performance from this product, please read this manual carefully. It
will guide you in operating your SHARP product.
OPERATION MANUAL
Manufactured under license
from Dolby Laboratories.
Dolby and the double-D
symbol are trademarks of
Dolby Laboratories.
HDMI, the HDMI logo and
High-Definition Multimedia
Interface are trademarks or
registered trademarks of
HDMI Licensing LLC.
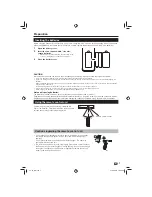
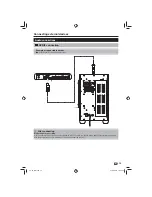
Important:
This product can only receive Digital Terrestrial TV
signals, subject to coverage an aerial upgrade may be required.
Text your postcode followed by your house name or number to
83331* or go to www.freeview.co.uk/availability (*Costs no more
than a normal text).
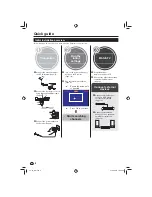
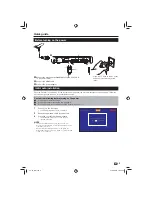
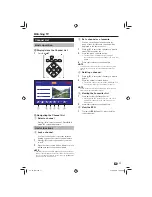
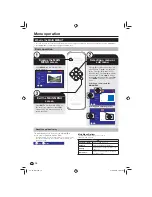
Read this operation manual carefully.
1
If you still encounter a problem, please call our service help
2
line on 0845 880 0421 during normal weekday office hours.
TU-T2_GB.indd 1
TU-T2_GB.indd 1
01/06/2010 16:02:38
01/06/2010 16:02:38


