Sharp CE-152, Instruction Manual
The Sharp CE-152 is a user-friendly electronic device with advanced features. To unleash its full potential, make sure to download the comprehensive Instruction Manual for free from manualshive.com. This manual will provide you with detailed instructions, making your experience effortless and enjoyable.
Share
Download


Reviews:
No comments
Related manuals for CE-152

RQ-L31 - Cassette Dictaphone
Brand: Panasonic Pages: 7
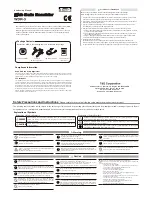
WDR-3
Brand: T&D Pages: 4
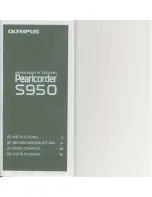
Perlcorder S950
Brand: Olympus Pages: 28
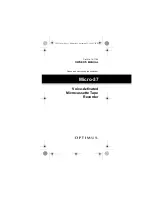
14-1164
Brand: Optimus Pages: 36
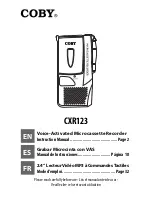
CXR123
Brand: Coby Pages: 48
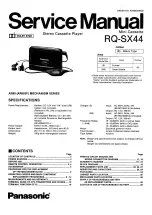
RQ-SX44
Brand: Panasonic Pages: 26
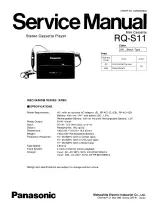
RQ-S11
Brand: Panasonic Pages: 15

3-5369
Brand: GE Pages: 4
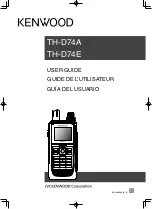
TH-D74A
Brand: Kenwood Pages: 148
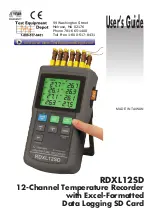
RDXL12SD
Brand: Omega Pages: 20
AK95
Brand: Panasonic Pages: 27
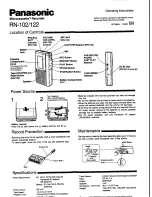
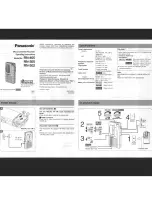
RN-102
Brand: Panasonic Pages: 2
RN-405
Brand: Panasonic Pages: 4
RN-505
Brand: Panasonic Pages: 6

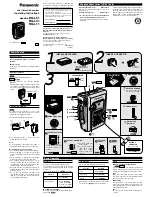
RQ-L319
Brand: Panasonic Pages: 7
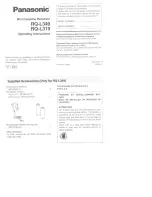
RQ-L349
Brand: Panasonic Pages: 7
RQ-L51
Brand: Panasonic Pages: 2
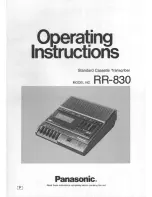
RR830 - Desktop Cassette Transcriber
Brand: Panasonic Pages: 12


