background image

INSTRUCTION MANUAL
BEDIENUNGSANLEITUNG
MANUEL D’INSTRUCTIONS
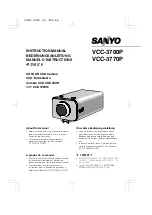
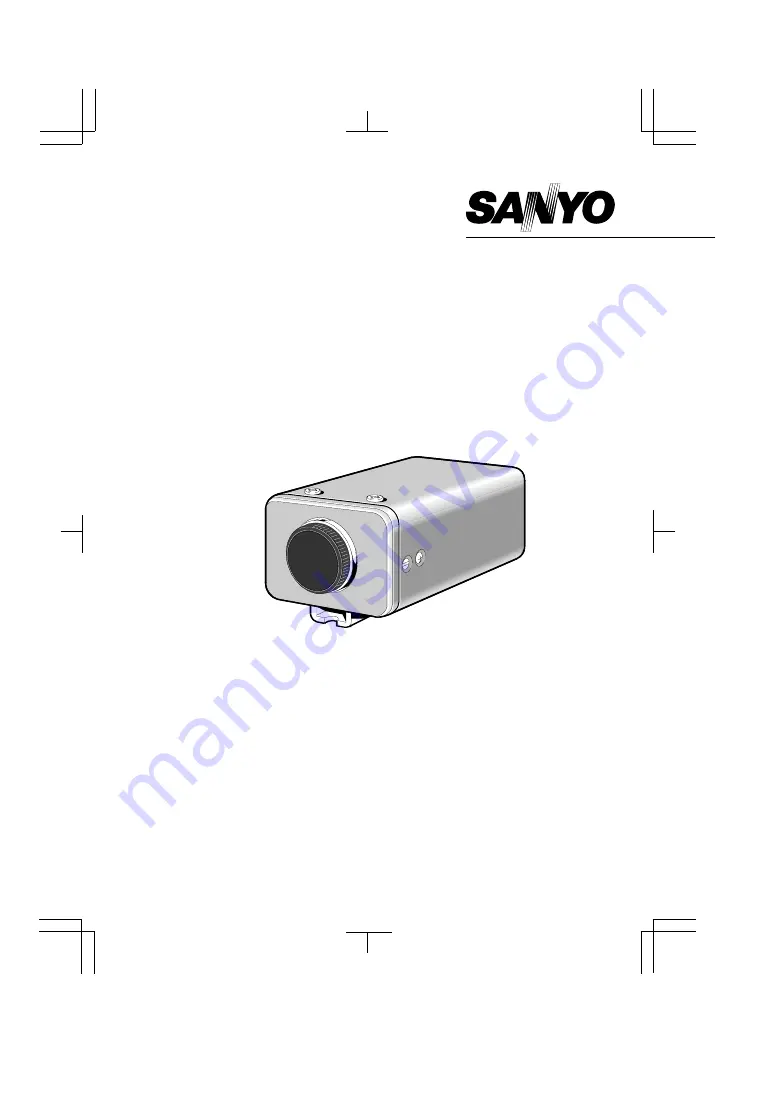
COLOUR CCD Camera

CCD-Farbkamera

Caméra CCD COULEUR

CCD

VCC-3700P
VCC-3770P

About this manual

Before installing  and using the camera, please
read this manual carefully. Be sure to keep it
handy for later reference.

This manual gives basic connections and
operating instructions for 2 PAL models
(VCC-3700P, 3770P).

Über diese Bedienungsanleitung

Lesen Sie bitte vor der Montage und dem
Inbetriebnehmen der Kamera zuerst diese
Bedienungsanleitung sorgfältig durch und
bewahren Sie sie zum späteren Nachschlagen
auf.

In dieser Anleitung finden Sie die Anschlüsse
und die Grundbedienung für 2 PAL-Modelle
(VCC-3700P und 3770P)


 !

"#2$PAL % (VCC-3700P,
3770P) 

&'()*+,-!

À propos de ce manuel

Avant d’installer et d’utiliser la caméra, veuillez
lire ce manuel attentivement. Gardez-le à
portée de main pour toute référence ultérieure.

Ce manuel couvre les branchements et
instructions pour l’utilisation de base pour 2
modèles de format PAL (VCC-3700P et 3770P).

L53M5, N5/XE  GB  1996, 8, 6

Summary of Contents for VCC-3700P

Page 1: ...sen Sie bitte vor der Montage und dem Inbetriebnehmen der Kamera zuerst diese Bedienungsanleitung sorgfältig durch und bewahren Sie sie zum späteren Nachschlagen auf In dieser Anleitung finden Sie die Anschlüsse und die Grundbedienung für 2 PAL Modelle VCC 3700P und 3770P 2 PAL VCC 3700P 3770P À propos de ce manuel Avant d installer et d utiliser la caméra veuillez lire ce manuel attentivement Gar...

Page 2: ...lements Low smear anti blooming low lag no burning and no geometric distortion using the CCD solid state image device 100 solid state components giving excellent immunity to shock and vibration Not subject to interference from magnetic or electrostatic fields High sensitivity minimum required illumination Model VCC 3700P 1 4 lux with F 1 2 lens Model VCC 3770P 2 lux with F 1 2 lens Horizontal reso...

Page 3: ...io speakers the magnetic field they generate will distort the image Protect from humidity and dust To prevent damages to the camera do not install it where there is greasy smoke or steam where the dampness may get too high or where there is a lot of dust Protect from high temperatures Do not install close to stoves or other heat generating devices such as spotlights etc or where it could be subjec...

Page 4: ...t from this terminal A better picture quality is obtained if the monitor or VCR is connected to this connector 1 Y signal ground 2 C signal ground 3 Y signal 1 0 Vp p 75 ohms unbalanced negative sync 4 C signal 0 3 Vp p 75 ohms unbalanced 7 Lens mount cap The cap is installed to protect the lens mount section Remove the lens mount cap before installing a lens sold separately 8 Camera installation ...

Page 5: ...ON b Internal Line lock switch SYNC INT c High speed electronic shutter switches E S All OFF 1 50 sec d White balance switch WB A e Red and Blue colour adjustment volume R B about centre f Electronic iris EI Backlight compensation BLC switch OFF g Auto iris lens switch A I LENS DC h Lens iris level volume LEVEL about centre Note The EI BLC switch is used for an auto iris lens therefore the two set...

Page 6: ...he focus using the FLANGE BACK ADJ screw 3 Repeat steps 2 and 3 until the image stays in focus when changing from a telephoto shot to a wide angle shot When the setting is complete tighten the FLANGE BACK LOCK screw MOUNTING THE LENS Check the lens mount Do not use a lens if the length L is more than 5 mm That may damage the camera and prevent proper installation Installation of a DC type auto iri...

Page 7: ...below connect the supplied plug as indicated When using lenses from other makers make sure that the pins connections in the plug correspond to the ones of the camera Refer to the lens specifications to check the pins connections in the plug If they are different than indicated remove the original plug and connect the supplied plug according to the diagram 4 Set the A I LENS switch in the camera se...

Page 8: ...mm Telephoto f 16 mm More telephoto A 1 2 Video signal connections VIDEO IN VIDEO OUT VCC 3700P CONNECTIONS Basic connection for monitoring or recording The peripheral devices VCR monitor lens etc and cables are sold separately 1 Make the video signal connection between the camera and the monitor or time lapse VCR 2 Insert the plug of this power cord into a wall outlet The POWER indicator A will l...

Page 9: ... power of all the devices connected to the camera The POWER indicator A will light Adjust the picture on the monitor using the Brightness and Contrast controls CAUTION Please use a monitor with a Y C or S VIDEO input terminal or a time lapse VCR with a S VIDEO input terminal Use a Mini DIN round type 4 pin plug to connect to the Y C connector Never use a coaxial cable longer that 10 metres to conn...

Page 10: ... PHASE volume on camera 2 until the vertical roll of the image stops If more than two cameras are used please repeat this procedure for all the cameras CAUTION If the vertical roll cannot be corrected by setting the LINE PHASE volume on camera 2 try setting the LINE PHASE volume on camera 1 If it still cannot be corrected please check that the polarity of the power cords of all connected devices i...

Page 11: ...hting is sufficient If the lighting is very bright pay attention to the light angle in order to avoid or minimize the smear phenomenon effect Table A 11 50 sec 21 120 sec 31 250 sec 41 500 sec 51 1000 sec 61 2000 sec 71 4000 sec 81 10000 sec 2 3 4 1 2 3 4 1 2 3 4 1 2 3 4 1 2 3 4 1 2 3 4 1 2 3 4 1 2 3 4 1 White balance adjustment Normally the WB white balance switch is set to the A automatic positi...

Page 12: ... the EI BLC switch to the OFF position and use an auto iris lens When shooting bright subjects pay attention to the light angle in order to avoid or minimize the smear phenomenon effect When using an auto iris lens for indoor outdoor use Set the EI BLC switch to the OFF position CAUTION If conditions are outside the electronic iris operation range or more than the maximum illumination it will caus...

Page 13: ...ions set using the LEVEL volume on the lens CAUTION The electronic iris function and the backlight compensation function cannot operate simultaneously Lens iris adjustment If using a DC type auto iris lens you will need to set the LEVEL VR301 volume when shooting in the conditions described below L counterclockwise To decrease the contrast H clockwise To increase the contrast If shooting simultane...

Page 14: ... lens focus correctly adjusted Are the lens surfaces clean If there is dust or finger prints on the lens the image quality will deteriorate To clean the lens use a soft cloth or a commercially available lens cleaning set SERVICE This camera is a precision instruments and if treated with care will provide years of satisfactory performance However in the event of a problem the owner is advised not t...

Page 15: ...table by switches 1 50 1 120 1 250 1 500 1 1000 1 2000 1 4000 1 10000 sec Flange back 12 5 mm 0 5 mm White balance Automatic TTL system Manual Gain control Manual ON OFF switching Gamma correction γ 0 45 Lens mount CS mount or C mount with the supplied adaptor Environmental conditions Temperature 10 C 50 C Humidity less than 90 no condensation Power supply 220 230 V AC 10 50 Hz Power consumption A...

Page 16: ...1AC6P1P1298 L53M5 N5 XE 0896SY SANYO Electric Co Ltd Printed in Japan L53M5 N5 XE GB 1996 8 6 ...

Reviews: