Sanyo PLV-75 Series, Owner'S Manual
The Sanyo PLV-75 Series is a high-performance projector designed to deliver exceptional image quality. With its sleek design and advanced features, this product is a must-have for any movie enthusiast or professional presenter. Easily access the comprehensive Service Manual for this projector, available for download for free at manualshive.com.
Share
Download


Reviews:
No comments
Related manuals for PLV-75 Series
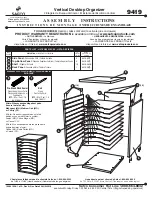
9419
Brand: Safco Pages: 2
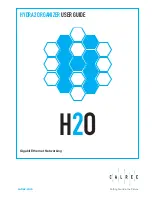
Hydra2
Brand: Calrec Pages: 40
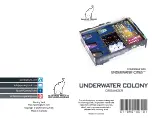
UNDERWATER COLONY
Brand: GAMING TRUNK Pages: 2
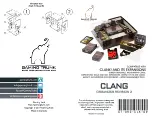
CLANG
Brand: GAMING TRUNK Pages: 2

96K
Brand: Radio Shack Pages: 32
65-770
Brand: Radio Shack Pages: 72
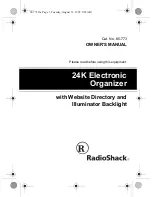
65-773
Brand: Radio Shack Pages: 44
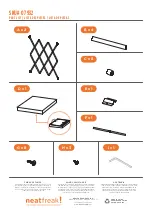
07932
Brand: neatfreak! Pages: 2
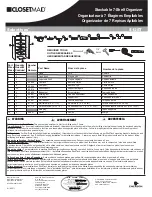
Selectives S12ST
Brand: ClosetMaid Pages: 4
Executive Organizer RF-1000
Brand: Rolodex Pages: 53

65-781
Brand: Radio Shack Pages: 32
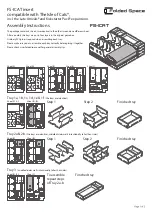
FS-ICAT
Brand: Folded Space Pages: 2
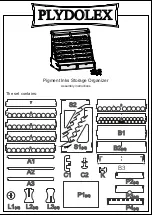
Pigment Inks Storage Organizer
Brand: PLYDOLEX Pages: 2
63-1127
Brand: Radio Shack Pages: 2
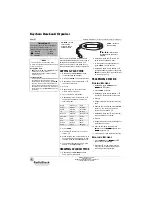
12K Electronic Organizer
Brand: Radio Shack Pages: 52
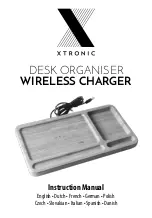
DESK ORGANISER
Brand: XTRONIC Pages: 56

WIRE SHELF BIN ORGANIZER
Brand: U-Line Pages: 6
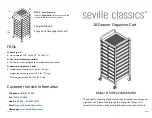
SHE16218B
Brand: Seville Classics Pages: 2


