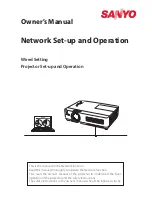
background image

Wired Setting
Projector Set-up and Operation
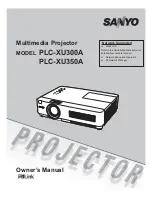
Owner’s Manual

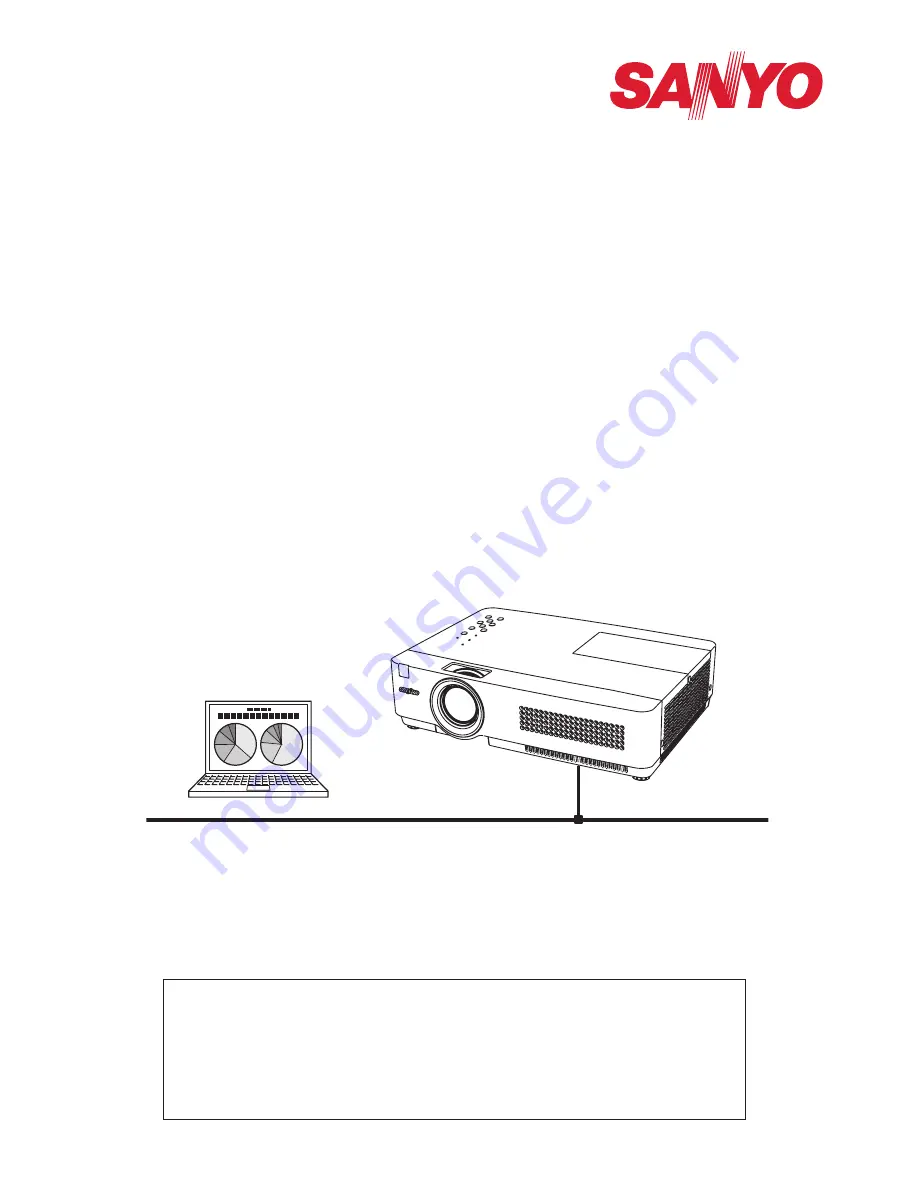
Network Set-up and Operation 

This is the manual for the Network function.  
Read this manual thoroughly to operate the Network function.
First, read the owner's manual of the projector to understand the basic 
operation of the projector and the safety instructions.
The safety instructions in the owner's manuals should be followed strictly.

Summary of Contents for PLC-XU350A

Page 1: ... the manual for the Network function Read this manual thoroughly to operate the Network function First read the owner s manual of the projector to understand the basic operation of the projector and the safety instructions The safety instructions in the owner s manuals should be followed strictly ...

Page 2: ...by turning the equipment off and on the user is encouraged to try to correct the interference by one or more of the following measures Reorient or relocate the receiving antenna Increase the separation between the equipment and receiver Connect the equipment into an outlet on a circuit different from that to which the receiver is connected Consult the dealer or an experienced radio TV technician f...

Page 3: ...ccidents If you remotely use the projector via networks carry out a safety check regularly and take particular care to its environment Incorrect installation may cause fire or other accidents CAUTION IN USING NETWORK FUNCTION SANYO Electric Co Ltd assumes no responsibility for the loss or damage of data or damage of the computer caused by using this projector Making back up copies of valuable data...

Page 4: ...n 18 3 Display of main setting page 19 How to use the setting page 20 Initial setting 22 Network PIN code setting 23 PJLink and password setting 23 Network configuration 24 E mail setting 25 Examples Type and contents of alert mail 27 SNMP setting 29 Chapter 4 Controlling the Projector 31 Power control and status check 32 Control 34 Input 34 System 35 Sound 35 Image adjustment 36 PC adjustment 37 ...

Page 5: ...ENGLISH ENGLISH 1 Chapter 1 Preparation Describes features and operating environment of this projector ...

Page 6: ...t mode signal condition lamp use time etc through the network by using the web browser installed on your computer PC4 PC3 PC6 PC5 PC1 PC2 Turn ON PJ2 PJ2 PJ1 SNMP Agent function p 29 To send the information of the projector to the SNMP manager Enables you to manage the projector condition with the supplied SNMP manager software SNMP Manager function A function to manage the condition of projectors...

Page 7: ...6 77 million colors Network card The computer must provide a 10Base T or 100Base TX network card Web Browser Internet Explorer version 5 0 5 5 6 0 or 7 0 Netscape Navigator version 7 1 or 9 0 Safari 3 0 or later Used to control and set up the projector The layout of pages in the browser may slightly differ from each type of application or operating system you use Internet Mailer Microsoft Outlook ...

Page 8: ...se of this manual This manual does not provide the description of basic operation and functions for com puter web browser projector and network For instructions about each piece of equip ment or application software please refer to the respective booklet Trademarks Ethernet is a registered trademark of Xerox Corporation Microsoft Windows Windows NT Windows XP and Windows Vista are registered trade...

Page 9: ...uters and projec tors then start browser configurations 3 Basic setting and operation pp 17 30 STEP 3 Install the Software on computers Follow each chapter to operate the projector Operate and manage the projector 4 Controlling the projector pp 31 42 Power Control and status check p 32 Controls p 34 PC adjustment p 37 Setting up the projector p 38 Projector information p 41 Notice about installing...

Page 10: ...10 Chapter 1 Preparation ...

Page 11: ...ENGLISH 11 ENGLISH Chapter 2 Setup Procedures 2 Describes how to configure the network ...

Page 12: ...er before performing steps in 3 Basic setting and opera tion 1 Select LAN mode select in the Network menu and press Point 8 or SELECT button 2 Select similar LAN environment among LAN1 LAN2 and LAN3 with the Point ed but tons Then the Menu will disappear the Please wait message will appear and switch ing operation will start Switching will take a while and the projector s LINK ACT Lamp will be on ...

Page 13: ... SELECT button to fix Move to the next row with the Point ed buttons to adjust 4 After completing all the settings select Set and press SELECT button Now all procedures have been done To cancel the adjusted settings select Cancel and press SELECT button You can confirm the LAN settings you have made from Network information p 14 In such cases that the LAN cannot be connected see this screen Networ...

Page 14: ...e Point 7 8 buttons Select Set and press SELECT button to set To cancel the preset Network PIN code select Cancel When you do not want to set the Network PIN code set 0000 It is recommended to set the Network PIN code if you use the projector via the networks The Network PIN code can be set also through the networks See 3 Basic setting and operation Initial setting Network PIN code setting p 23 Se...

Page 15: ...n 2 A confirmation box appears and select Yes and then press SELECT button 3 Another confirmation box appears and select Yes and then press SELECT button 4 All the wired LAN settings will go back to the factory default settings For details refer to Wired LAN factory default settings p 16 Network factory default ...

Page 16: ... LAN 1 LAN 2 LAN 3 IP CONFIGURATION MANUAL DHCP MANUAL IP ADDRESS 169 254 100 100 192 168 100 100 192 168 100 100 SUBNET MASK 255 255 0 0 255 255 255 0 255 255 255 0 GATEWAY ADDRESS 255 255 255 255 255 255 255 255 255 255 255 255 DNS ADDRESS 255 255 255 255 255 255 255 255 255 255 255 255 ...

Page 17: ...Setting and Operation 3 Describes basic operations and settings for controlling the projec tor by using the web browser It is required that computer and projector is connected to the network and the network address is properly configured ...

Page 18: ...twork configuration p 12 2 Login If the setting page has set the password the authentication window will appear In this case type user onto the User Name text area and the login Network PIN code onto the Password text area and then click OK Log in button The entering User Name must be user and it can not be changed Note When accessing the projector for the first time or the Network PIN code 0000 i...

Page 19: ... of settings through this page Click on the menus to dis play the control and setting pages Main setting page in the display Setting page Displays the control and setting items according to the selected menu Main menu For selection of control and setting items of the projector Sub menu tab Switches the sub menu tab Login the setting page of the projector ...

Page 20: ...e of the setting page The value in the text box indicates current value Each item has a valid setting range The setting value exceeding this becomes invalid Some con trol items can not be used depending on the selecting input mode or functions of the projector you use In this case the values of those items are indicated with Text box setting Enter a number or text and then click Set button or Chan...

Page 21: ...21 ENGLISH How to use the setting page Radio button setting Select an item by selecting a radio button Check box setting Select items by ticking on check boxes ...

Page 22: ...n menu to display the initial setting page Item Description Language Switches display language on the setting page English or Japanese Model name Indicates the model name of the projector Network PIN code Sets the Network PIN code to login the setting page p 23 PJLink Switches PJLink password authentication on or off p 23 Password Password for PJLink function p 23 ...

Page 23: ...word authentica tion on or off If set On with the PJLink pull down menu the password must be required Enter a password onto the text box and click Set button 1 to 32 alphanumeric characters can be used for the password What s PJLink The projectors equipped with PJLink function can be used together on the same network regardless of model or brand for centralized control and monitoring This standard...

Page 24: ...can access with this projector name from any computers in your network If you do not use the DNS server access with the assigned IP address to the projector All the network setting will reset to the default when setting 0 0 0 0 of the IP Address If you make incorrect settings you cannot find out the new network settings Be careful to set up them correctly otherwise you cannot connect to the projec...

Page 25: ...ly To address of the message sent from the projec tor 1 The SMTP server is a server for sending E Mail Please contact your network administrator to have this SMTP server address If the projector sends an alert message due to the abnormality on the projector but the SMTP server is down in some other reason the message will not be sent In this case the message Unable to connect to server will be dis...

Page 26: ...ck Delete button 3 Option selection for sending alert mail Click Option sub menu tab Check the con dition items under which alert mail will be sent and click Set button Please refer to item Examples Type and contents of alert mail described on the next page Check Delete Option When PJ lamp is off signifies the lamp goes out without user operation When PJ is turned into Standby in proper user opera...

Page 27: ...this message This is very useful to maintain and service the projector The following are examples of received messages When internal PJ temperature is too high TITLE Message from projector Projector Model Name model name TCP IP 192 168 1 201 Projector Name Proj05 It sends you following message The Projector lamp is turned off because internal Projector temperature is too high Wait for the completi...

Page 28: ...nt when unchecking the mail sending condition When PJ lamp replacement time is reached TITLE Message from projector Projector Model Name model name TCP IP 192 168 1 201 Projector Name Proj05 It sends you following message The projector lamp has reached replacement time When lamp corres value reaches preselect use time TITLE Message from projector Projector Model Name model name TCP IP 192 168 1 20...

Page 29: ... a community Refer read only and Set read write This projector allows to use Refer read only only The SNMP message informs the pro jector status called Trap to an administrator Click SNMP Setting on the main menu and set up each item Item Description Contact Enter user name of the projector etc optional Place Enter place of the projector optional Community name refer Enter community name read only...

Page 30: ...on Trap option setting Tick check boxes in front of the condition item to send the trap Click Set button if you tick or un tick the check box on a page When PJ lamp is off signifies the lamp goes out without user operation When PJ is turned into Standby in proper user operation signifies that the projector is turned on by using the web browser and then it is turned into standby with ON STANDBY but...

Page 31: ...ENGLISH 31 ENGLISH Chapter 4 Controlling the Projector 4 Describes controlling and setting of the projector by using the web browser ...

Page 32: ...tatus of the lamp ON OFF On starting up On cooling down Status Displays the status of the projector s power Refer to next page Power control Controls the projector power by clicking the ON or Standby button Popup confirmation window Confirmation window as shown in the below appears when the Standby button is pressed The projector cannot be turned on while the projector is on cooling down The web b...

Page 33: ...ode lock has been set on the projector you also cannot control it through the network To control the projector through the network unlock the security on the projector using with the projector s menu control Caution about turning on off the projector via the networks When turning on off the projector via the networks preset the projector as fol lows 1 Select Setting from the Projector menu 2 Selec...

Page 34: ... signal or functions of the projector you use therefore there may be different controls between the described items and actual control items on the page display For further information refer to the projector s owner s manual When the projector is in standby all the controlling items are inactive Item Description Input Selects input mode of the projector Source Selects signal source of the input Co...

Page 35: ...roper color sys tem of the input signal The selectable color systems are PAL SECAM NTSC NTSC4 43 PAL M and PAL N AUTO is fixed at the Scart input Available selection at the Component input Item Description AUTO It automatically switches to the proper scanning system of the input signal The selectable scanning systems are 480i 575i 480p 575p 720p 1035i and 1080i Controls If the mode Mode1 to Mode5 ...

Page 36: ... Film Reset Resets the Image adjustment to previous levels Store Stores the Image adjustment values Select an item Image1 Image4 from the pull down menu and click Store button Load Loads the Image mode Select an image mode from the pull down menu and click Load button There may not be available mode depending on the input mode as shown in the table left Image adjustment This function is to adjust ...

Page 37: ...justment Fine sync Performs Fine Sync adjustment 0 31 Total dots Adjust the number of total dots in the horizontal period Clamp Adjusts the phase of the clamp 1 127 Display area Horizontal Adjuststheimageareahorizontally Vertical Adjuststheimageareavertically Position Horizontal Adjusts the horizontal position of the screen Vertical Adjusts the vertical position of the screen Reset Resets the PC a...

Page 38: ...Custom There may not be avail able mode depending on the input mode as shown in the table below Input source Screen mode Video Computer Normal 4 4 True 4 Wide 4 4 Full 4 Custom 4 4 The mark 4 means that the available screen mode in the selected input source system The error message appears when selecting the disabled screen mode indi cated with Screen setting This function is to adjust the screen ...

Page 39: ...elects lamp life control mode Mode1 Mode2 when the total use time exceeds the recommended total hours of use Item Description Language Sets the language display of projector s on screen display menu Auto setup Executes the Auto PC Adj and Input Search function below according to the each setting after clicking Start button Auto PC Adj Sets Auto PC Adjustment mode ON OFF Input search Sets the auto ...

Page 40: ...r warning Sets the time to indicate the filter warn ing message on the screen OFF 100H 200H 300H Factory default Sets all of the projector control items to the factory default setting except the fol lowing items Lamp Corres Value PJ time Network PIN code Network setting This function is not effective for the settings of Network address settings e mail settings etc No show Sets the black out image ...

Page 41: ...ulated use time of the projector Lamp Corres Value h Displays the use time Corresponding value of the lamp Filter time h Displays the accumulated use time of the filter Click this button to update the information Indication of the lamp status Icon display background Status White Yellow Blue Lamp on Normal White Yellow Red Lamp on Lamp is being used over a specified use time replace lamp immediatel...

Page 42: ...42 Chapter 4 Controlling the Projector ...

Page 43: ...ENGLISH 43 ENGLISH Chapter 5 Appendix 5 Connection examples Use of telnet Web browser setting Technical data Q A ...

Page 44: ...efault Gateway DNS Computer Name PC05 IP Address 192 168 0 5 Subnet Mask 255 255 255 0 Default Gateway DNS Hub Projector Name PJ01 IP Address 192 168 0 2 Subnet Mask 255 255 255 0 Default Gateway 0 0 0 0 DNS 0 0 0 0 Computer Name PC05 IP Address 192 168 0 5 Subnet Mask 255 255 255 0 Default Gateway DNS UTP cross cable Connecting the projector PJ01 to the control computer PC05 via the hub When the ...

Page 45: ...NS 192 168 201 1 IP Address 192 168 200 1 IP Address 192 168 10 1 IP Address 192 168 100 1 Computer Name PC05 IP Address 192 168 10 5 Subnet Mask 255 255 255 0 Default Gateway 192 168 10 1 DNS 192 168 201 1 Computer Name PC10 IP Address 192 168 10 10 Subnet Mask 255 255 255 0 Default Gateway 192 168 10 1 DNS 192 168 201 1 Computer Name PC51 IP Address 192 168 10 51 Subnet Mask 255 255 255 0 Defaul...

Page 46: ...s XP Professional 1 Select Run submenu from Start menu on the computer Type telnet onto the Open text area on the displayed window and press OK button 2 The telnet application will start and the following window will be displayed Type as below to connect the projector open 192 168 1 201 10000 return Use the IP address assigned to the projector For example in case of using the telnet application of...

Page 47: ...e time type close and then press Enter key on the Keyboard close return The table below shows the typical command lists for controlling this projector and please consult your local dealer for further information of another commands 1 Further instructions about the telnet application please see the on line guide on your computer 2 The password is a Network PIN code decided item Network PIN code set...

Page 48: ...e the JavaScript please see further instructions on the next page Proxy setting In some cases your web browser is set up to use the proxy server for the internet or intranet connection In this case when you install this projector into the local network you should set up the proxy setting of web browser preference correctly Especially when con necting the projector and computer with a UTP cross cab...

Page 49: ...eScript setting Select Internet Options from Tools menu on the web browser and then select Security tab and click Customize Level button On the security setting window scroll down and find the Scripting item make sure that Enable is selected in item Active Scripting Web browser setting ...

Page 50: ...t connection from the local area network check the item Use a proxy server and enter the proxy server address and port correctly in the proxy settings window For further instruction please consult your network administrator Not using proxy server Uncheck the item Use a proxy server If you connect the projector to the computer directly with UTP cross cable this must be unchecked To designate proxy ...

Page 51: ...er set tings according to the local area network environment to which the projector is connected Using proxy server When you use an external internet connection from the local area network select the item Manual proxy configuration Enter the proxy server address and port number correctly on HTTP Proxy item For further instruction please consult your network administrator Not using proxy server Sel...

Page 52: ...ted Using proxy server To use an external internet connection from the local area network check the items Web Proxy HTTP and Secure Web Proxy HTTPS of Select a proxy server to configure window and enter the proxy server address and port correctly in Web Proxy Server win dow For further instruction please consult your network administrator Not using proxy server Uncheck the items Web Proxy HTTP and...

Page 53: ...computer A 1 Please use the password authentication function on the login page p 23 2 Please use the IP filtering function provided with the gateway router to restrict the accessing from the computer For further information please con sult your network administrator Q Can I access the projector installed on the company s local area network from a remote location A There are some ways to access to ...

Page 54: ...tall and configure network one by one to avoid the IP address collision each other To configure the IP address please see item Network configuration pp 12 13 23 Password Login Q What should I do when I forget the IP address of the projector A You can check the IP address in the Network information menu Q What should I do when I forget the password Network PIN code A Please set the new network PIN ...

Page 55: ...ed of the page depends on the network environment in which both the projector and computer are placed It may take much time to complete the page display if network traffic is heavy Please consult your network administrator Q How many numbers of the E mail address can I register in the E mail set ting page A You can register up to 10 addresses Q Why am I not receiving E mail alert messages A Make s...

Page 56: ...et 255 255 255 0 for example Rule2 The start address xxx xxx xxx 0 and the last address xxx xxx xxx 255 of the IP address must not be assigned to any other equipment These address numbers are reserved Rule3 The IP address must correlate to a network number If network numbers are different between the equipment they cannot establish communications each other In this case the router is placed in the...

Page 57: ...le to update the firmware through the network It is required to have a special tool for the updating For further information please consult your local deal er The version number of the firmware is indicated on the lower part of the Initial setting page Version of the firmware ...

Page 58: ...NETWORK OWNER S MANUAL SO KF5AC SANYO Electric Co Ltd ...

Reviews: