Sanyo PLC-SP20, Owner'S Manual
The Sanyo PLC-SP20 Owner's Manual is essential for getting the most out of your projector. This comprehensive manual covers everything from setup to troubleshooting, ensuring seamless usage. Download it for free at manualshive.com and unlock the full potential of your Sanyo PLC-SP20 projector.
Share
Download


Reviews:
No comments
Related manuals for PLC-SP20

LC-XS25A
Brand: Eiki Pages: 81

EB-696Ui
Brand: Epson Pages: 251

A1DN
Brand: Hitachi Pages: 114
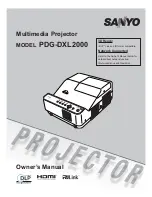
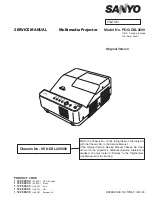
PDG-DXL2000 - 2000 Lumens
Brand: Sanyo Pages: 73
PDG-DXL2000 - 2000 Lumens
Brand: Sanyo Pages: 142
PDG-DXL2000 - 2000 Lumens
Brand: Sanyo Pages: 98
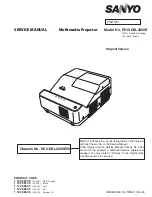
PDG-DXL2000E
Brand: Sanyo Pages: 98

PLC--XP200L
Brand: Sanyo Pages: 12
PLC--XP200L
Brand: Sanyo Pages: 88
PLC--XP200L
Brand: Sanyo Pages: 2
PLC--XP200L
Brand: Sanyo Pages: 154
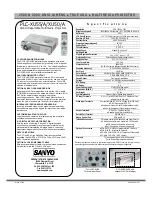
PLC-XU50
Brand: Sanyo Pages: 1
PLC-XU50
Brand: Sanyo Pages: 72
PLC-XU50
Brand: Sanyo Pages: 90
PLC-XU55
Brand: Sanyo Pages: 3
CP-A100 Series
Brand: Hitachi Pages: 114
EX51
Brand: Epson Pages: 4

EX51
Brand: Epson Pages: 122


