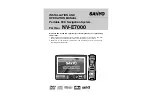


INSTALLATION AND
OPERATION MANUAL
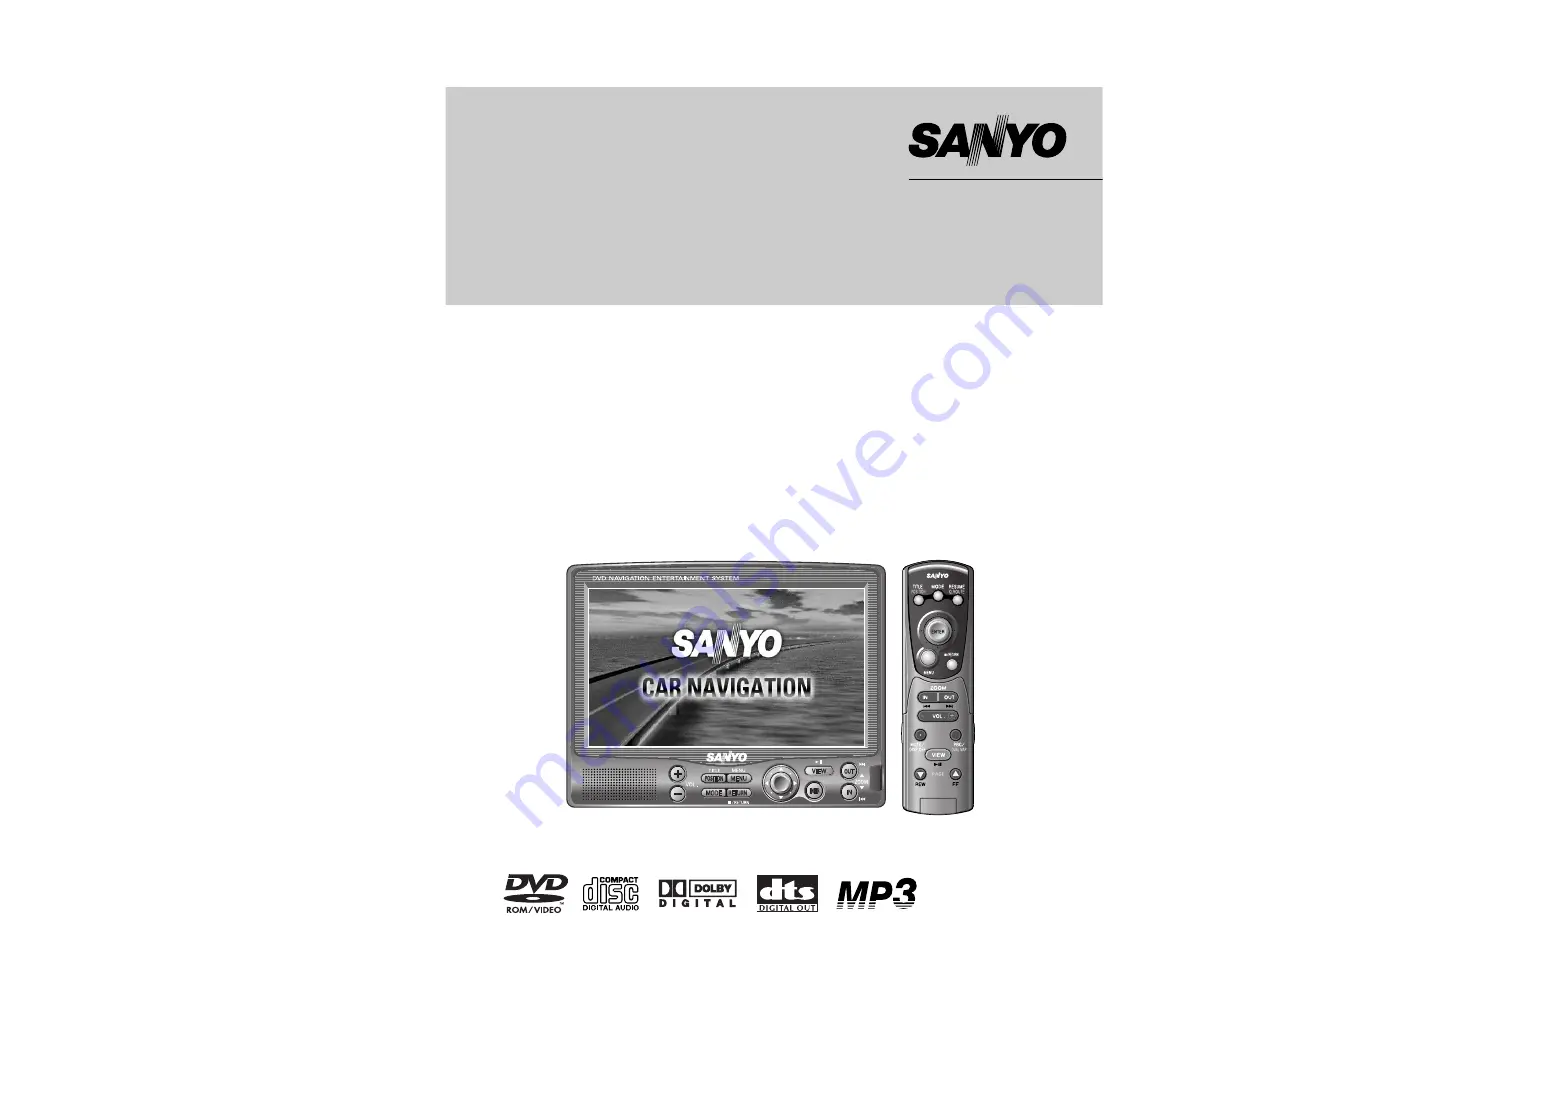
Portable DVD Navigation System
Part No.:
NV-E7000
We would like to take this opportunity to sincerely thank you for purchasing
this product.
¡
Read this manual and the warranty certificate carefully prior to using the unit. After
having completely read this manual, store it in a safe place for easy reference.
¡
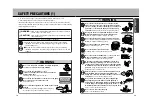
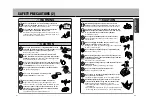
Make sure to read the “Safety precautions” and “Cautionary items for proper usage”
appearing within this manual.
Summary of Contents for NV-E7000 - Portable GPS And Mobile DVD Entertainment System
Page 10: ...17 ...
Page 94: ...175 ...


